Deploying a static site
What is a Static Site?
A static site is a web site that consists of HTML, CSS, and JavaScript files that are pre-generated and served as-is to visitors. Unlike dynamic sites that are built on-the-fly using a server-side language like PHP, static sites are generated once and then served directly from the server. Examples of static sites include blogs, portfolios, and marketing websites.
When should you use a Static Site?
If you have a bunch of HTML files that you are looking to deploy statically, then you can create a Static Site on Patr and upload your files, which will automatically be served by Patr, with the right Content-Type (psst, hey you, yeah you, you nerd, we support Wasm too!), with a global, highly available CDN, along with free DDoS protection. Patr also makes sure that your site responds to 95% of the global network in less than 1/20th of a second!
Here are some examples of some frameworks that can be deployed on Patr as a Static Site:
How to create a Static Site
Prerequisites: What you'll need
- A Patr account (You can sign up for one here)
- A static site
(duh) - A mouse and keyboard, I guess?
Creating a Static Site
- Login to your Patr account.

- Under Infrastructure, navigate to the Static Sites section.

- Click on the Add Static Site button and enter the following details:

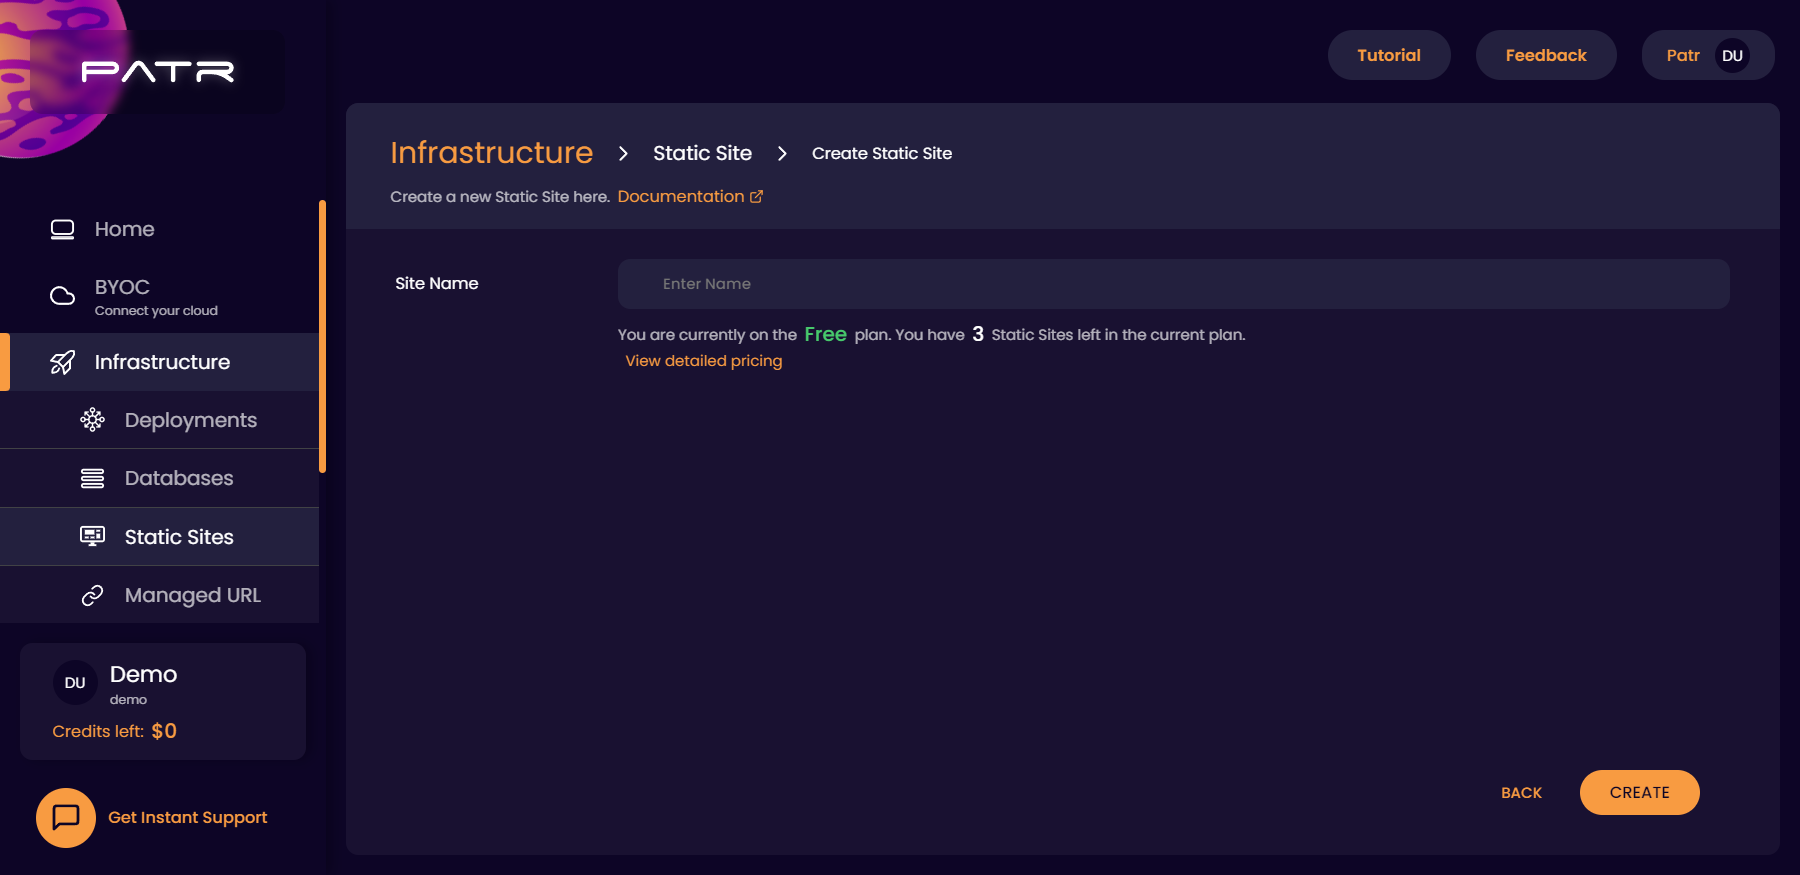
- Site Name: A user-friendly name used to identify the static site.
Click on the Create button and your static site will be created. But wait! We haven't uploaded anything yet. If you visit the site before uploading anything, you'll get a beautifully crafted, elegantly designed......404 page.
Uploading a site
Now that your site is created, let's upload something to it.
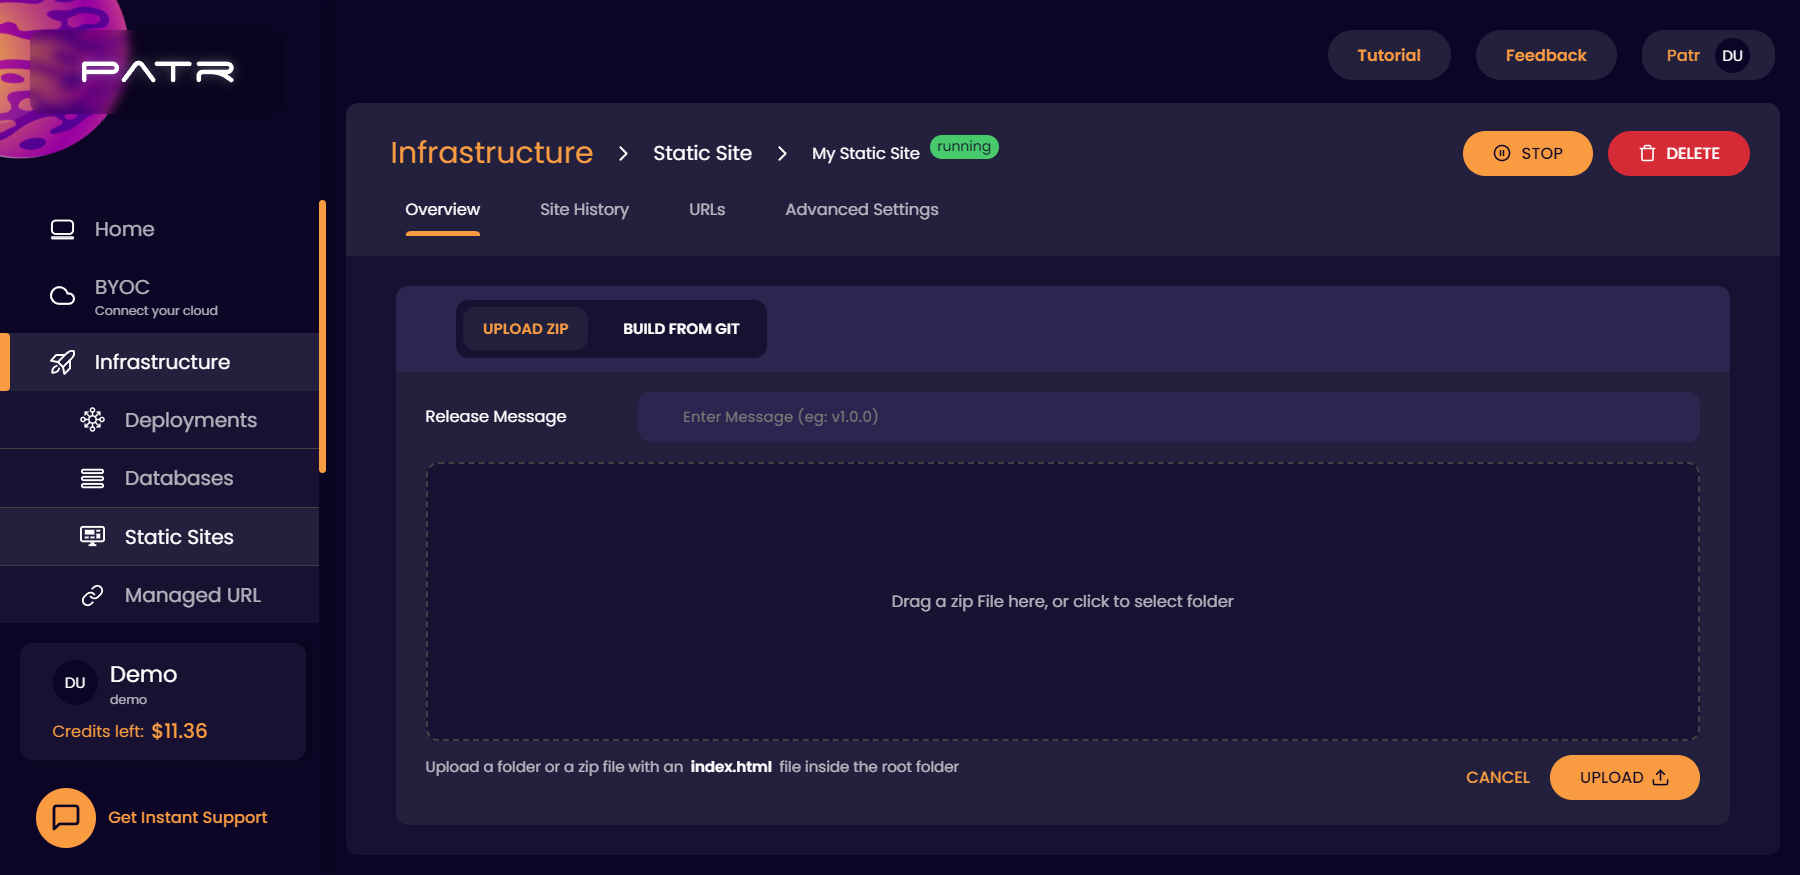
Let's start by building our static site. You can refer to your framework specific documentation for instructions on how to build your site. For example, in the case of a create-react-app, you can simply run npm run build on your project folder, and you'll generate a build/ folder with all the static HTML files.
You can then open your folder with all the HTML files, and drag and drop them onto the upload window. Once you have selected your sites for upload, you can enter a release message, which describes what your release is for. This is a human-friendly text that you can use to identify your upload, such as "updated home page", or even a version number, like "v3.4.1", etc. This release message identifies the upload in case you need to revert to it in the future, so make sure you enter something that can be identified in the future
Once you click on the Upload button, your Static site will be uploaded, and you can then view your static site in the provided link.
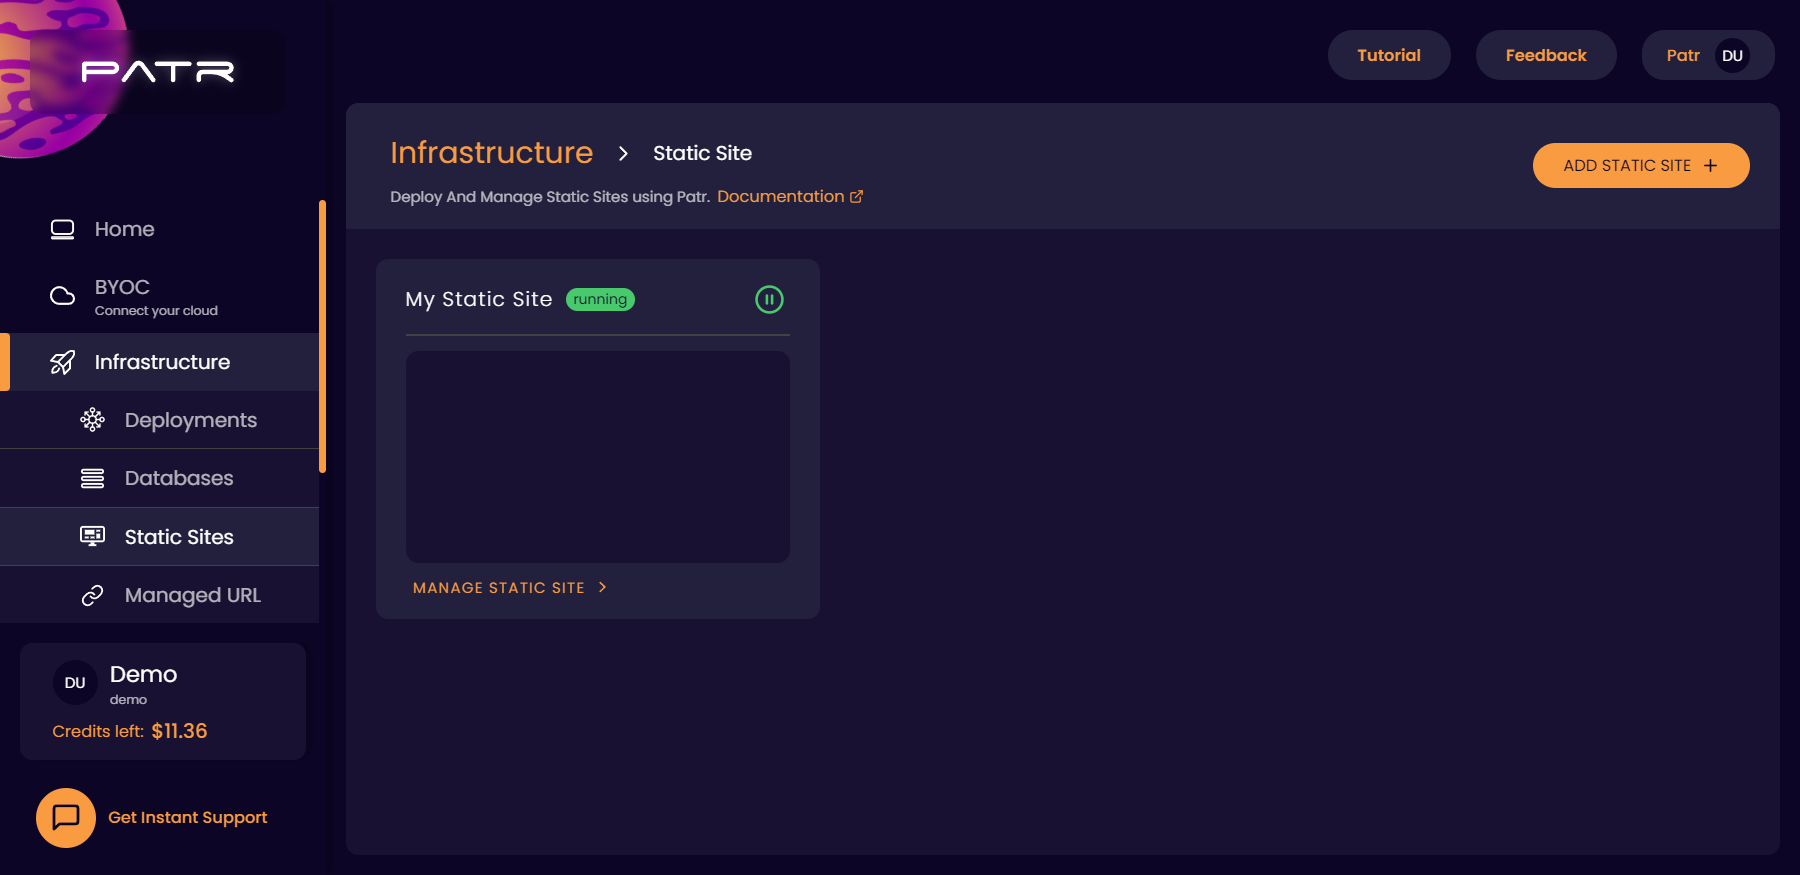
Managing your Static Site
Once your Static Site is created, you can click on the Manage Static Site button on your Static Site Dashboard to update your Static Site.
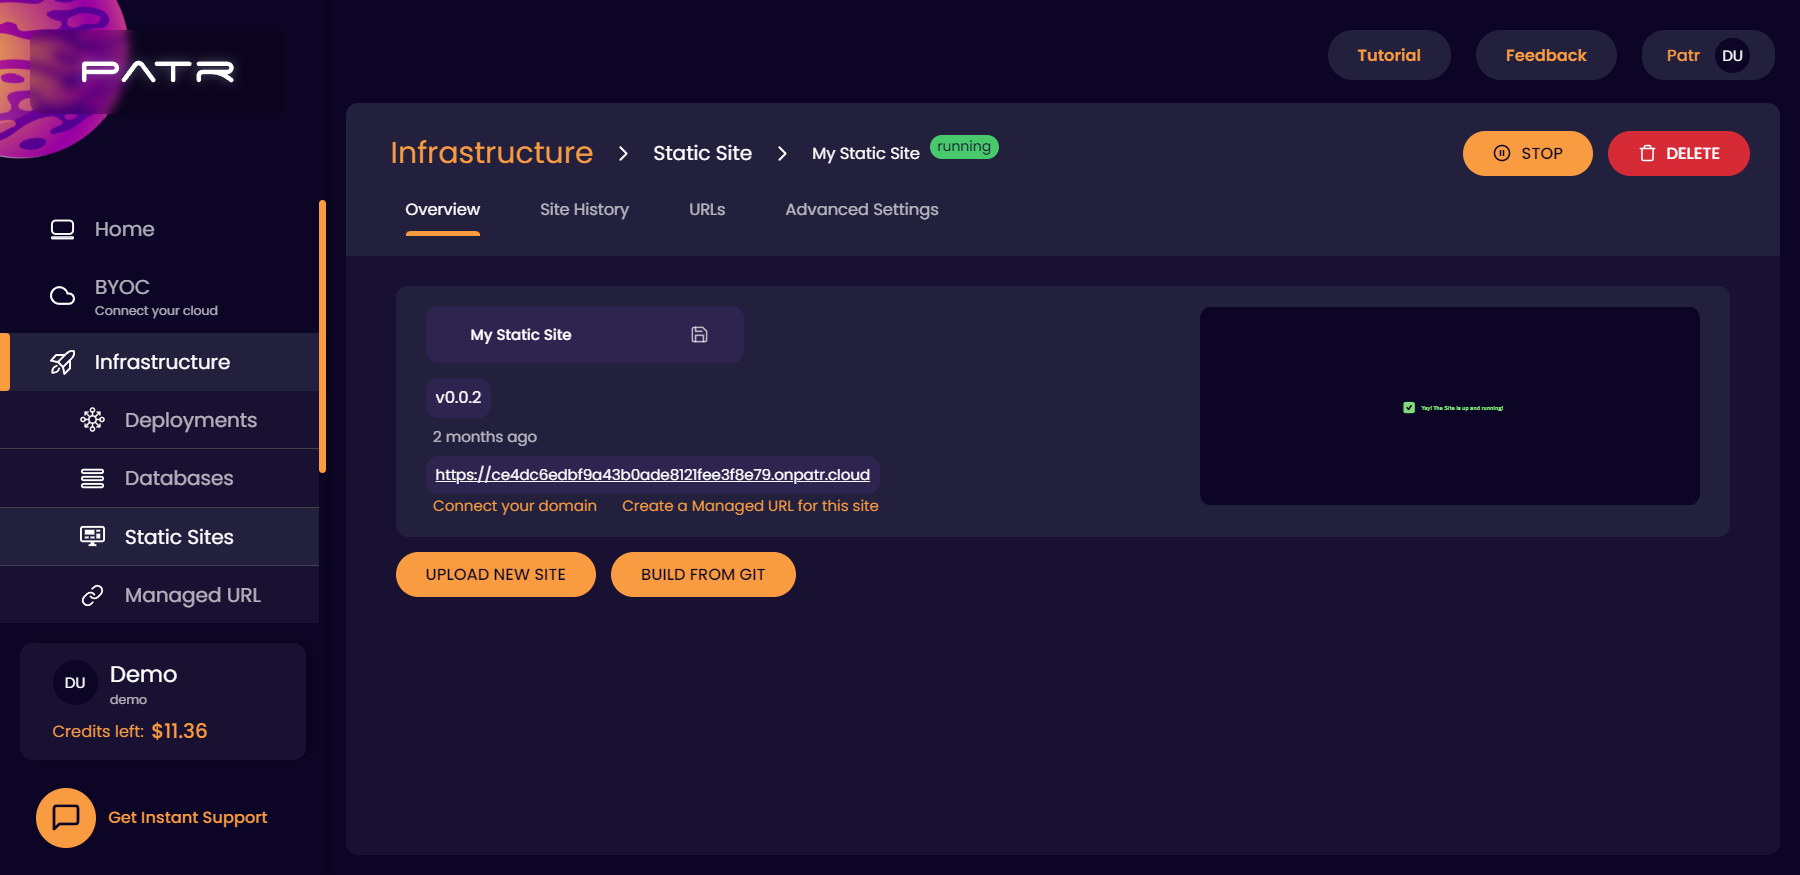
Creating a custom domain for a Static Site
If you want to expose your Static Site on a custom URL of your own, you can head to the URLs tag in the Manage Static Site screen, and you can create a Managed URL for your Static Site.
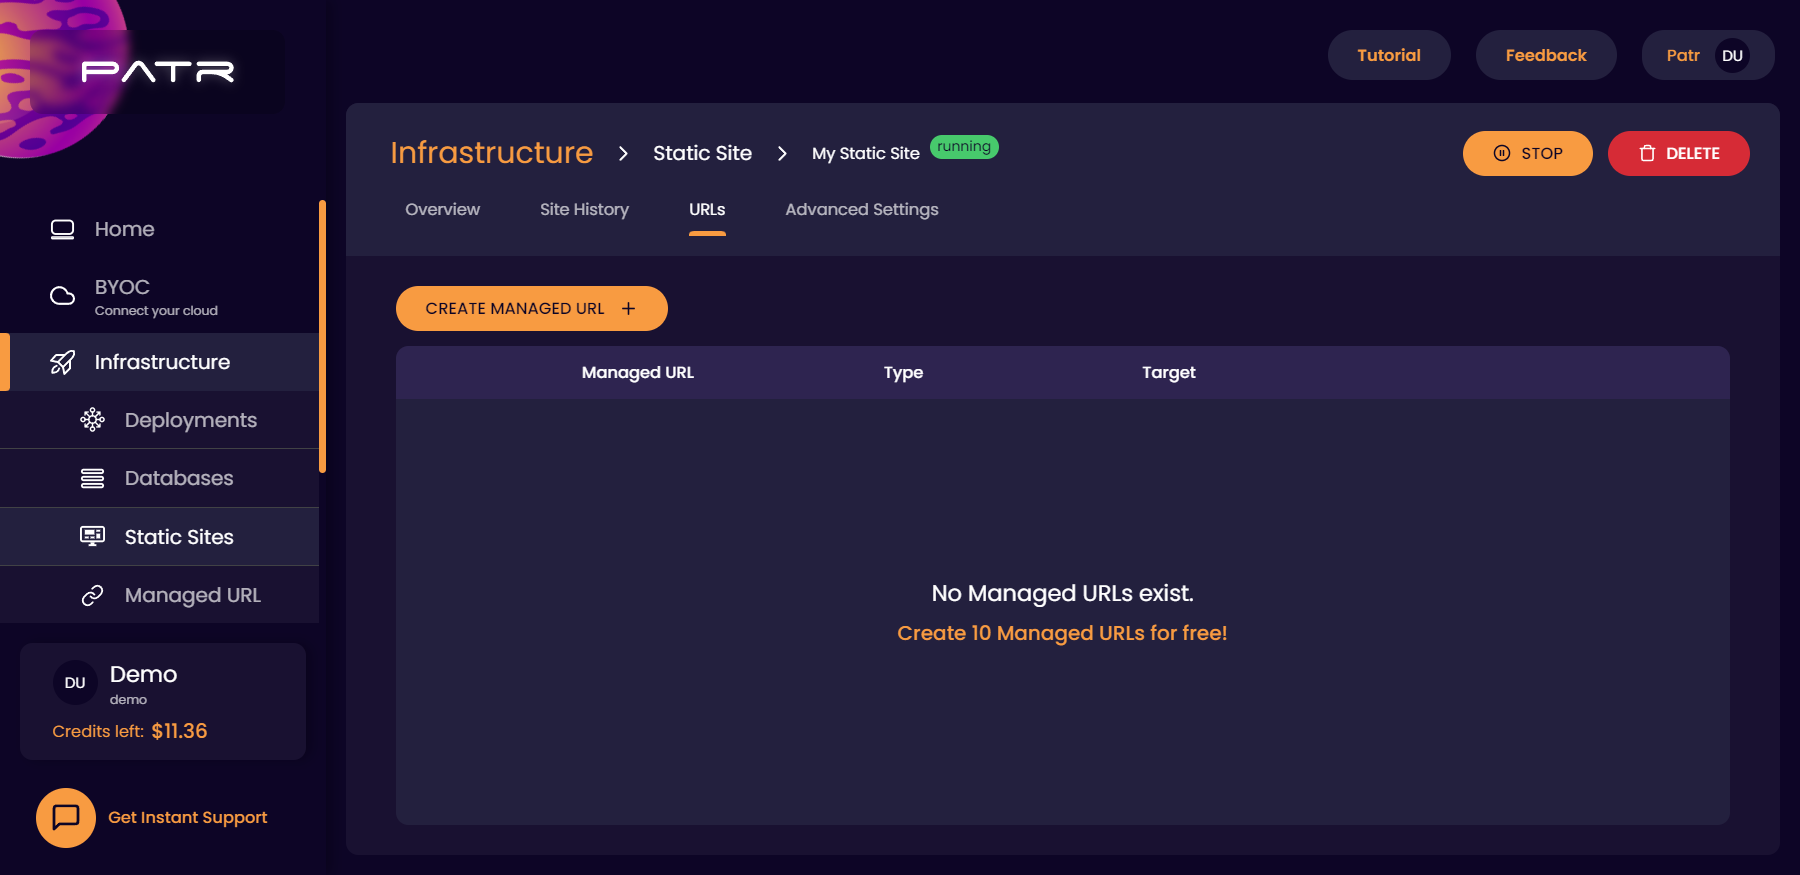
You can read more on Managed URLs in our Custom Domains Guide.
Reverting your Static Site to an older version
Once your Static Site is updated, you can revert it back to an older version in case you want to. You can navigate to the Manage Static Site screen, and open the Upload History tab and select the older upload of your site. Next to each upload, you can click on the Revert to this version to instantly revert your Static Site back to that version. You can also use the release message as an identifier for knowing which version you would like to revert to.
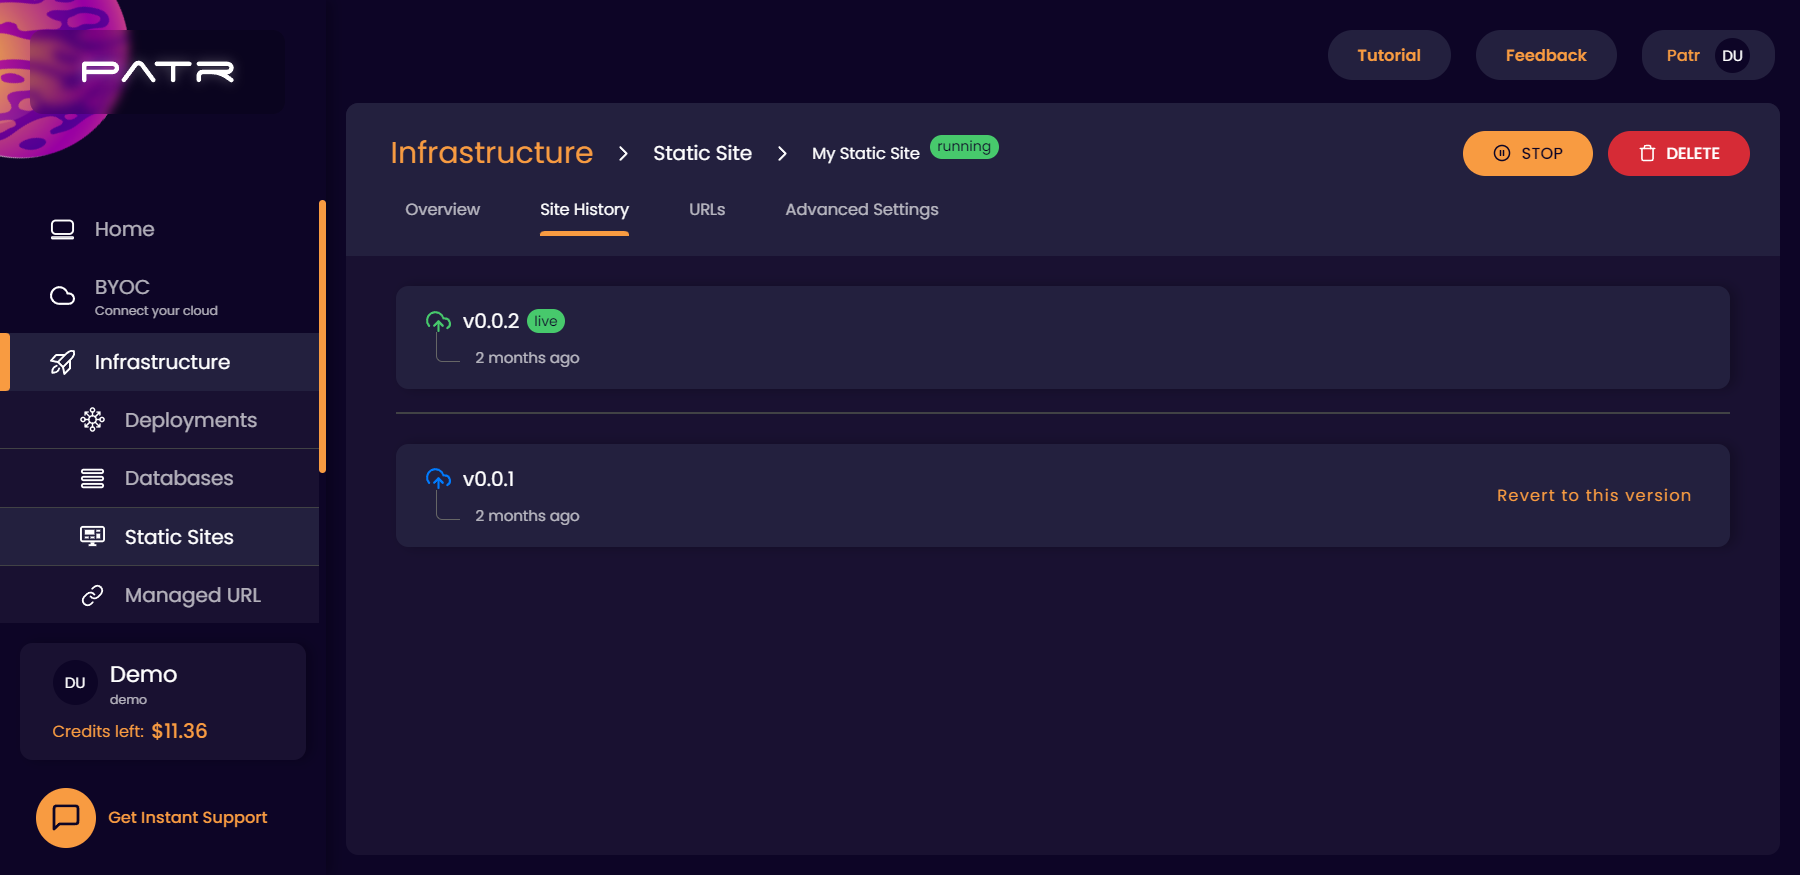
You can read more on reverting your infrastructure in our Reverting Infrastructure Guide.
Deleting a Static Site
If you would like to delete your Static Site, in the Manage Static Site screen, on the top right, you can find the Delete button.

Once you click on the Delete button, you will be asked for a confirmation by entering the Static Site name. Once entered, your Static Site will be deleted.

Further Reading
Custom Domains
How Static Sites are Routed
Creating a Deployments
Connecting a Git Repository to Patr