Deploying an Ember.js site on Patr
Ember.js is an open-source JavaScript web framework based on the Model-View-ViewModel (MVVM) pattern. It is designed to help developers build scalable and maintainable web applications, and provides a set of conventions to reduce the amount of boilerplate code required. Ember has a strong focus on developer productivity, providing a command-line interface (CLI) for scaffolding and generating code, and built-in support for testing.
Prerequisites - What you'll need
- NodeJS: Instructions to install NodeJS can be found here.
- Ember CLI: You can setup Ember CLI by running:
npm install -g ember-cli
Creating the application
To build an Ember.js application, you will need to create a new project using the Ember CLI. You can do this by running the following command in your terminal:
ember new my-project
Replace my-project with the name of your app. This will create a new Ember.js project in a directory called my-project. Once the app is created, navigate to the app directory by running the command cd my-project.
Building the application
Run the following command to build your Ember.js app:
ember build
This will create a dist folder containing the optimized version of your app.
Uploading the application to Patr
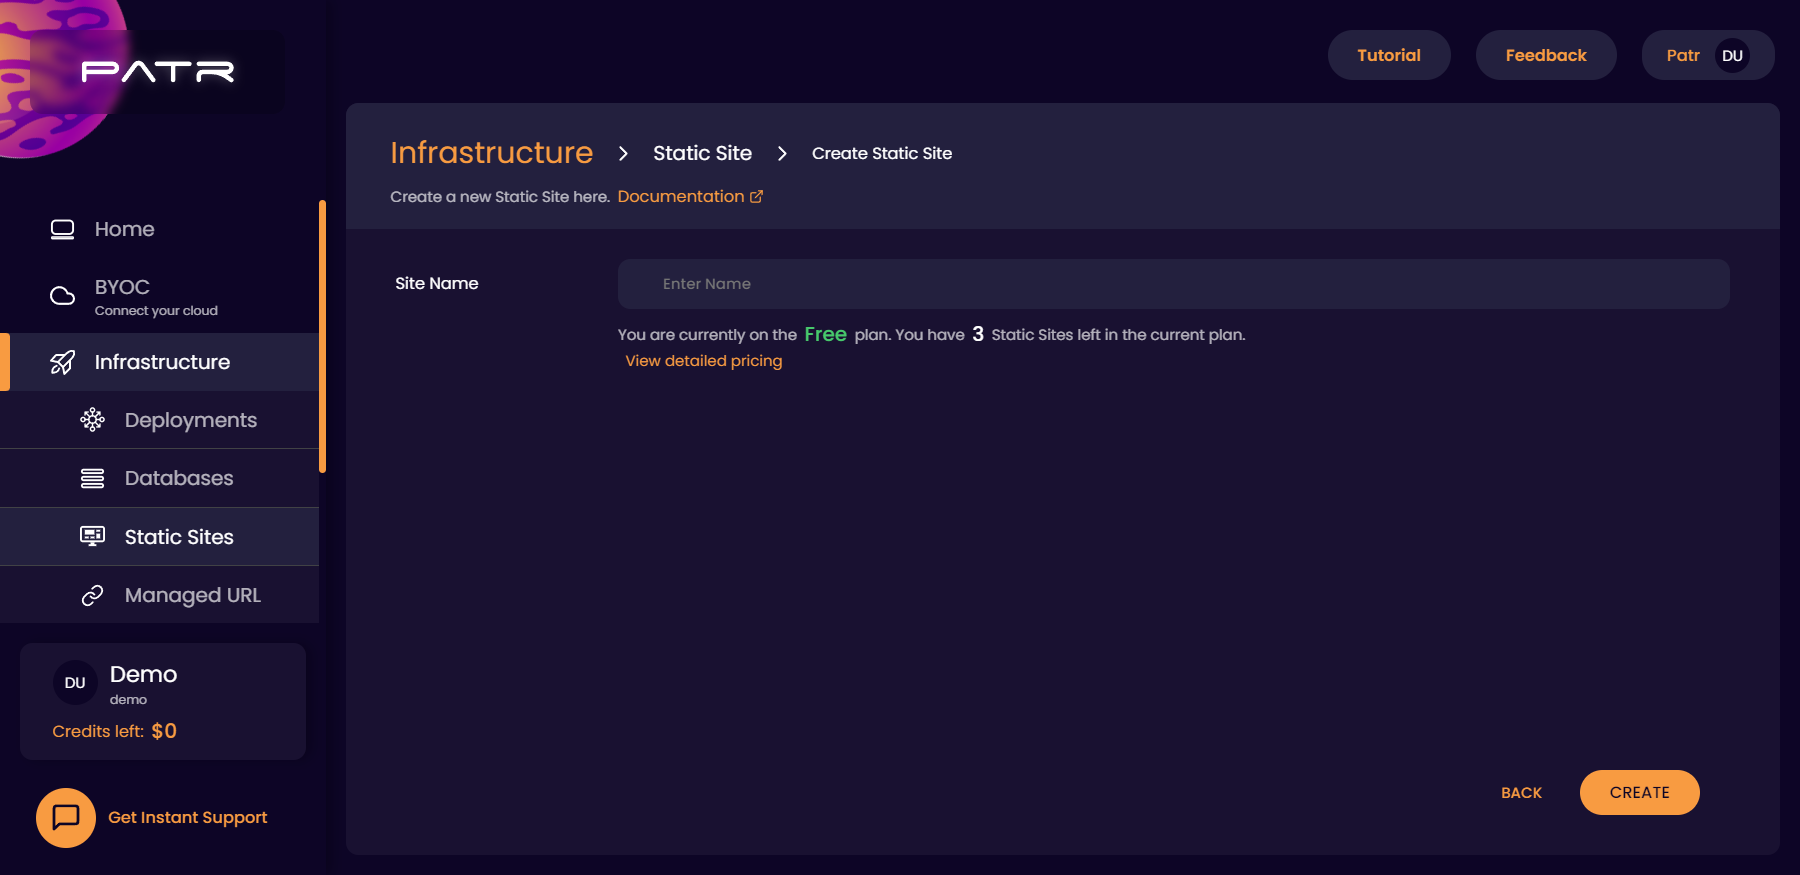
- Navigate to the Static Site Dashboard on Patr.

- Click on the Add Static Site button and enter a static site name to identify the site.


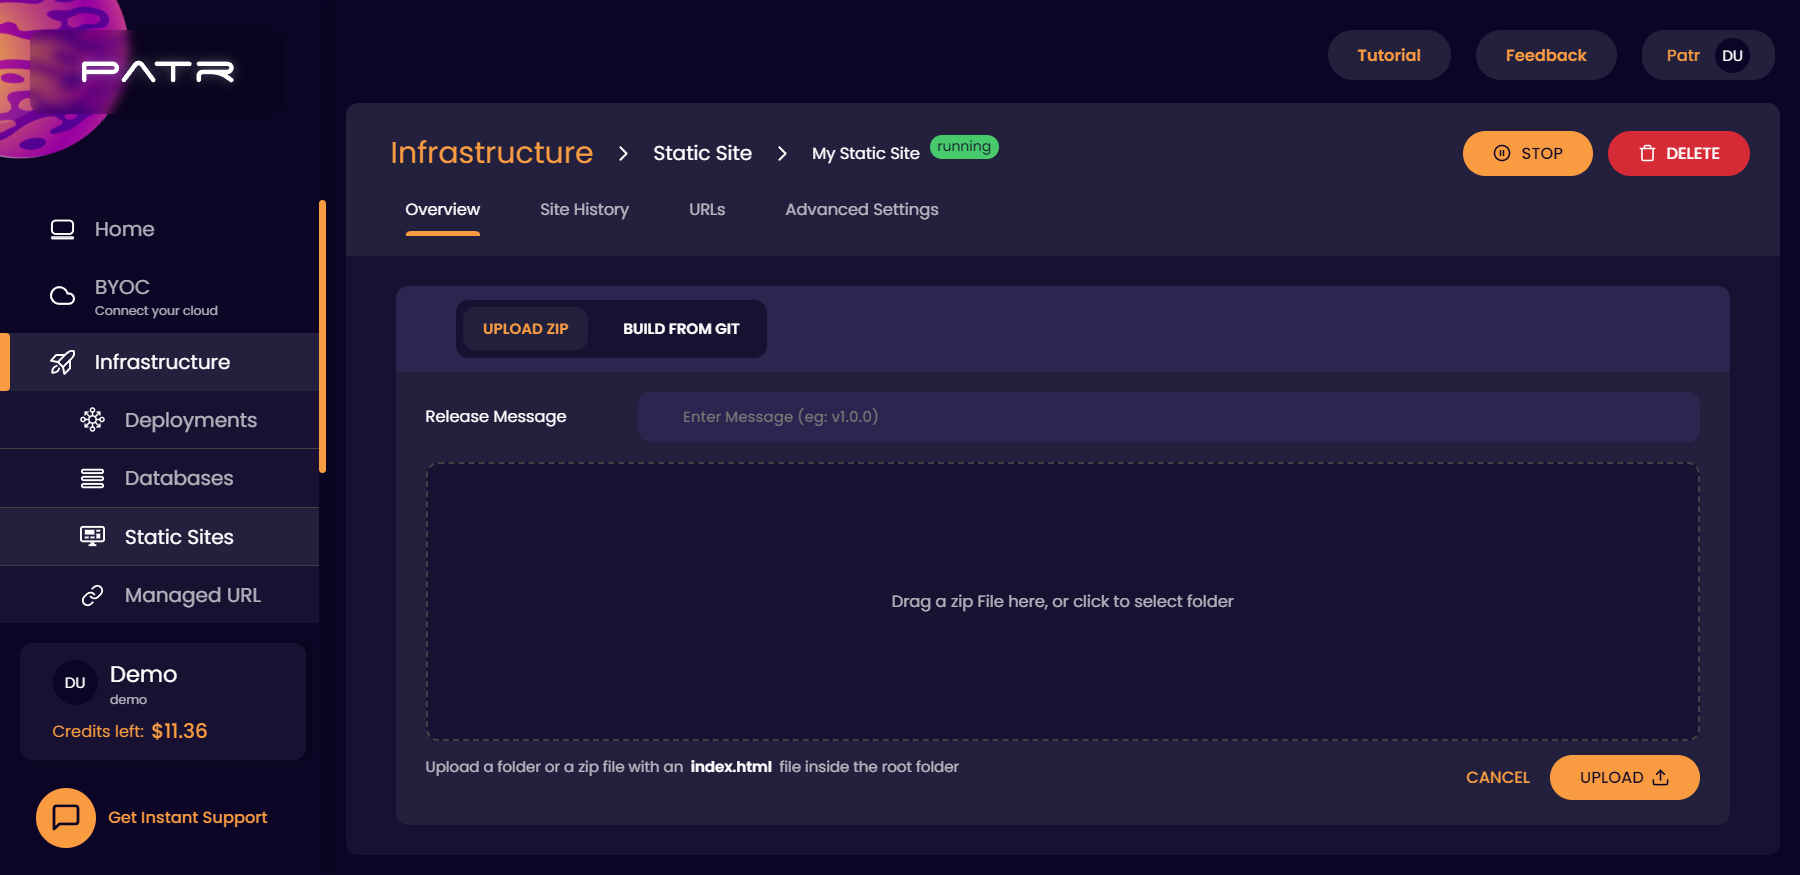
- Zip the
dist/folder (let's call the filebuild.zip). - Click on the Upload Site and select the
build.zipfile that you created earlier.

- Choose a release message, and your site will be uploaded automatically.
Accessing your static site
Once your site is processed, you can click on the URL of your Static Site on your Static Site Dashboard to view your site.
Further Reading
Creating a Deployment
Connecting your infrastructure to a custom domain