Deployments
What is a Deployment?
A Deployment in Patr refers to the process of running a container on a server. When you create a Deployment, you specify the image to run, along with any necessary configuration options. Our platform then takes care of running the container in the region that you have chosen and providing access to the running application. In addition to handling the Deployment and hosting of your application, Patr also takes care of many of the tedious and time-consuming tasks involved in managing your infrastructure. This includes automatically configuring an SSL certificate and a firewall for your deployments, as well as handling tasks like load balancing and server scaling. By taking care of these tasks, Patr ensures that your application is secure and performs well, so that you can focus on developing and improving your application. In other words, Patr has your back when it comes to managing your infrastructure and keeping your application secure.
When should you use a Deployment?
You should use a deployment in Patr for when you want to run a containerized application on our platform. This could include web applications, microservices, or any other type of application that can be packaged as a container.
Here are some examples of Deployments that can be hosted on Patr:
How to create a Deployment
Prerequisites: What you'll need
- A Patr account (You can sign up for one here)
- Docker installed on your machine (or a similar containerization technology). You can get Docker here
- A container image (for example a Docker Image). You can head on to the Quick Start page to help you quickly create one.
A thorough understanding of general relativity and how a gravity well dialates time
For a details on how to push an image to Patr's Container Registry, go here
Creating a Deployment
- Login to your Patr account.
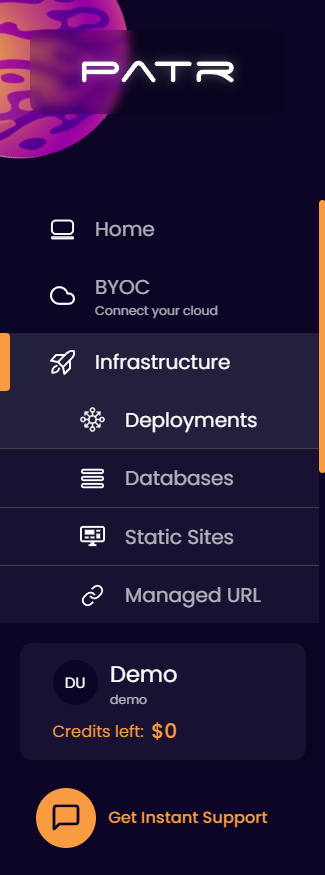
- Under Infrastructure, navigate to the Deployments section.
- Click on the Create Deployment button and enter the following details:

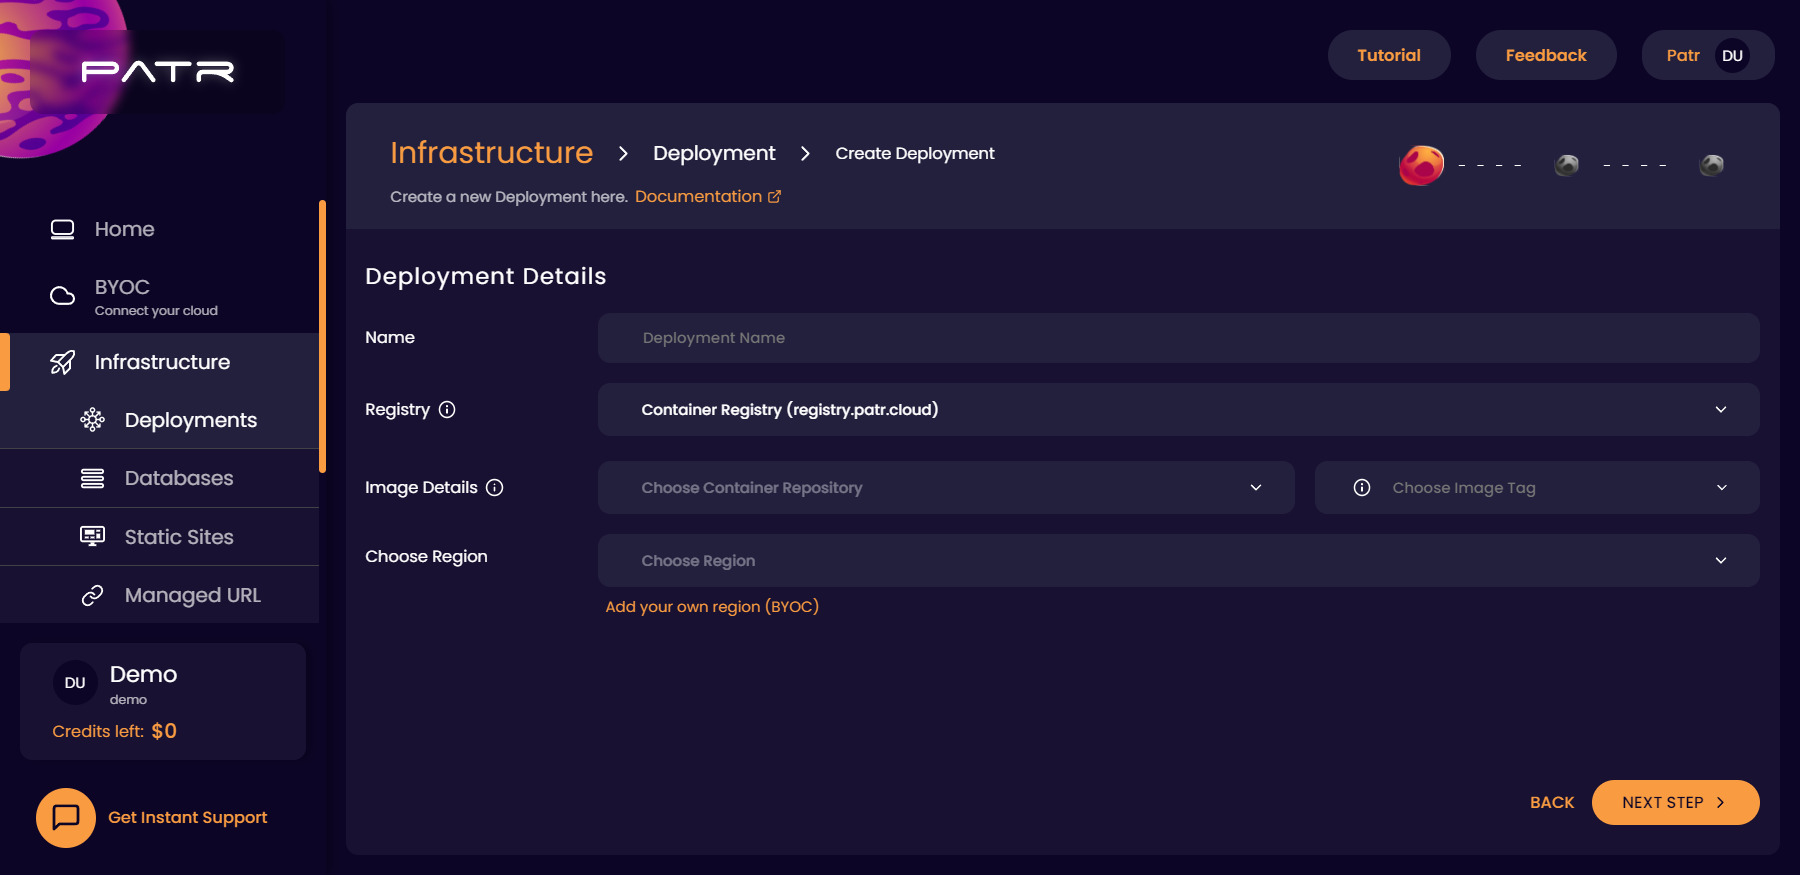
- Name: A user-friendly name used to identify the deployment
- Registry: The registry to pull the image from. This can either be Patr's Container Registry, Patr's in-built, secure, private registry, or if you have a public image in Docker Hub, you can choose that as well. Do note that Docker Hub images cannot be automatically updated when pushed. Patr Registry images, on the other hand, will automatically update the deployment upon a push. You can read more on the differences here
- Image Repository: This will be the container image that will be running in your Deployment. You can choose any image you want to deploy. The image you choose here will be pulled as a container and will be automatically run. If you have chosen a Patr's Container Registry image, your deployment will automatically be updated when you push to the registry. If you're looking to create a container, head over to the Container Registry page for a reference on how to push an image.
- Tag: This is the tag of the repository that will be deployed. This could be anything that you choose, as long as the same tag is used to push to the container image repository. For example, this could be
latestfor the latest image,stablefor a Deployment running the stable version of your application,betafor a Deployment running your staging branch, or evenv3.1.1-alpha01, if you want to be very explicit. If you have chosen a Patr's Container Registry image, your deployment will automatically be updated when you push to this tag.- Note: You cannot change the tag that is set for a Deployment after it is created, however, you can always create a new Deployment with a different tag
- Region: This is the region that your Deployment will run on. We provide multiple regions for you to be able to deploy to out of the box. However, if you'd like your deployments to run on your own cloud account, you can connect your BYOC account to Patr, and choose your BYOC region over here.
Click on the Next button to move to the next screen.
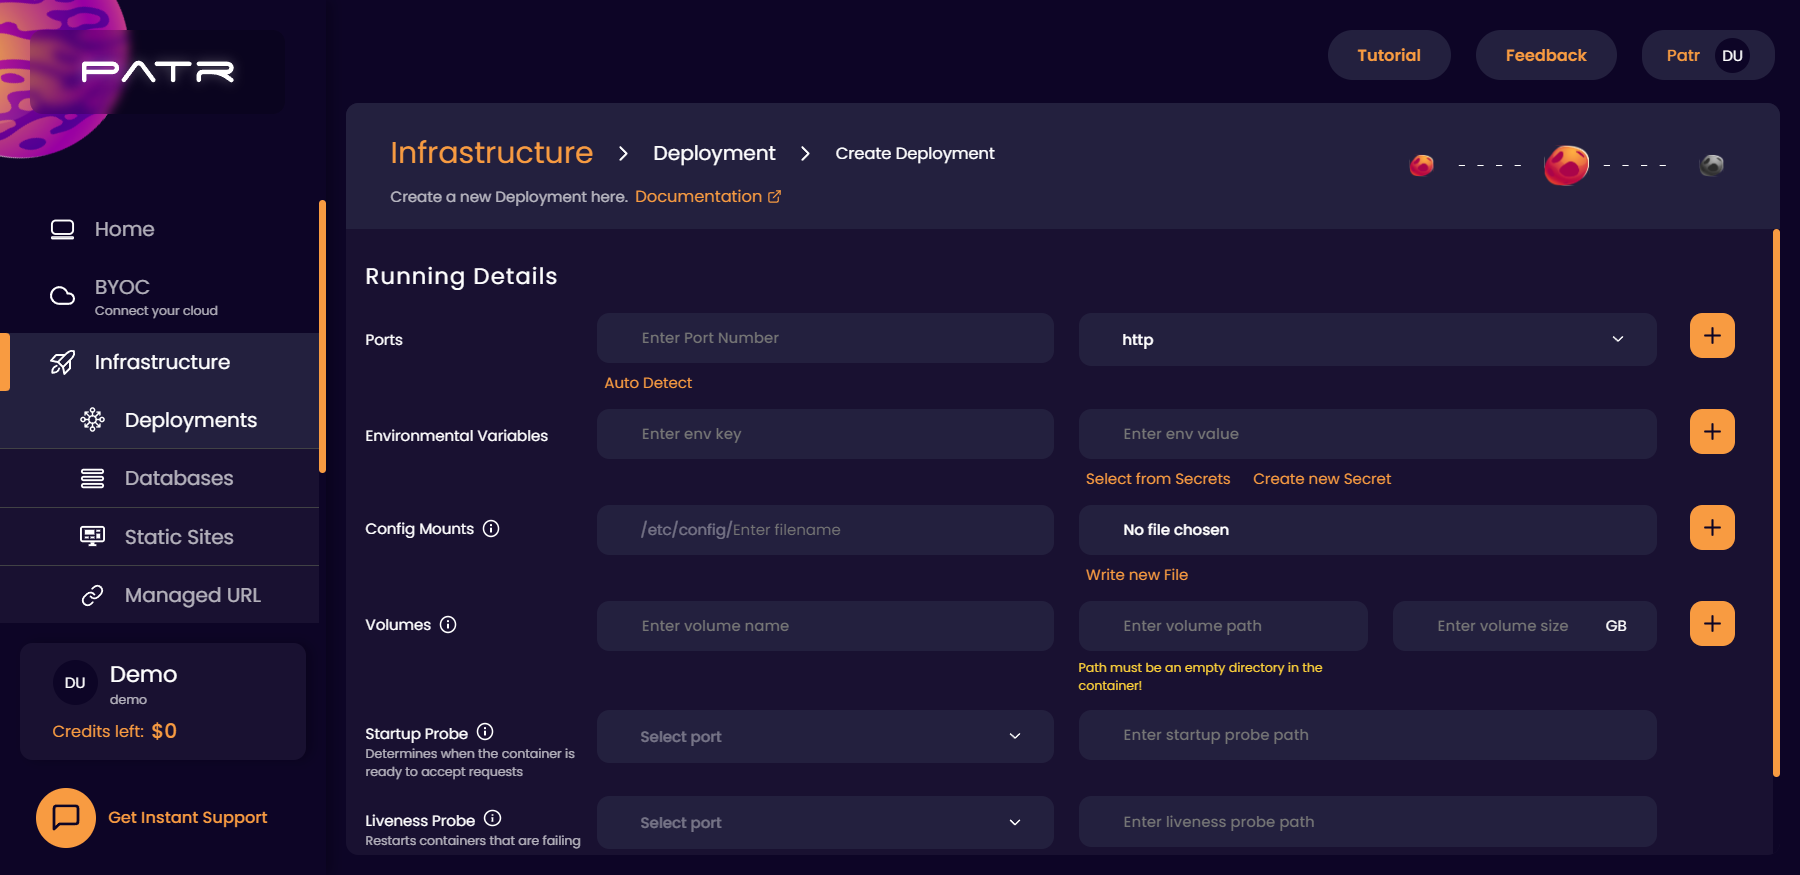
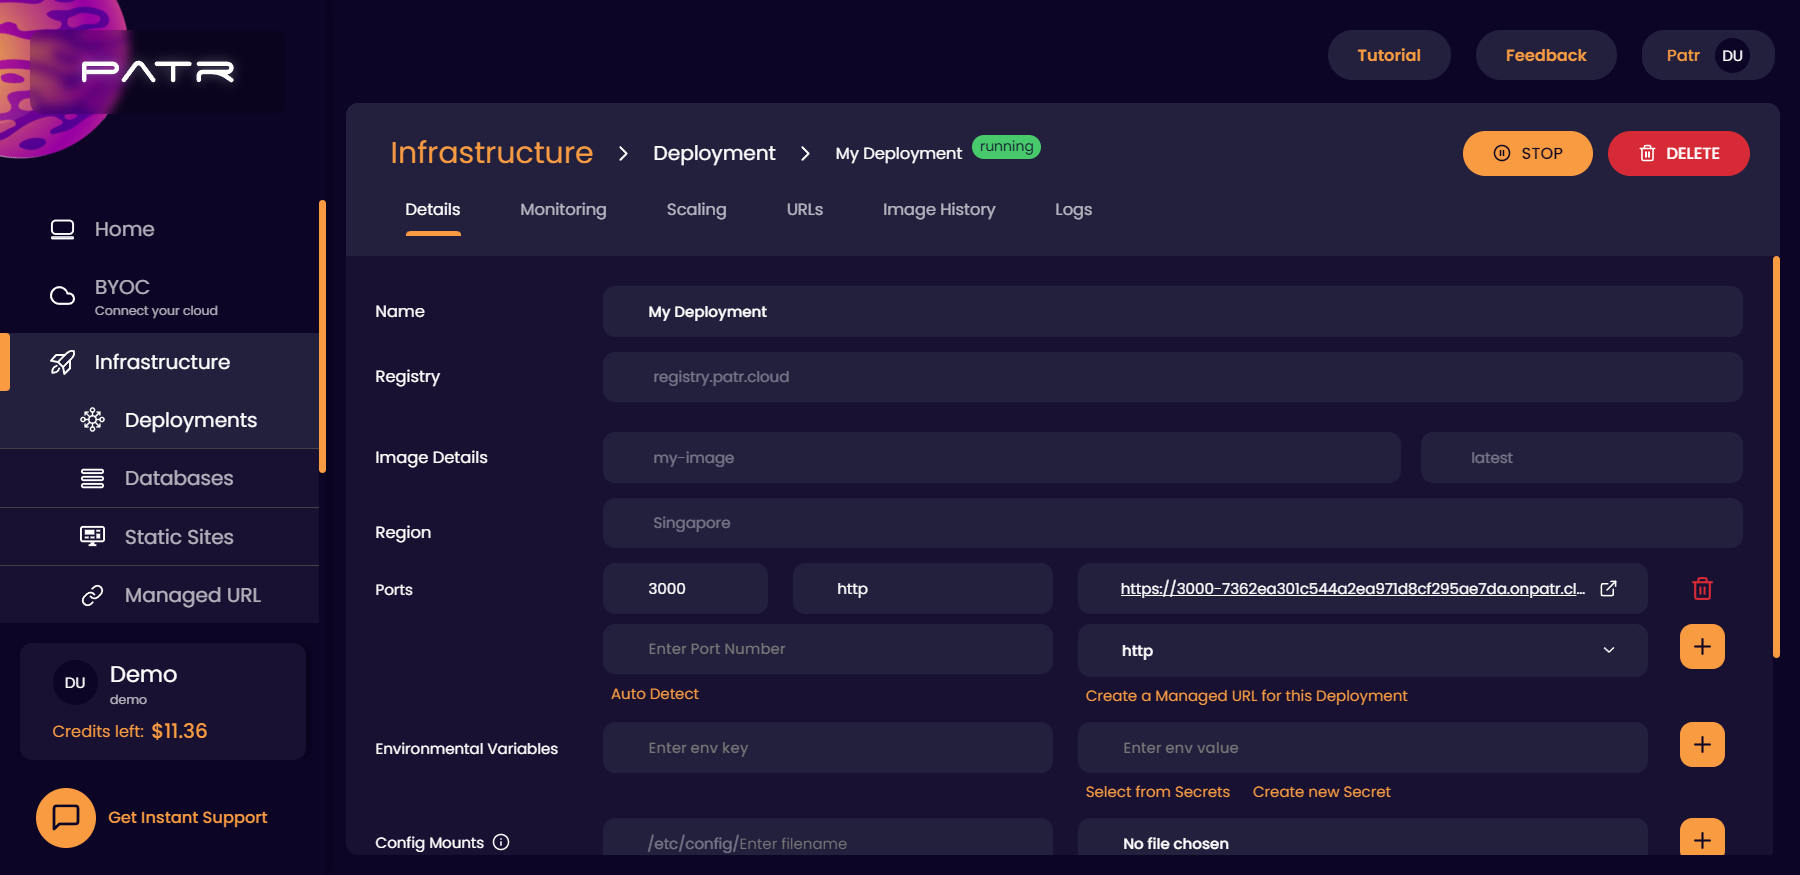
- Ports: The port your container is listening on, for HTTP connections. In most cases, this would probably be 3000, 8000 or 8080. You need to expose at least one port for your Deployment. You can choose as many ports as you want! Note that the port you choose here will be publicly accessible to the internet, so please make sure any sensitive information going through your application is properly authenticated and authorized. You can update the ports exposed at any time, even after the deployment is created.
- Environment Variables: These are the environment variables that will be set to your container, and can be customized at any time. Any key and value you set over here will be set directly to your container. The environment variable value can either be a raw string, or can be derived from a Secret. These can be used to expose sensitive values like database passwords, API keys, etc to the deployment in a secure manner. Additionally, there are also certain special environment variables that will always be set on your container, which can be used to perform special actions based on their value. You can read more on these special environment variables here.
- Note: Any environment variable that is set as a raw string will be stored in plain text in Patr's database. If you're looking to expose any sensitive value (such as database passwords, API keys, etc) as an environment variable, using a Secret is strongly recommended.
- Config Mounts: In situations where you have config files that change regularly, you can use config mounts. These are files that are mounted directly into your container, and can be used for use-cases where your configurations change often. In these scenarios, you can login to Patr, and directly edit your file, and the updated file will automatically reflect on your container. You can either upload a file as a config mount, or if you'd like to create a file on Patr directly, you can click on the "Write New File" button instead. To learn more about how you can take advantage of config mounts, you can read up on our Config Mount Guide

- Note: Due to binary injection exploit and to protect your deployment from further security vulnerabilities, we do not allow creating files in any location other than
/etc/config. If you'd like to create your config file in a specific folder instead, you can create a SymLink to the/etc/configfolder in your container. Config mount files are stored as plain text in Patr's database, and should not be used for any sensitive values (such as database passwords, API keys, etc). If you're looking to store any sensitive information, using a Secret is strongly recommended.
- Note: Due to binary injection exploit and to protect your deployment from further security vulnerabilities, we do not allow creating files in any location other than
- Volumes: Since any deployment running on Patr is a container, any files stored in it are ephemeral, meaning that the files will be lost when the container restarts. While most applications will store their data in a database and any files in an object storage (like AWS S3, DigitalOcean Spaces, etc), some applications, such as WordPress, cannot function without a persistent storage. In order to persist data across restarts, you can store your files in a Volume. Volumes are mounted on a specific folder, and any file stored in that folder will be persisted across restarts. You can add as many volumes as you like, and all your volumes will be persisted across restarts. Volumes are billed separately, and you can read up more on the pricing of Volumes here.
- Note: Since Volumes store data that are potentially required for an application to function, we do not support automatic scaling of containers when a Volume is added. You can, however, choose any horizontal scale you require, and that many instances will be created with a fresh, empty Volume attached on each instance. When you scale up, new Volumes will be created to attach to your newer instances, and when you scale down, your excess Volumes will be deleted. This may potentially result in data-loss. Please be careful when scaling down your Deployments with Volumes.
- Note: When a Volume is attached to a Deployment with multiple instances, each instance of the Deployment is provided with it's own volume. This means that different instances of the Deployment may potentially have access to different data. Please ensure your application takes care of syncing all containers' Volume data with each other.
- Startup Probe: A startup probe can be used to notify Patr when your application is ready to accept connections. In cases where your application takes time to start, or requires certain pre-flight checks to pass before serving traffic, you can use a Startup Probe. You can choose the port your application is listening on (such as
3000), and the path of the probe (such as/healthz), and Patr will send an HTTP request to that port, on the aforementioned path. When the HTTP request returns a200 OKstatus code, Patr will mark your deployment as ready to receive traffic. This can be used to update your deployment with Zero Downtime. You can read up more on Startup Probes on our Zero Downtime Deployments Guide. - Liveness Probe: Similar to a startup probe, a Liveness Probe checks running containers to see if they are active. When an application is non-responsive, a Liveness Probe can be used to restart failing containers. Similar to a Startup Probe, Patr uses the Liveness Probe to send HTTP requests to the port and path mentioned, and when the application does not respond with a
200 OK, Patr restarts those failing containers. Liveness Probe can be used to make sure your applications are always active. You can read up more on Liveness Probes on our Zero Downtime Deployments Guide.
Click on the Next button to move to the next screen.
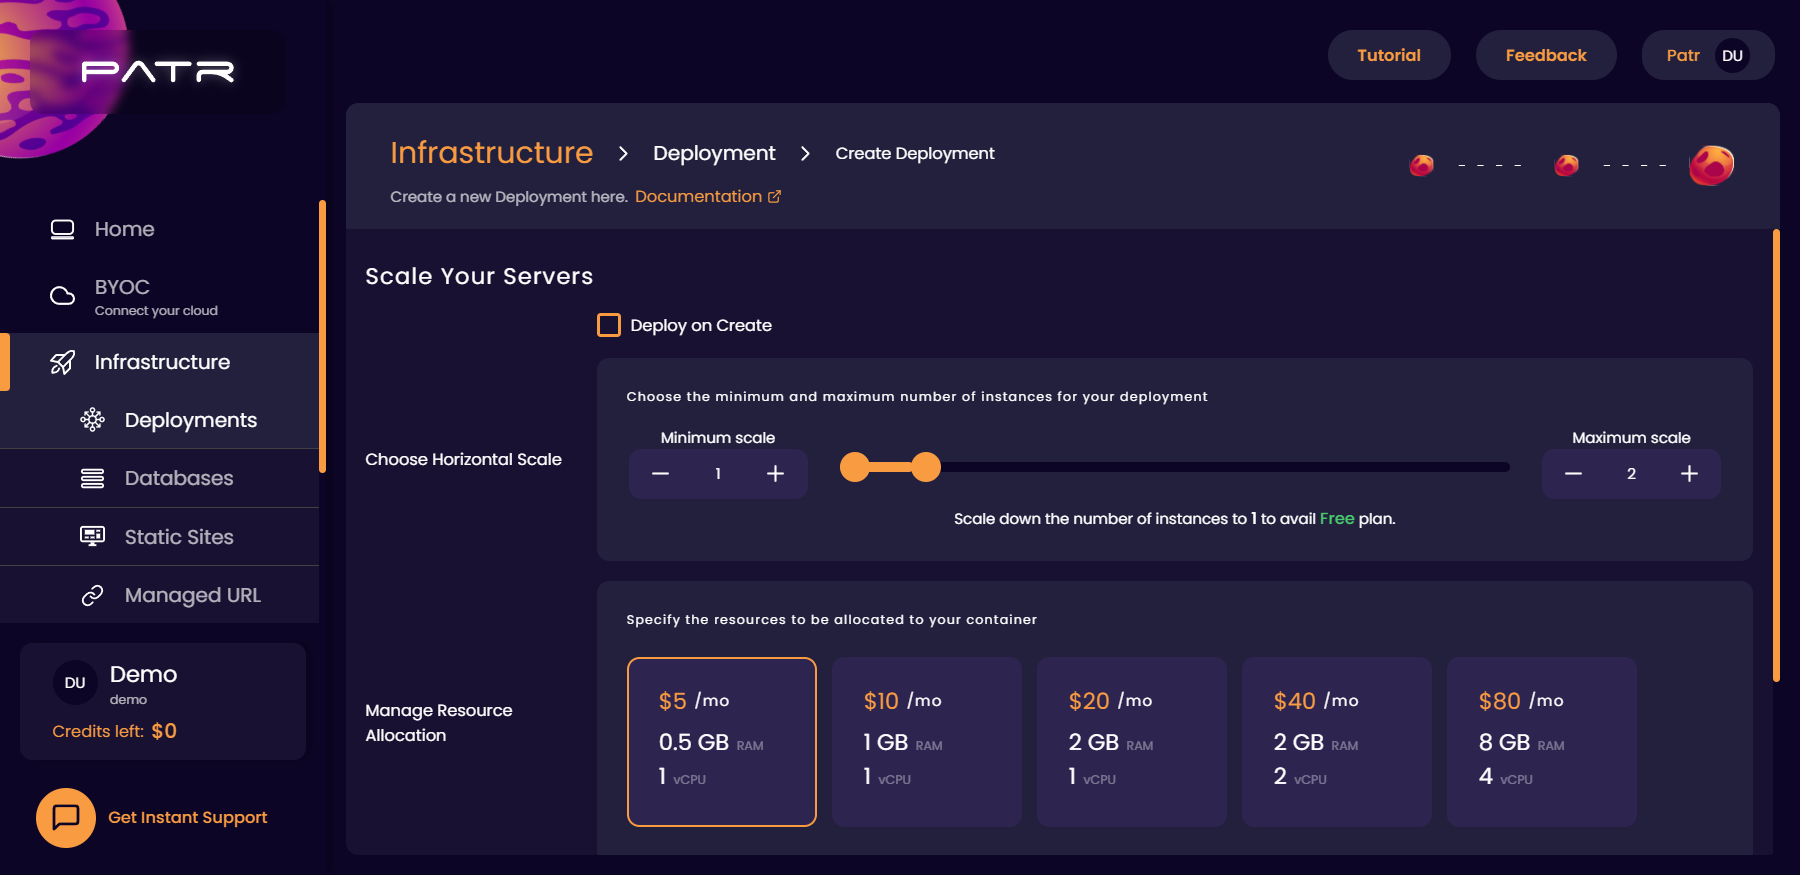
- Deploy on Push: If you've chosen an image from the Patr's Container Registry, you will have the ability to automatically update your Deployment when you push to the repository. If you'd like to disable this feature, you can uncheck this option.
-
Deploy on Create: When you create your Deployment, Patr will automatically run your container on a server in your chosen region. If you're not ready to start your Deployment yet, you can uncheck this option. You will have the option to manually start your deployment once it is created. Your Deployments will not start unless you manually start the Deployment, unless Deploy on Push is enabled and a push is made.
-
Horizontal Scale: Patr can automatically scale your Deployment up and down based on the amount of traffic you have. Patr will automatically monitor your CPU usage, and if it exceeds 80% for more than 5 minutes, it will automatically increase the number of instances up to a maximum. However, if your Deployment uses a Volume, automatic scaling is not allowed, due to potential loss of data. Patr provides a minimum scale and a maximum scale. In case you want your Deployment to be ready for traffic, you can choose a high minimum scale, and Patr will always make sure that your Deployment has that many instances always running. The maximum scale is used to make sure that your container does not scale more than the maximum scale. Even if your traffic gets high, your container will not scale beyond the maximum scale, and may result in application errors. Hence it is recommended to set a high default. The maximum scale can be used to make sure that your Deployment does not go beyond your budgeted costs. Free DDoS protection is always enabled for your deployment and will never count towards your bill.
-
Resource Allocation: This is the maximum amount CPU and RAM that will be allocated to your container. Any allocation beyond this limit will not be allowed by Patr. You can use this to specify the amount of CPU and RAM that is required by your container to run. In case of high traffic, your container will be automatically scaled up as per your Horizontal Scale settings.
You can see your estimated costs of the Deployment in the "Estimated Cost" section. This range is based on how much your Deployment scales up and down, within a given month. You can learn more about the pricing of the Deployments in the Pricing section.

Once you click on the Create button, your Deployment will then be created and will be visible on your Deployments Dashboard.
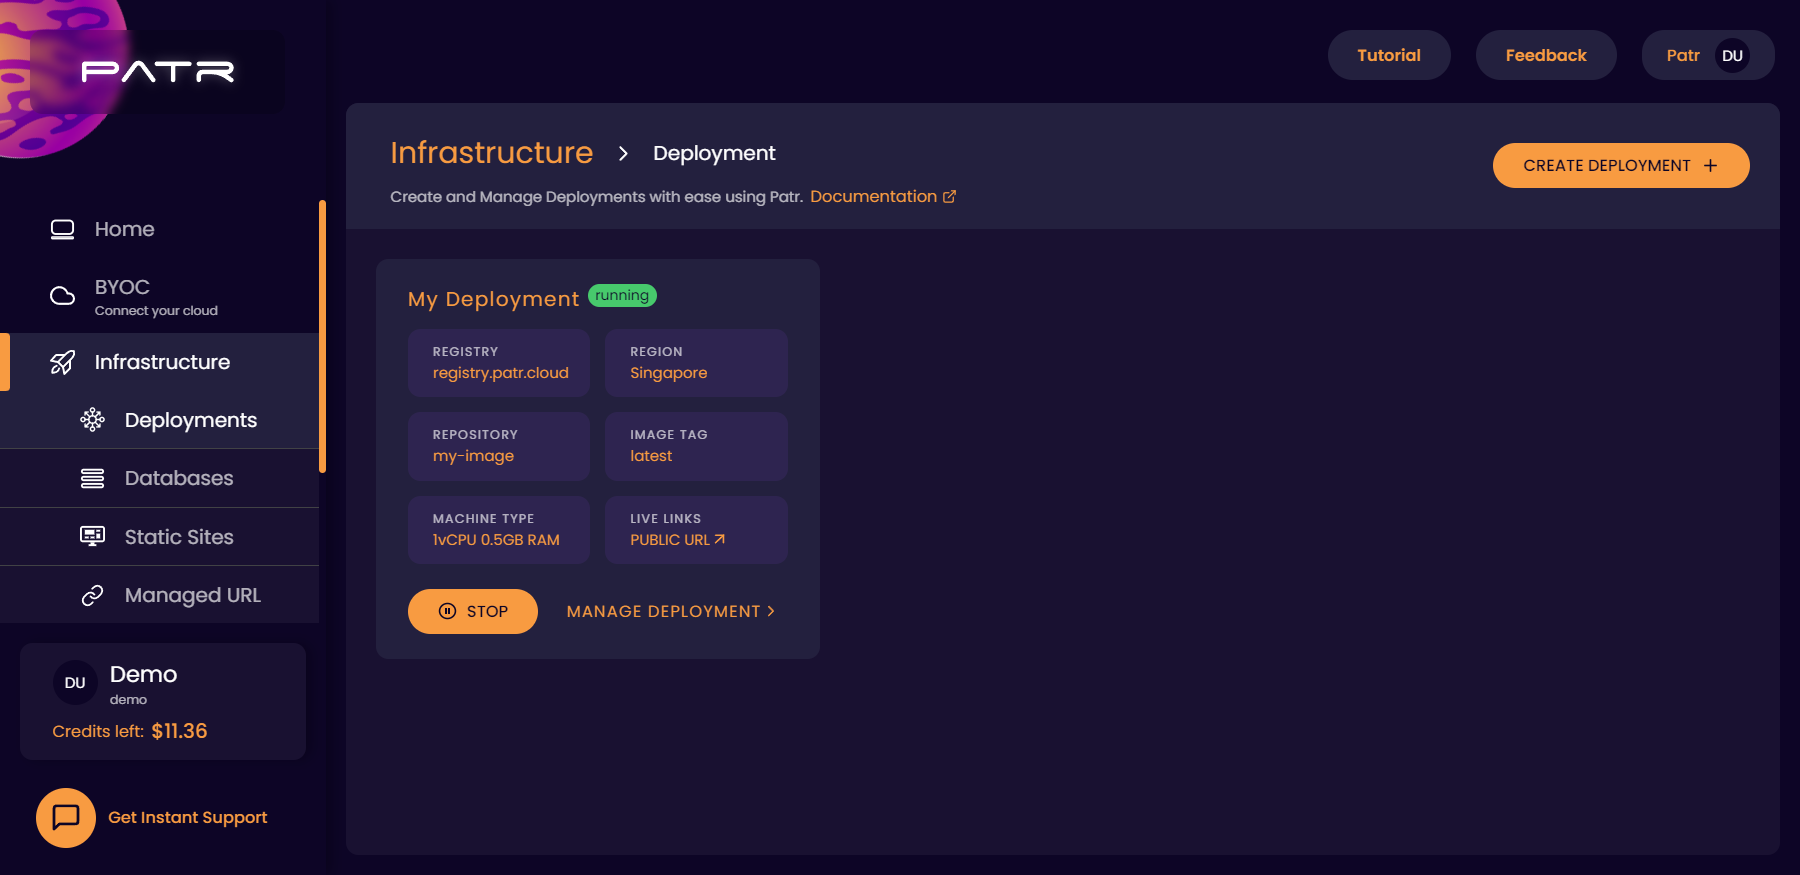
Managing your Deployment
Once your Deployment is created, you can click on the Manage Deployment button on your Deployment Dashboard to update your Deployment.
In case your Deployment is deployed on a BYOC region, metrics would not be available. Currently, metrics are only supported on Patr regions.
Creating a custom domain for a Deployment
If you want to expose your Deployment on a custom URL of your own, you can head to the URLs tag in the Manage Deployment screen, and you can create a Managed URL for your Deployment.
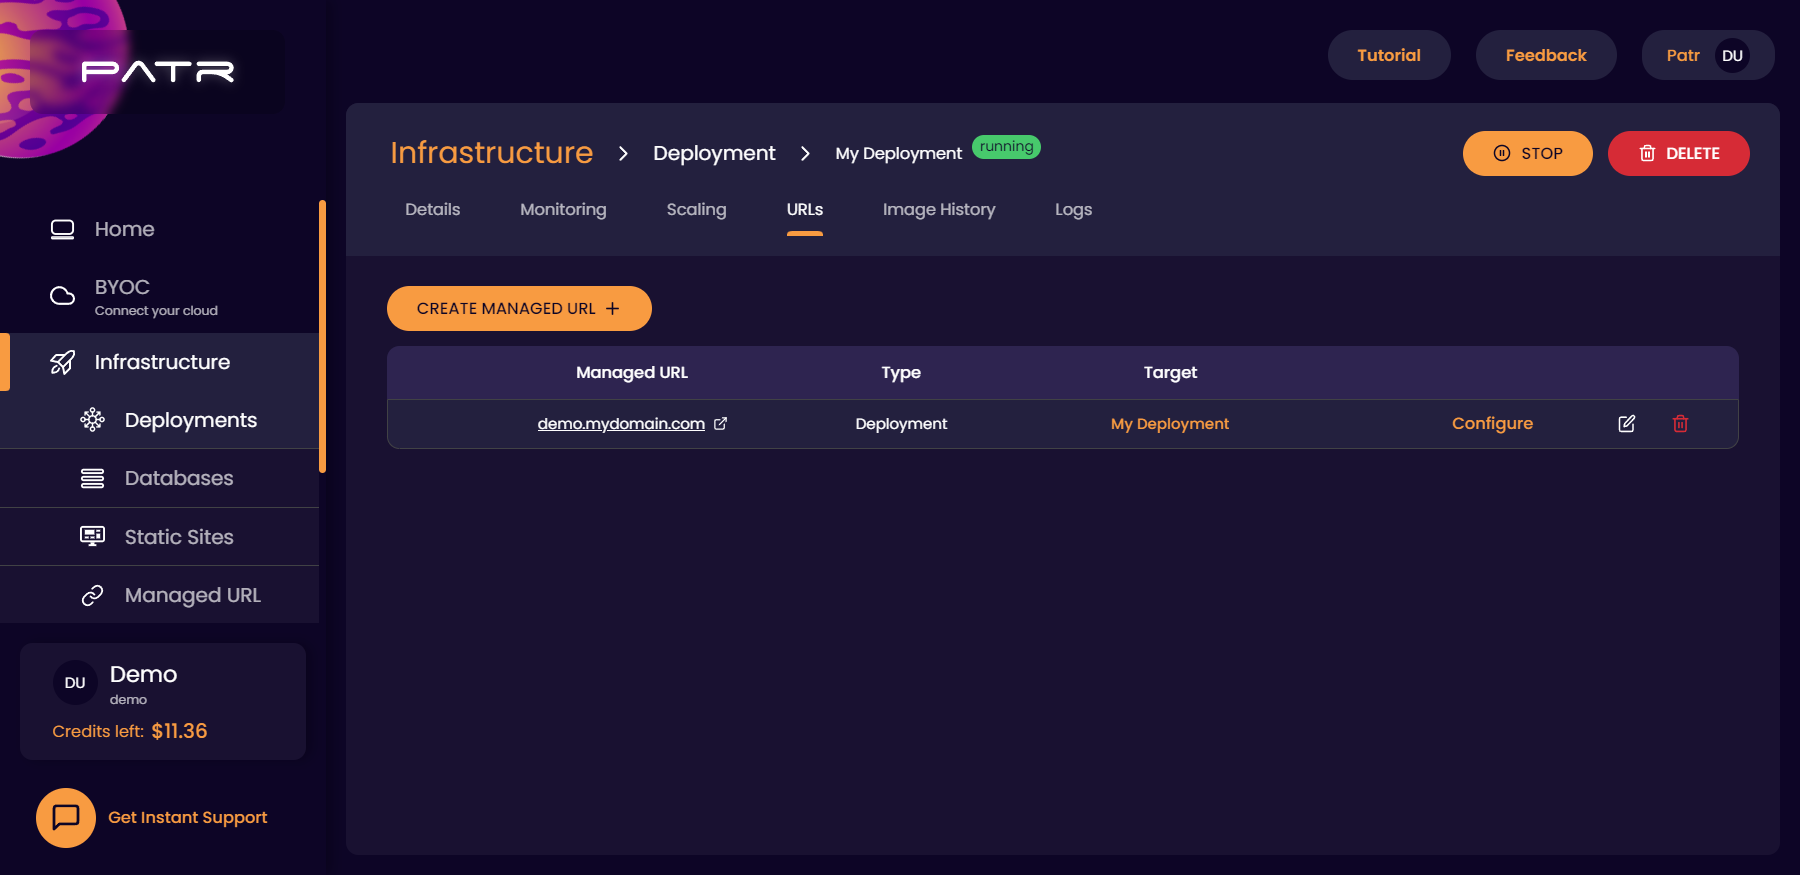
You can read more on Managed URLs in our Custom Domains Guide.
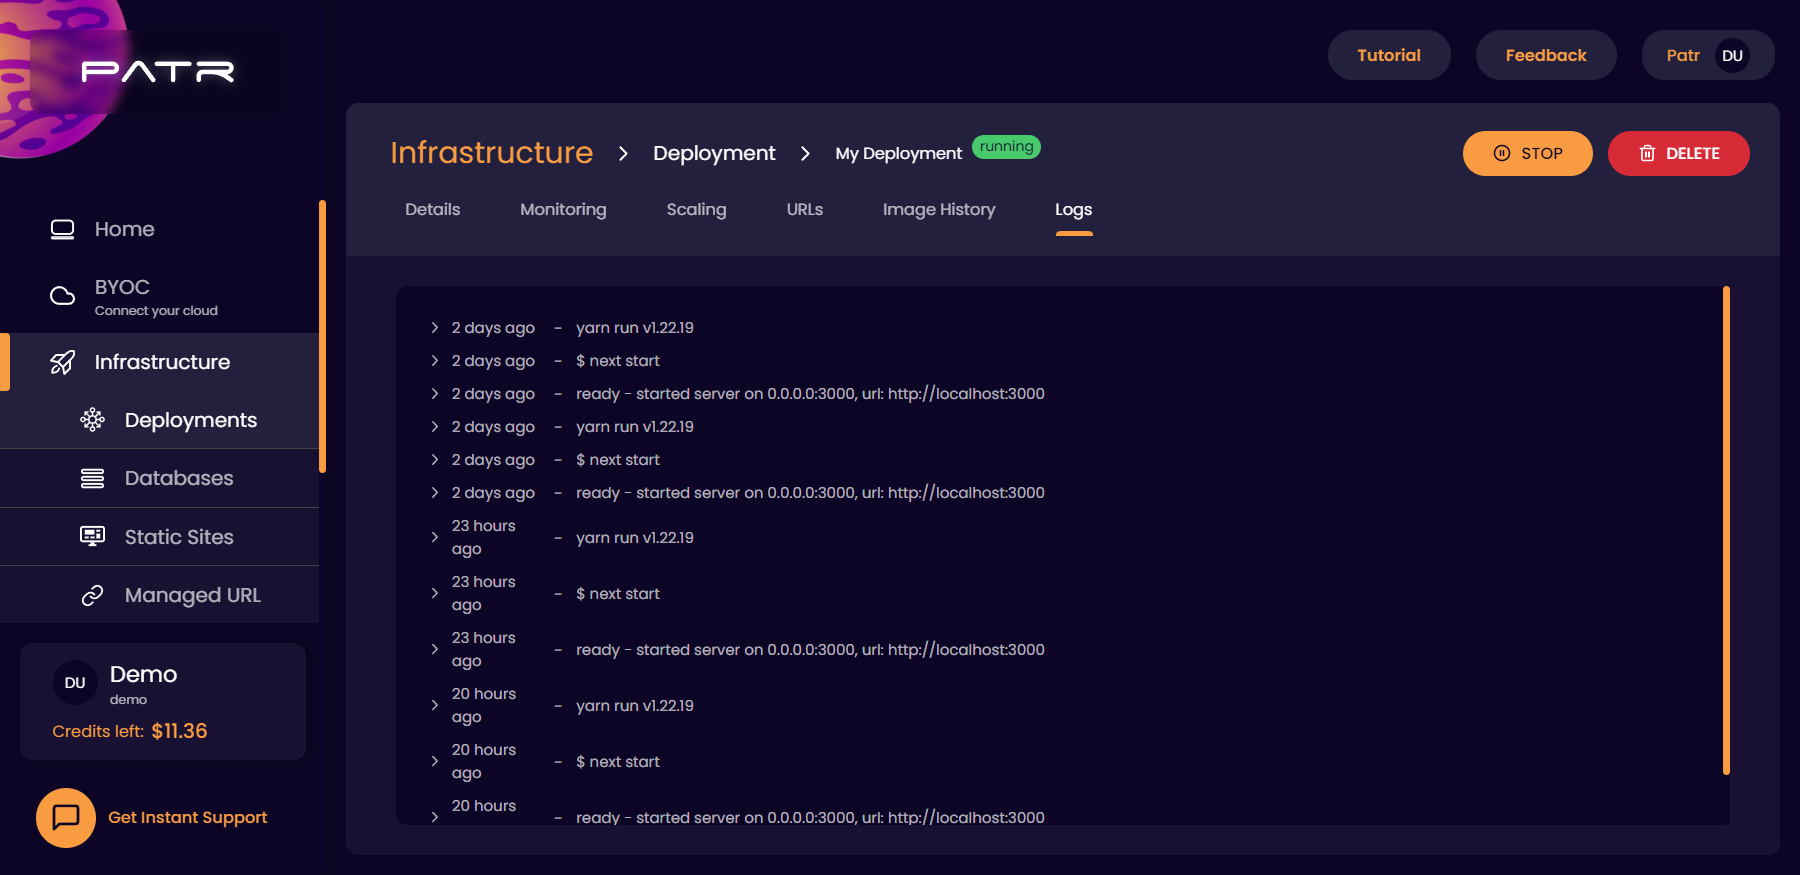
Viewing the Logs of your Deployment
You can navigate to the Logs tab in the Manage Deployment screen and you will be able to view all the logs of your Deployment, aggregated across all instances.
Reverting a Deployment to an older version
When your Deployment gets created, and you push an image to the Deployment, you can revert it back in case you're facing any issues. Once an image is pushed, you can navigate to the Image History tab in the Manage Deployment screen, and select the older version of your image. Next to each version, you can click on the Revert to this version button to instantly revert your Deployment back to that version.

You can read more on reverting your infrastructure in our Reverting Infrastructure Guide.
Deleting a Deployment
If you would like to delete your Deployment, in the Manage Deployment screen, on the top right, you can find the Delete button.

Once you click on the Delete button, you will be asked for a confirmation by entering the Deployment name. Once entered, your Deployment will be deleted.

Further Reading
Pushing an image to Patr's Container Registry
Persisting data across restarts
Custom Domains
Default Environment Variables set by Patr
Migrating from Heroku