Deploying a database
Any application/API that you host will probably require a database to store data. To simplify the process of managing a database, we offer a managed database service that helps you host your databases. The following steps will guide you through the process of deploying a database:
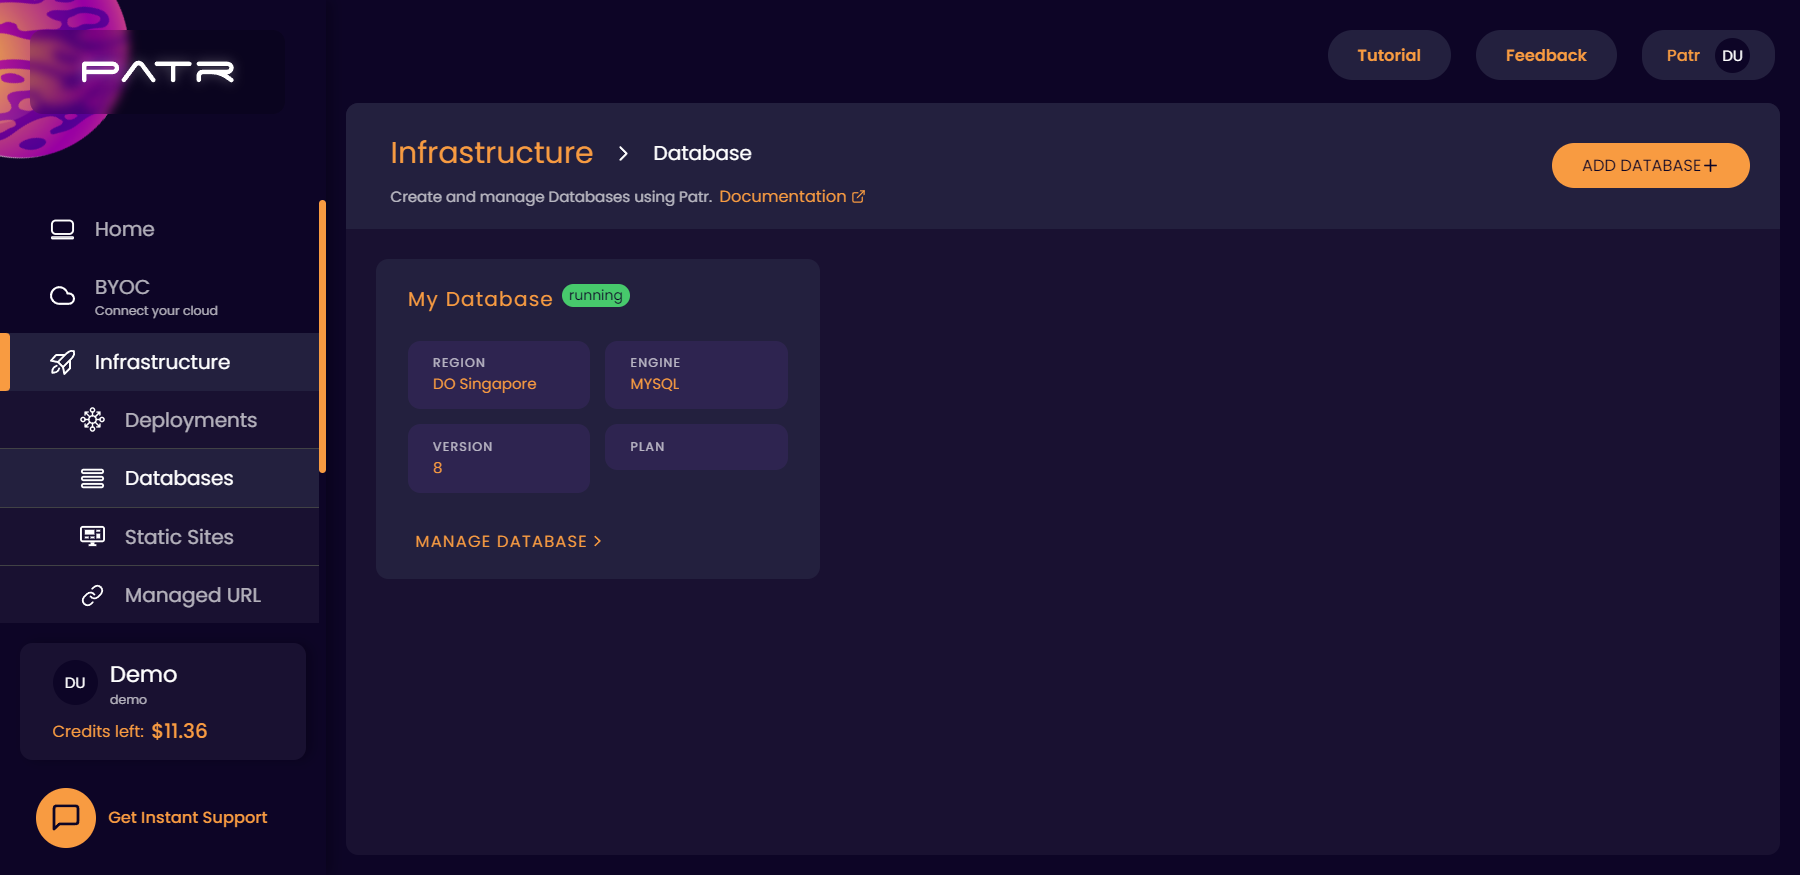
Step 1: Create a database
Navigate to the Databases tab, and click on Add Database.

Fill in the following fields accordingly:
- Name: The name of your database. This is something you would use to identify the database on Patr for your internal purposes.
- Database Name: This is the name of the database that actually gets created when you connect to the database server.
- Database Type: This is the type of database that you want to create. As of now, we only support MySQL and PostgreSQL.
- Managed Database Plans: These are the specifications of the database that you want to provision. Due to restrictions from cloud providers, we provide different plans depending on the cloud provider that you pick. In the future, we will normalize this across all cloud providers and provide you with a single, unified plan for all of them.
- Region: This is the region that your database will be hosted in. Ensure you select a region from the same cloud provider as you selected a plan from.
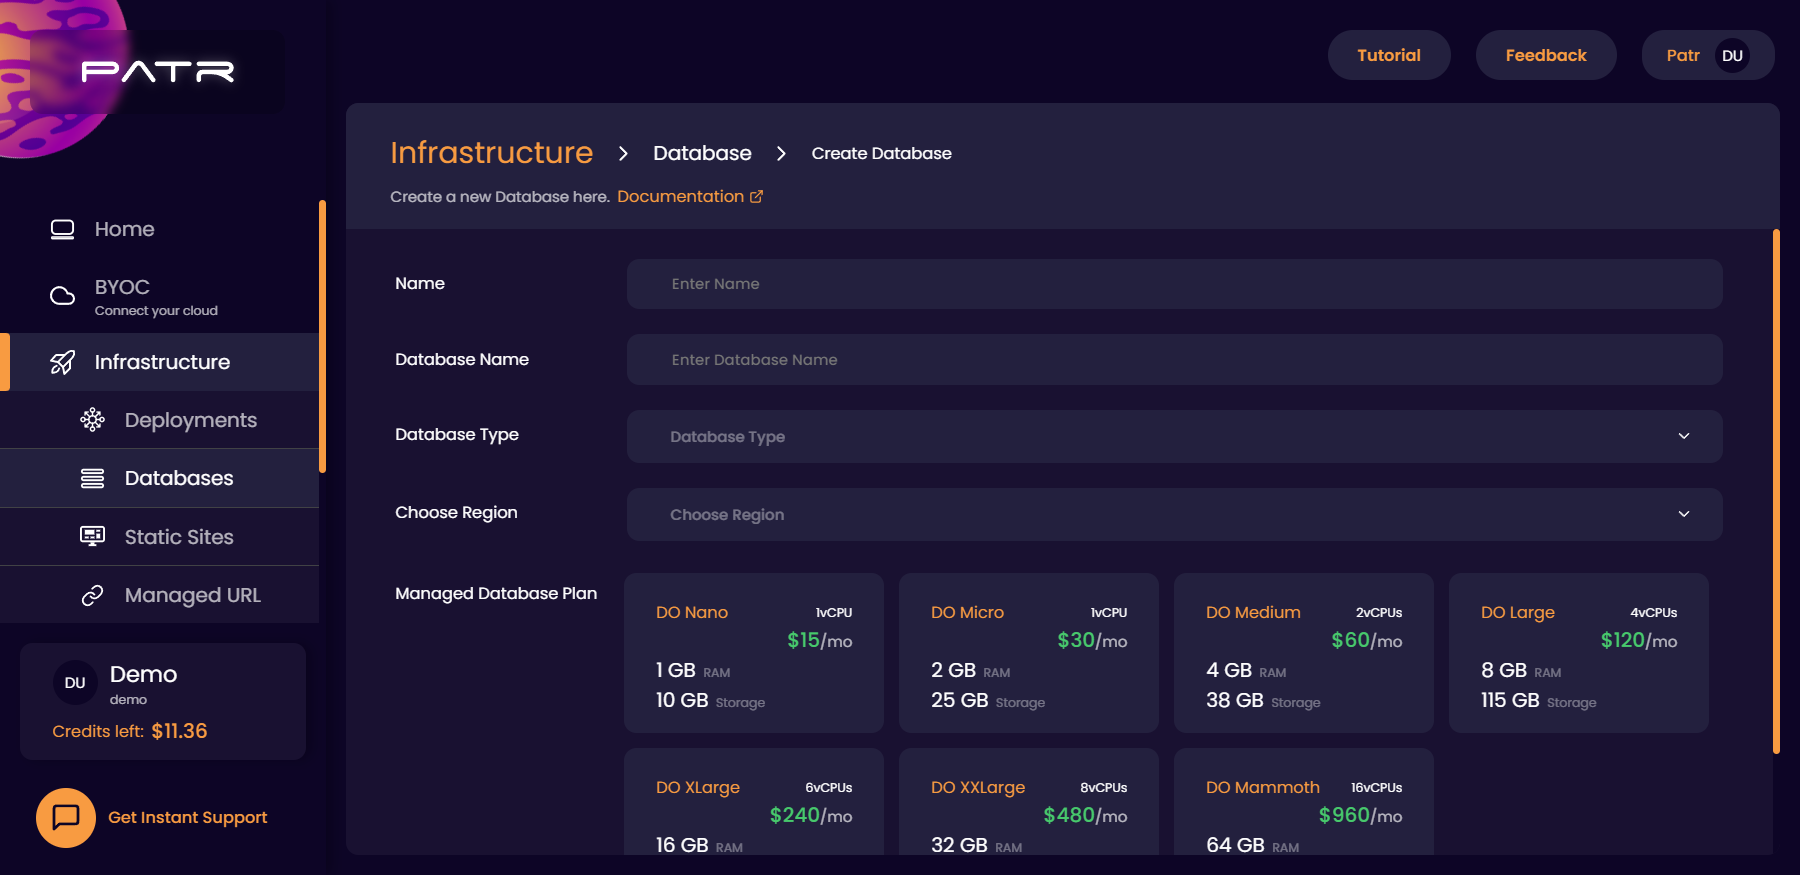
Click on Create Database.
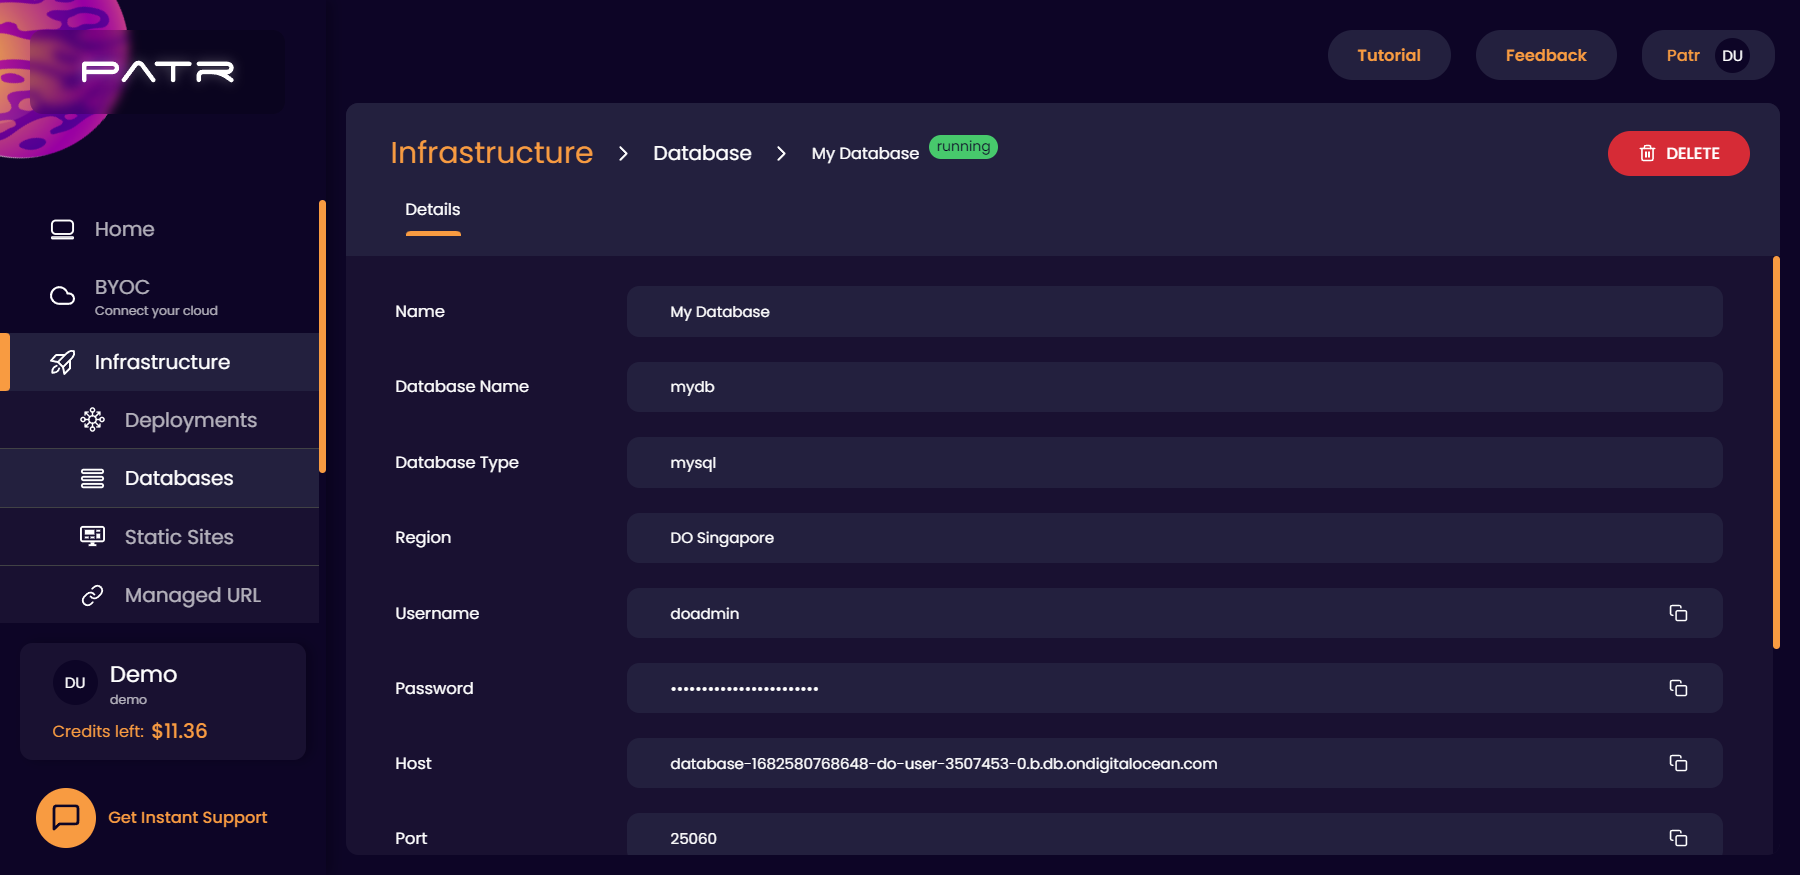
Step 2: Credentials
Once a database is created, Patr will automatically start to provision your database. You can click on Manage Database to check its status.
Once your database is provisioned, you will be able to see the credentials that you need, to connect to your database. You can use these credentials on your application to connect to the database.