Creating a Managed URL
What is a Managed URL?
Managed URLs is a feature in Patr that allows you to easily manage and redirect your site's URLs. With Managed URLs, you can:
- Create redirects: Redirect one URL to another URL. Useful if you change the URL of a page or if you want to redirect users from an old URL to a new one.
- Proxy URLs: Route traffic from one URL to another, useful if you want to point a subdomain to another website or to a specific deployment or static site on Patr.
- Connect to deployments or static sites: Easily connect your deployments or static sites to a custom domain or subdomain using the Managed URLs feature.
Creating a Managed URL
Prerequisites: What you'll need
- A Patr account (You can sign up for one here)
- A domain added and verified in your Patr account. Adding a Domain to Patr
In order to create a Managed URL, navigate to Infrastructure in the side navigation, and click on Managed URLs.
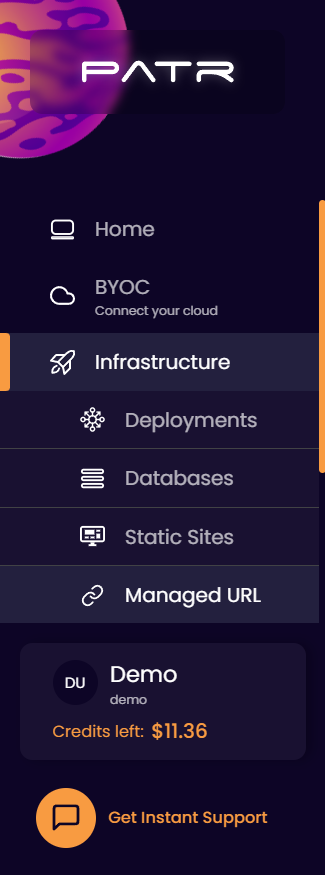
On the Managed URLs screen, click on the Create Managed URL button.

In the create Managed URL section, enter the following values:
- Subdomain: The subdomain of the Managed URL you want to create. For example, if you want to create a Managed URL for
https://app.example.com, enterappas the subdomain. If you want your Managed URL to trigger forhttps://example.com(the root domain), then enter@as the subdomain. - Domain: A verified domain that has been added to your account. You can learn more on adding a Domain to Patr here. In the case of
https://app.example.com, chooseexample.comas your domain. - Path: The sub-path to which this Managed URL will respond to. If you want your Managed URL to serve on all paths, you can simply use
/as the default value. This allows you to create multiple Managed URLs for the same hostname with different paths. For example, you can create a Managed URL that serves a Static Site onhttps://app.example.comand a Deployment onhttps://app.example.com/api. Any request beginning with/apiwill then be sent to the Deployment, and all other requests will be sent to the Static Site.
The Type of the Managed URL we create will depend on what we want the Managed URL to do. More on that below.
Creating a Managed URL to a Deployment
If you want your Managed URL to point to a Deployment, you can create a Managed URL, and set the Type as Deployment, and choose the Deployment and Port you want to point your Managed URL to. Any requests that are then sent to the Managed URL will then be forwarded to your Deployment.
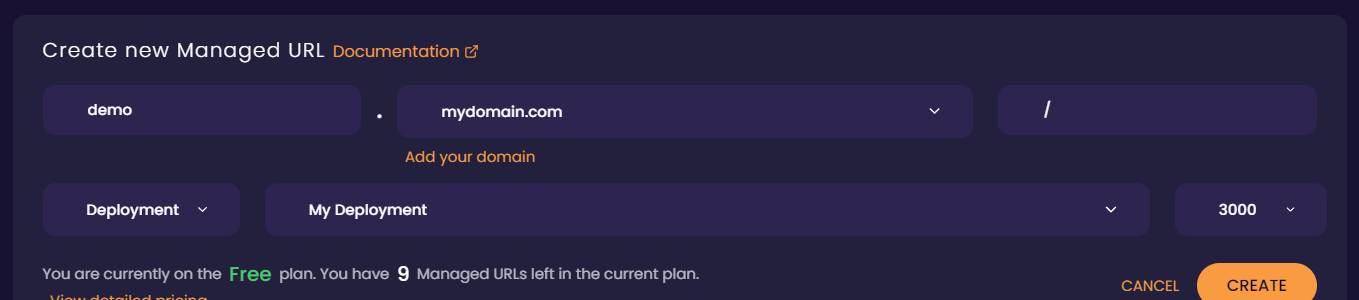
If your Managed URL has a path as /api pointing to a Deployment, for example, any requests that begin with /api will trigger the Managed URL, and will subsequently be forwarded to the Deployment along with the full path (including the /api).
Creating a Managed URL to a Static Site
If you want your Managed URL to point to a Static Site, you can create a Managed URL, and set the Type as Static Site, and choose the Static Site you want to point your Managed URL to. Any requests that are then sent to the Managed URL will then be forwarded to your Static Site.
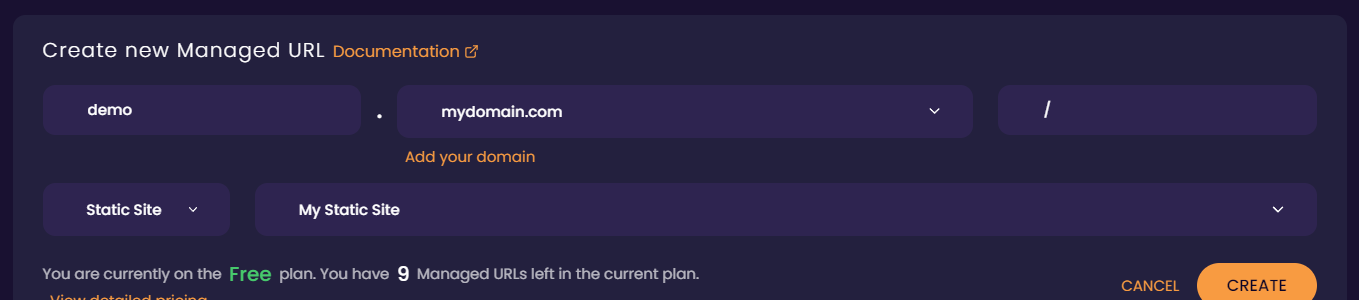
If your Managed URL has a path as /site pointing to a Static Site, for example, any requests that begin with /site will trigger the Managed URL, and will subsequently serve the Static Site, but from the ./site folder within the Static Site.
Creating a Proxy Managed URL
If you want your Managed URL to point to an external website, you can create a Managed URL, and set the Type as Proxy, and choose the external website you want to point your Managed URL to. Any requests that are then sent to the Managed URL will then be forwarded to the external website.
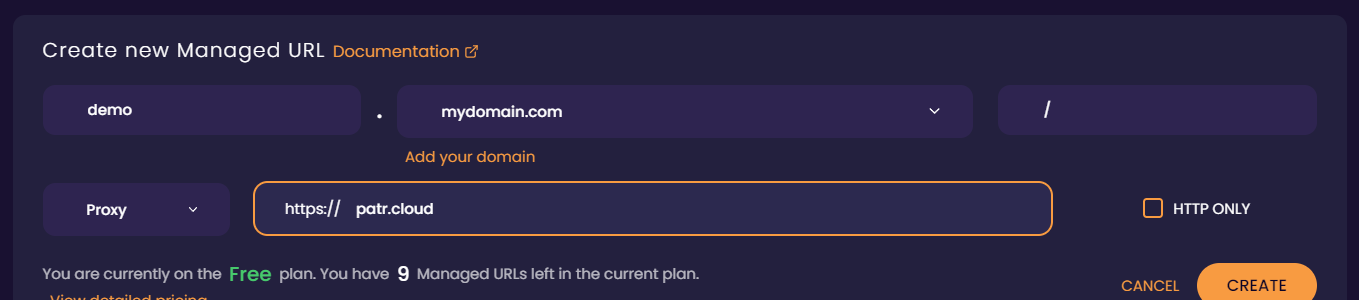
If your Managed URL has a path as /site pointing to an external website (say, https://github.com for example), any requests that begin with /site will trigger the Managed URL, and will subsequently serve the external website (GitHub, in our example), but with the /site prefix. Patr will automatically proxy the HTTPS version of the website. In case you have a legacy application that does not support HTTPS and requires an HTTP request to be made instead, you can select the HTTP Only checkbox.
Creating a Redirect Managed URL
Let's say you want to redirect https://blog.example.com to https://medium.com/example. In order to create a simple redirect, we need to select the Type as redirect, and enter medium.com/example. Patr will automatically redirect you to the HTTPS version of the webpage. In case you have a legacy application that does not support HTTPS and requires to be redirected to an HTTP version, you can select the HTTP Only checkbox.
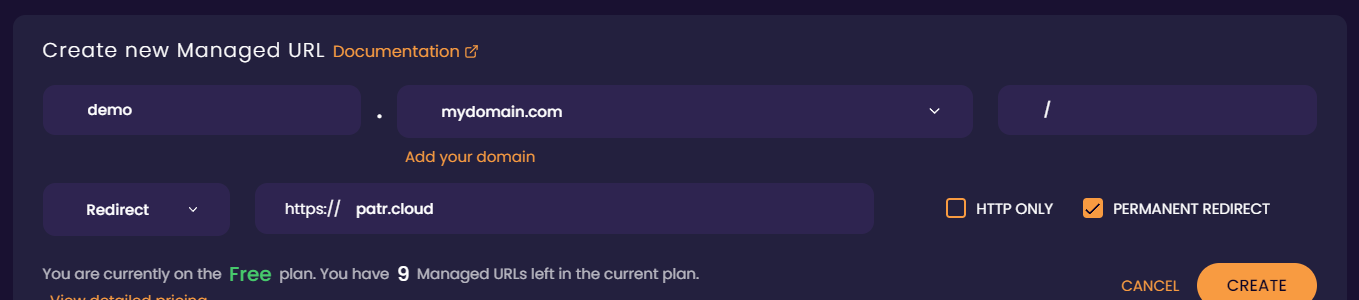
Patr will always redirect you with a HTTP 307 Temporary Redirect. In case you want to use a more permanent redirect, you can select the Permanent Redirect checkbox. This will make your Managed URL redirect with a HTTP 308 Permanent Redirect instead. This is useful for SEO when you want search engines to know that your URL has been permanently moved to a new location. It is also better for performance since browsers will automatically cache permanent redirects and will automatically redirect to the new URL. However, since it might take a long time for browser cache to be invalidated, the default is set to Temporary Redirect, and a Permanent Redirect can be enabled explicitly.
Note: While most Managed URLs are triggered if the request URL begins with the Managed URL's path, for redirects, however, the Managed URL is only triggered when the request path is exactly equal to the Managed URLs path. For example, if a Managed URL is redirecting https://example.com/blog to https://medium.com/example, it will only trigger on requests made to https://example.com/blog and not to https://example.com/blog/first-blog.
Configuring your Managed URL - Pointing your DNS
Once a Managed URL is created, Patr will respond to the Managed URL whenever a request is sent to it. However, in order for Patr to receive requests sent to it, the DNS needs to be pointing to the Managed URL.
Pointing your DNS depends on if your domain's nameservers are hosted by Patr or externally.
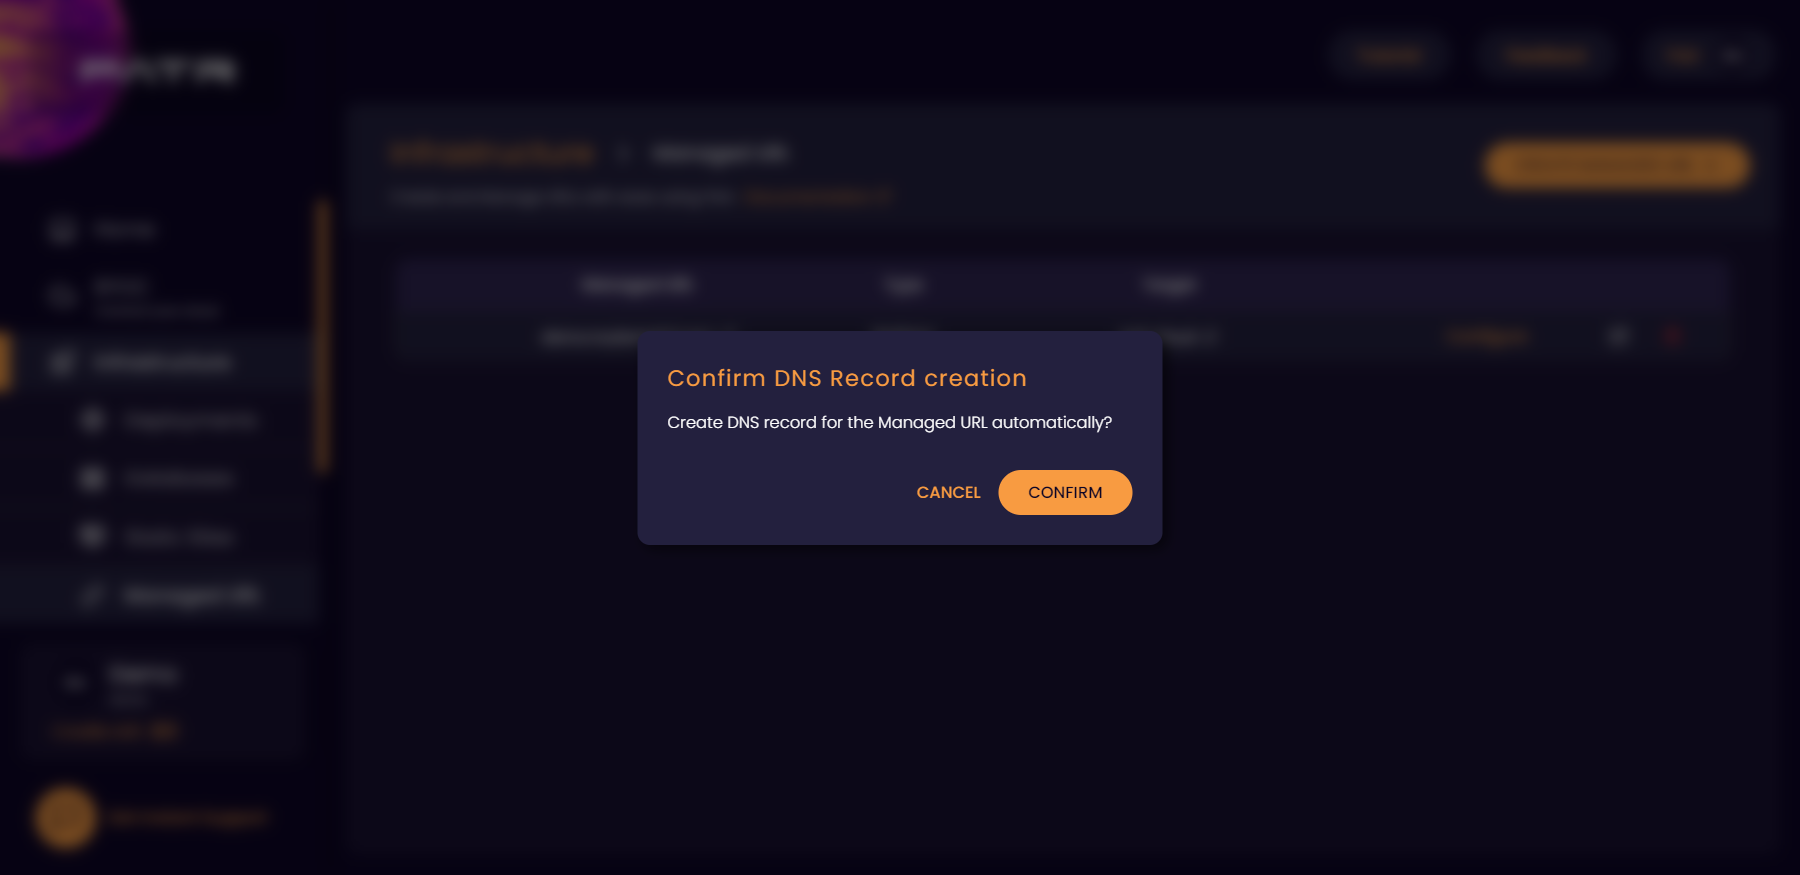
Pointing your DNS for Patr hosted nameservers
If your domain's nameservers are hosted by Patr, you can simply click on the Configure button next to the Managed URL and Patr will automatically create a DNS record for you, and your Managed URL will be running in a few seconds.

Pointing your DNS for external nameservers
If your domain's nameservers are hosted externally, you can click on the Configure button, and you will get instructions on creating the DNS record. Login to your domain registrar (this is usually where you bought the domain from). Select your domain, and add the following DNS record:
| Record Type | Record Name | Record Value | TTL |
|---|---|---|---|
CNAME |
<The subdomain of your Managed URL (or @ for root)> |
ingress.patr.cloud |
Auto (leave at default) |
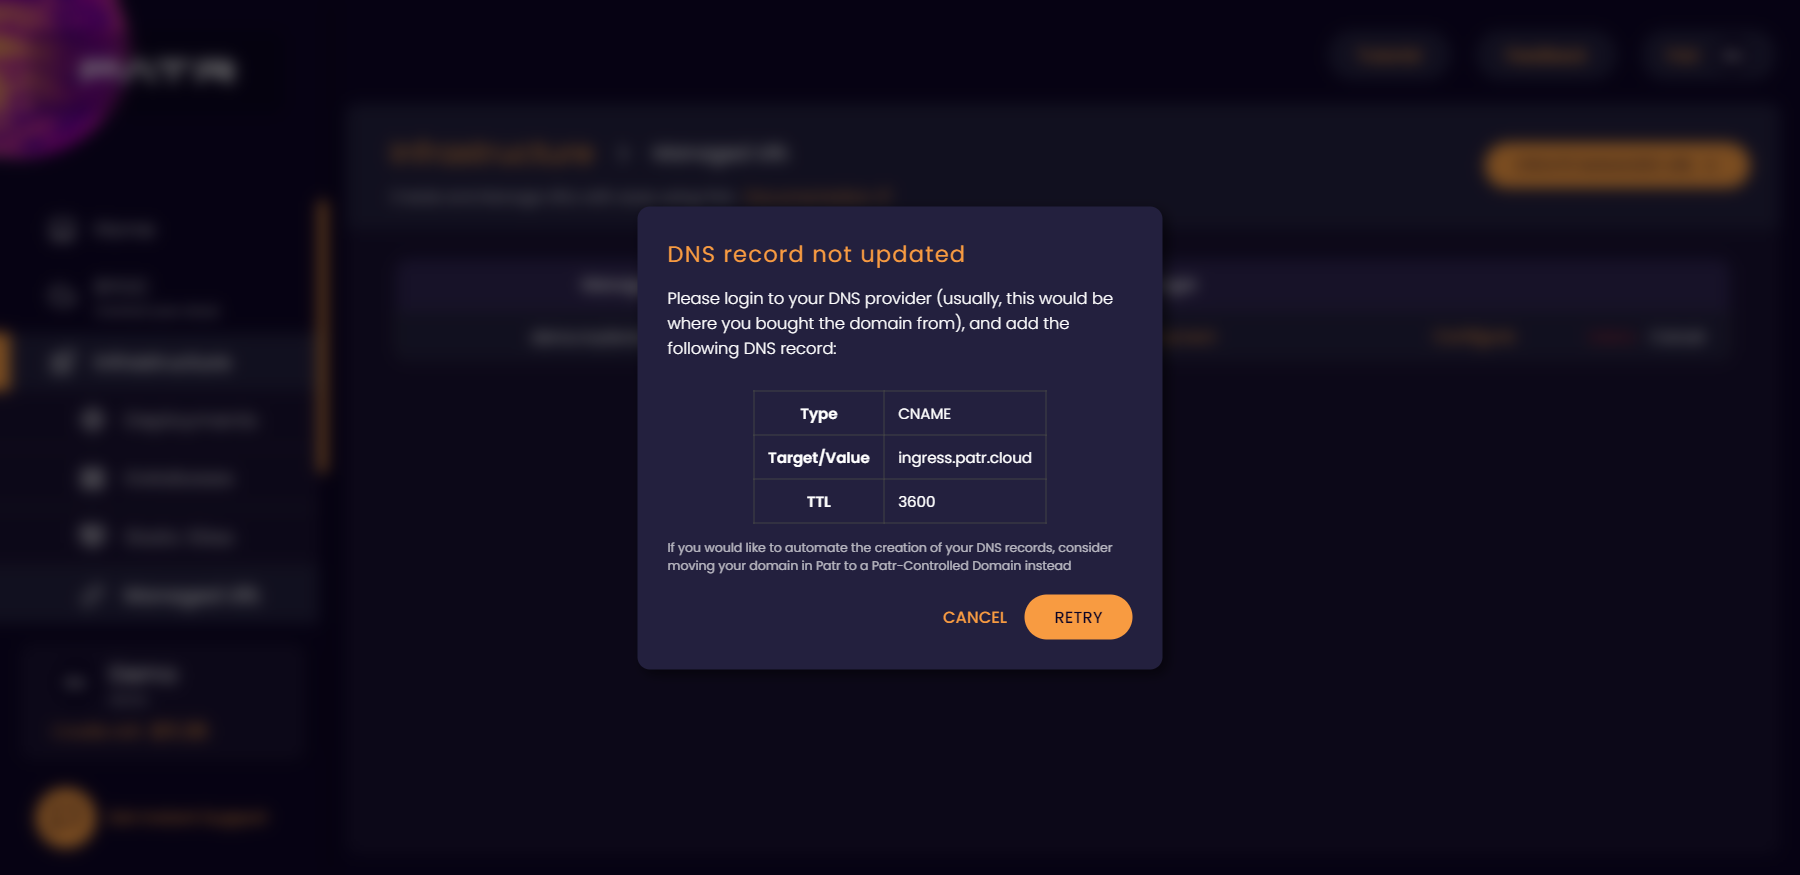
Once the DNS record is added, the Managed URL will become configured within an hour or two.
For instructions on adding DNS records for major domain registrars, see below:
Deleting a Managed URL
Deleting a Managed URL is pretty simple. Just click on the Delete icon next to the Managed URL of your choice.

Once you click on it, the immediate button below your cursor will be the cancel button, and you will have to explicitly move your mouse cursor to the Delete button to delete it, which would prevent you from accidentally double-clicking on the delete button and losing your Managed URL. "That's such a small detail, why are you even writing about it?" I hear you ask. Well, we put in a lot of thought into the UI to make sure we've got your back, including the smallest of details, and it would be a shame if you never noticed it, so there you go.
Further Reading
Custom Domains
Adding your Domain to Patr
Static Site Routing
Deployments