Google Domains - Adding a DNS Record
Once you create a Managed URL on Patr, the DNS needs to point to Patr for the Managed URL to become active. In case your domain is using Patr nameservers, Patr can automatically manage this for you with the click of a button. However, for external domains, you need to add the DNS record manually.
How to point a DNS record to Patr
To point a DNS record to Patr, follow these steps:
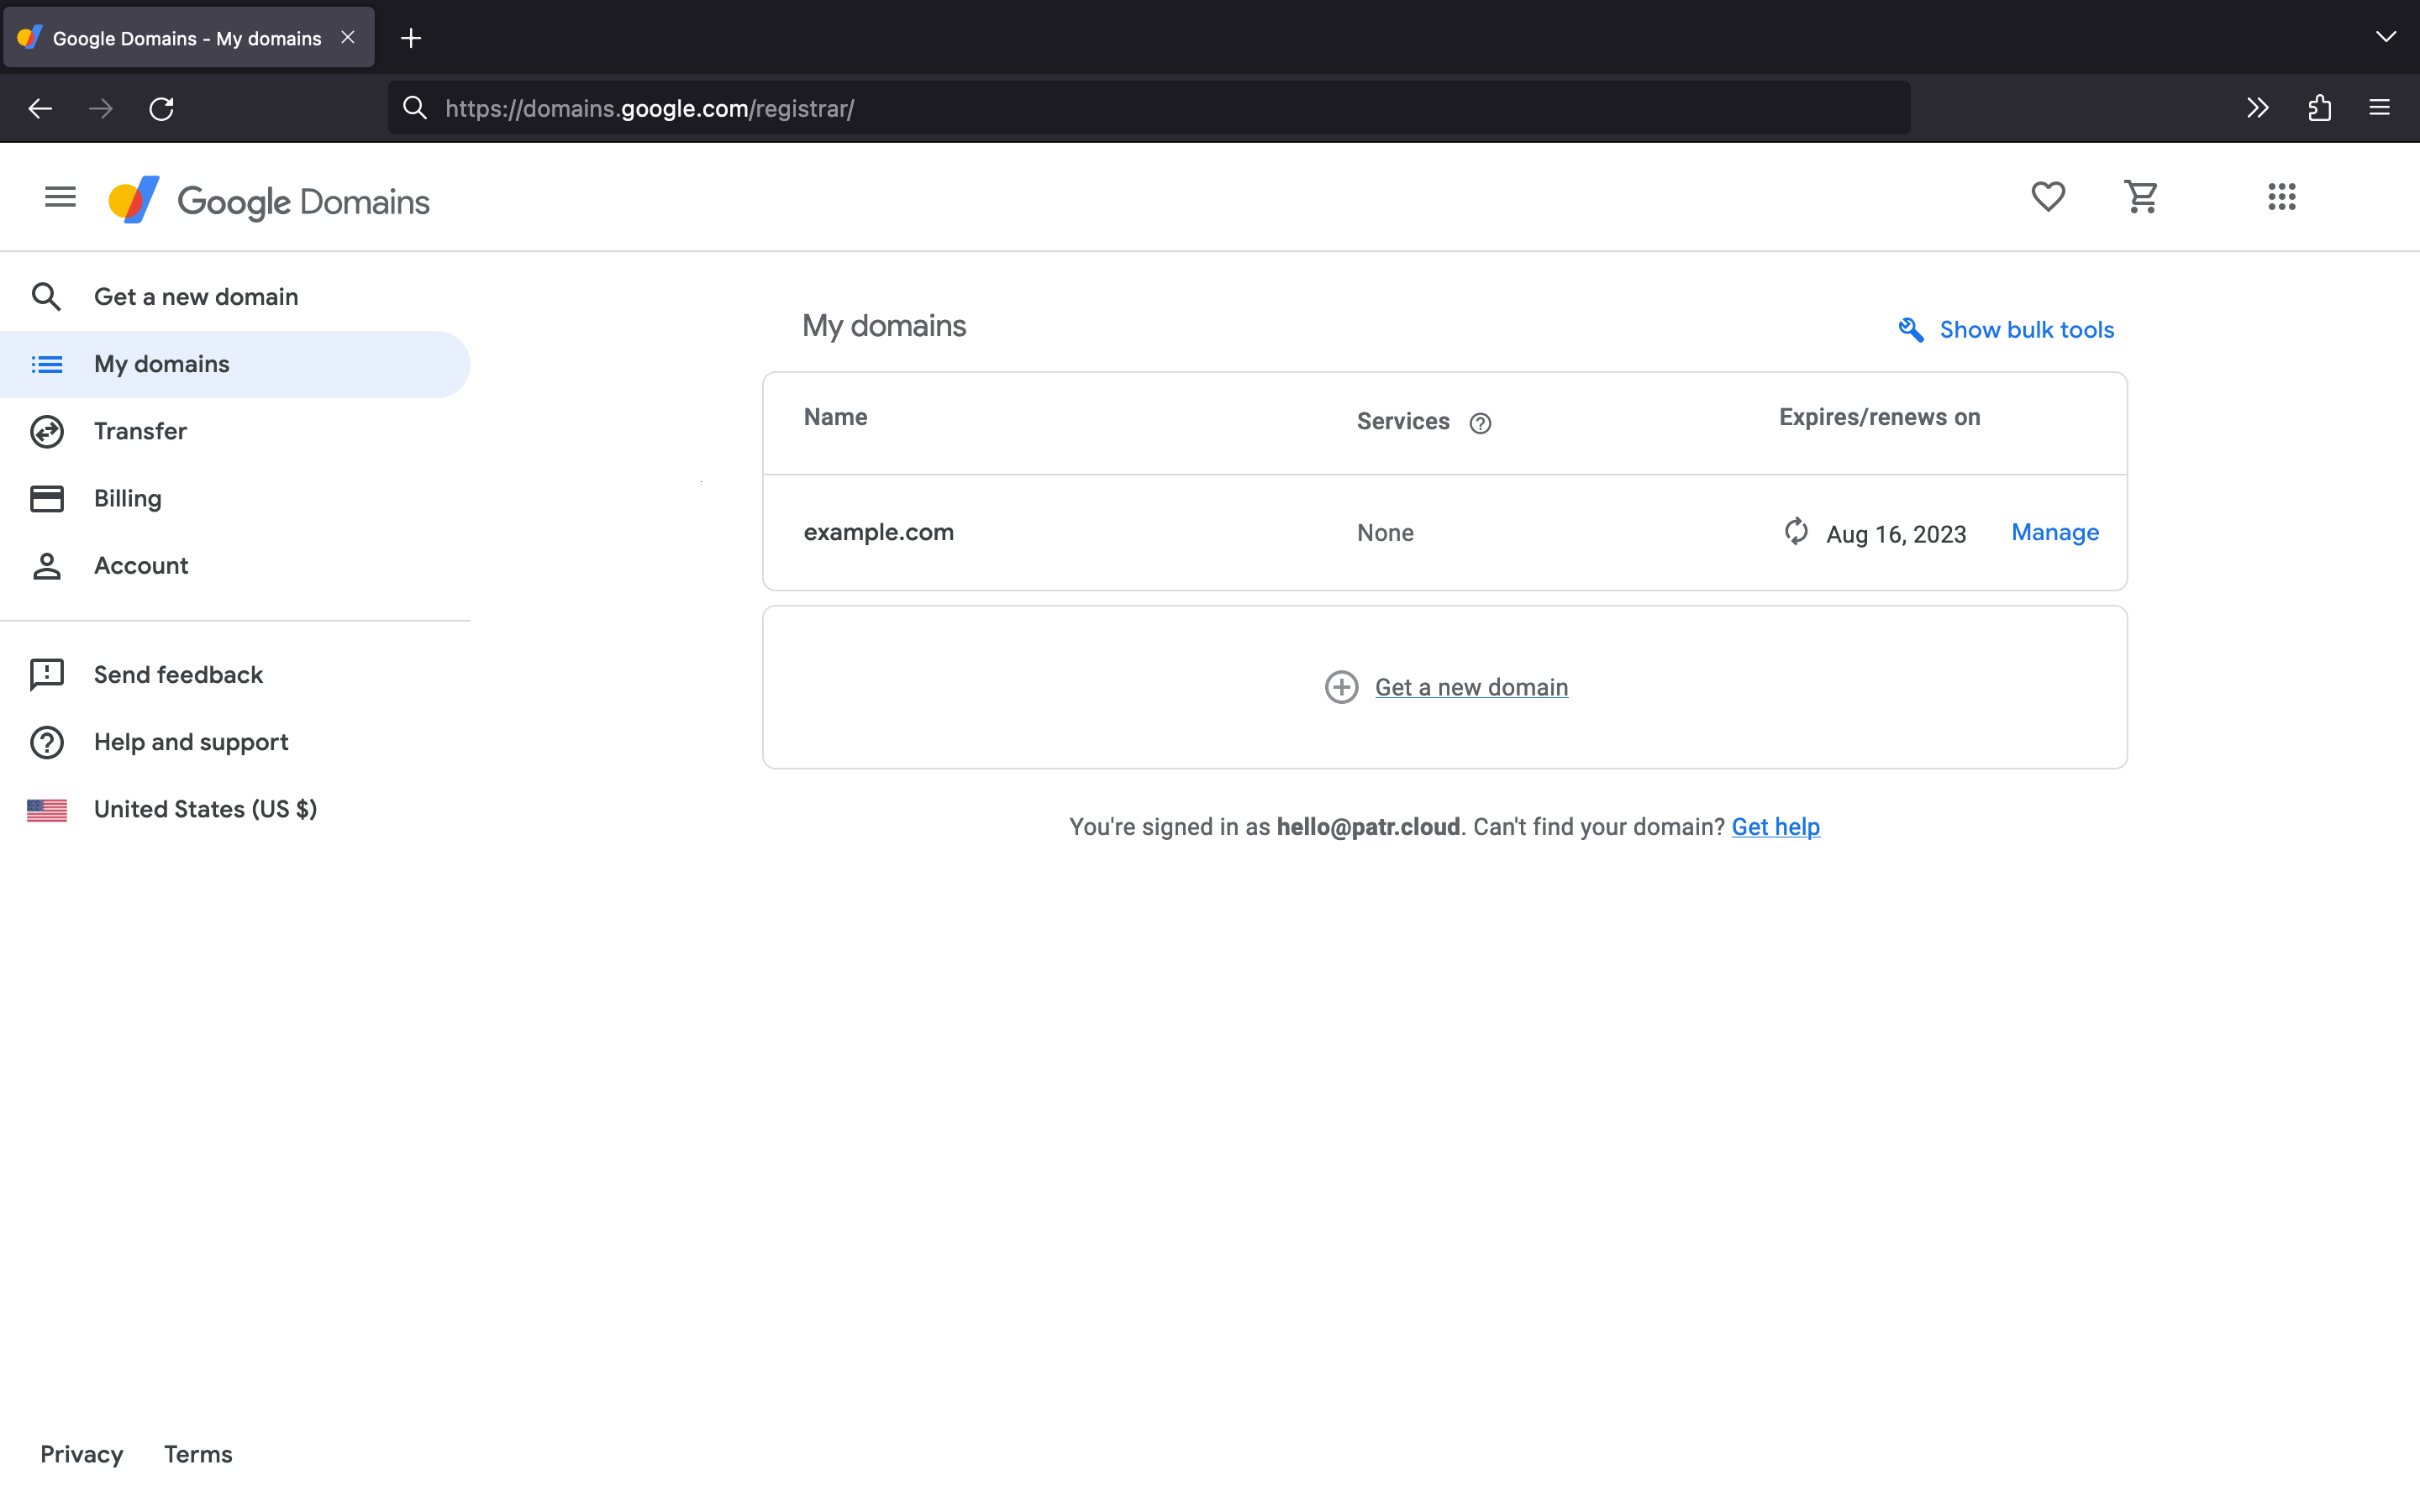
- Log in to your Google Domains account here
- Select the domain you want to verify and click on the Manage button next to it
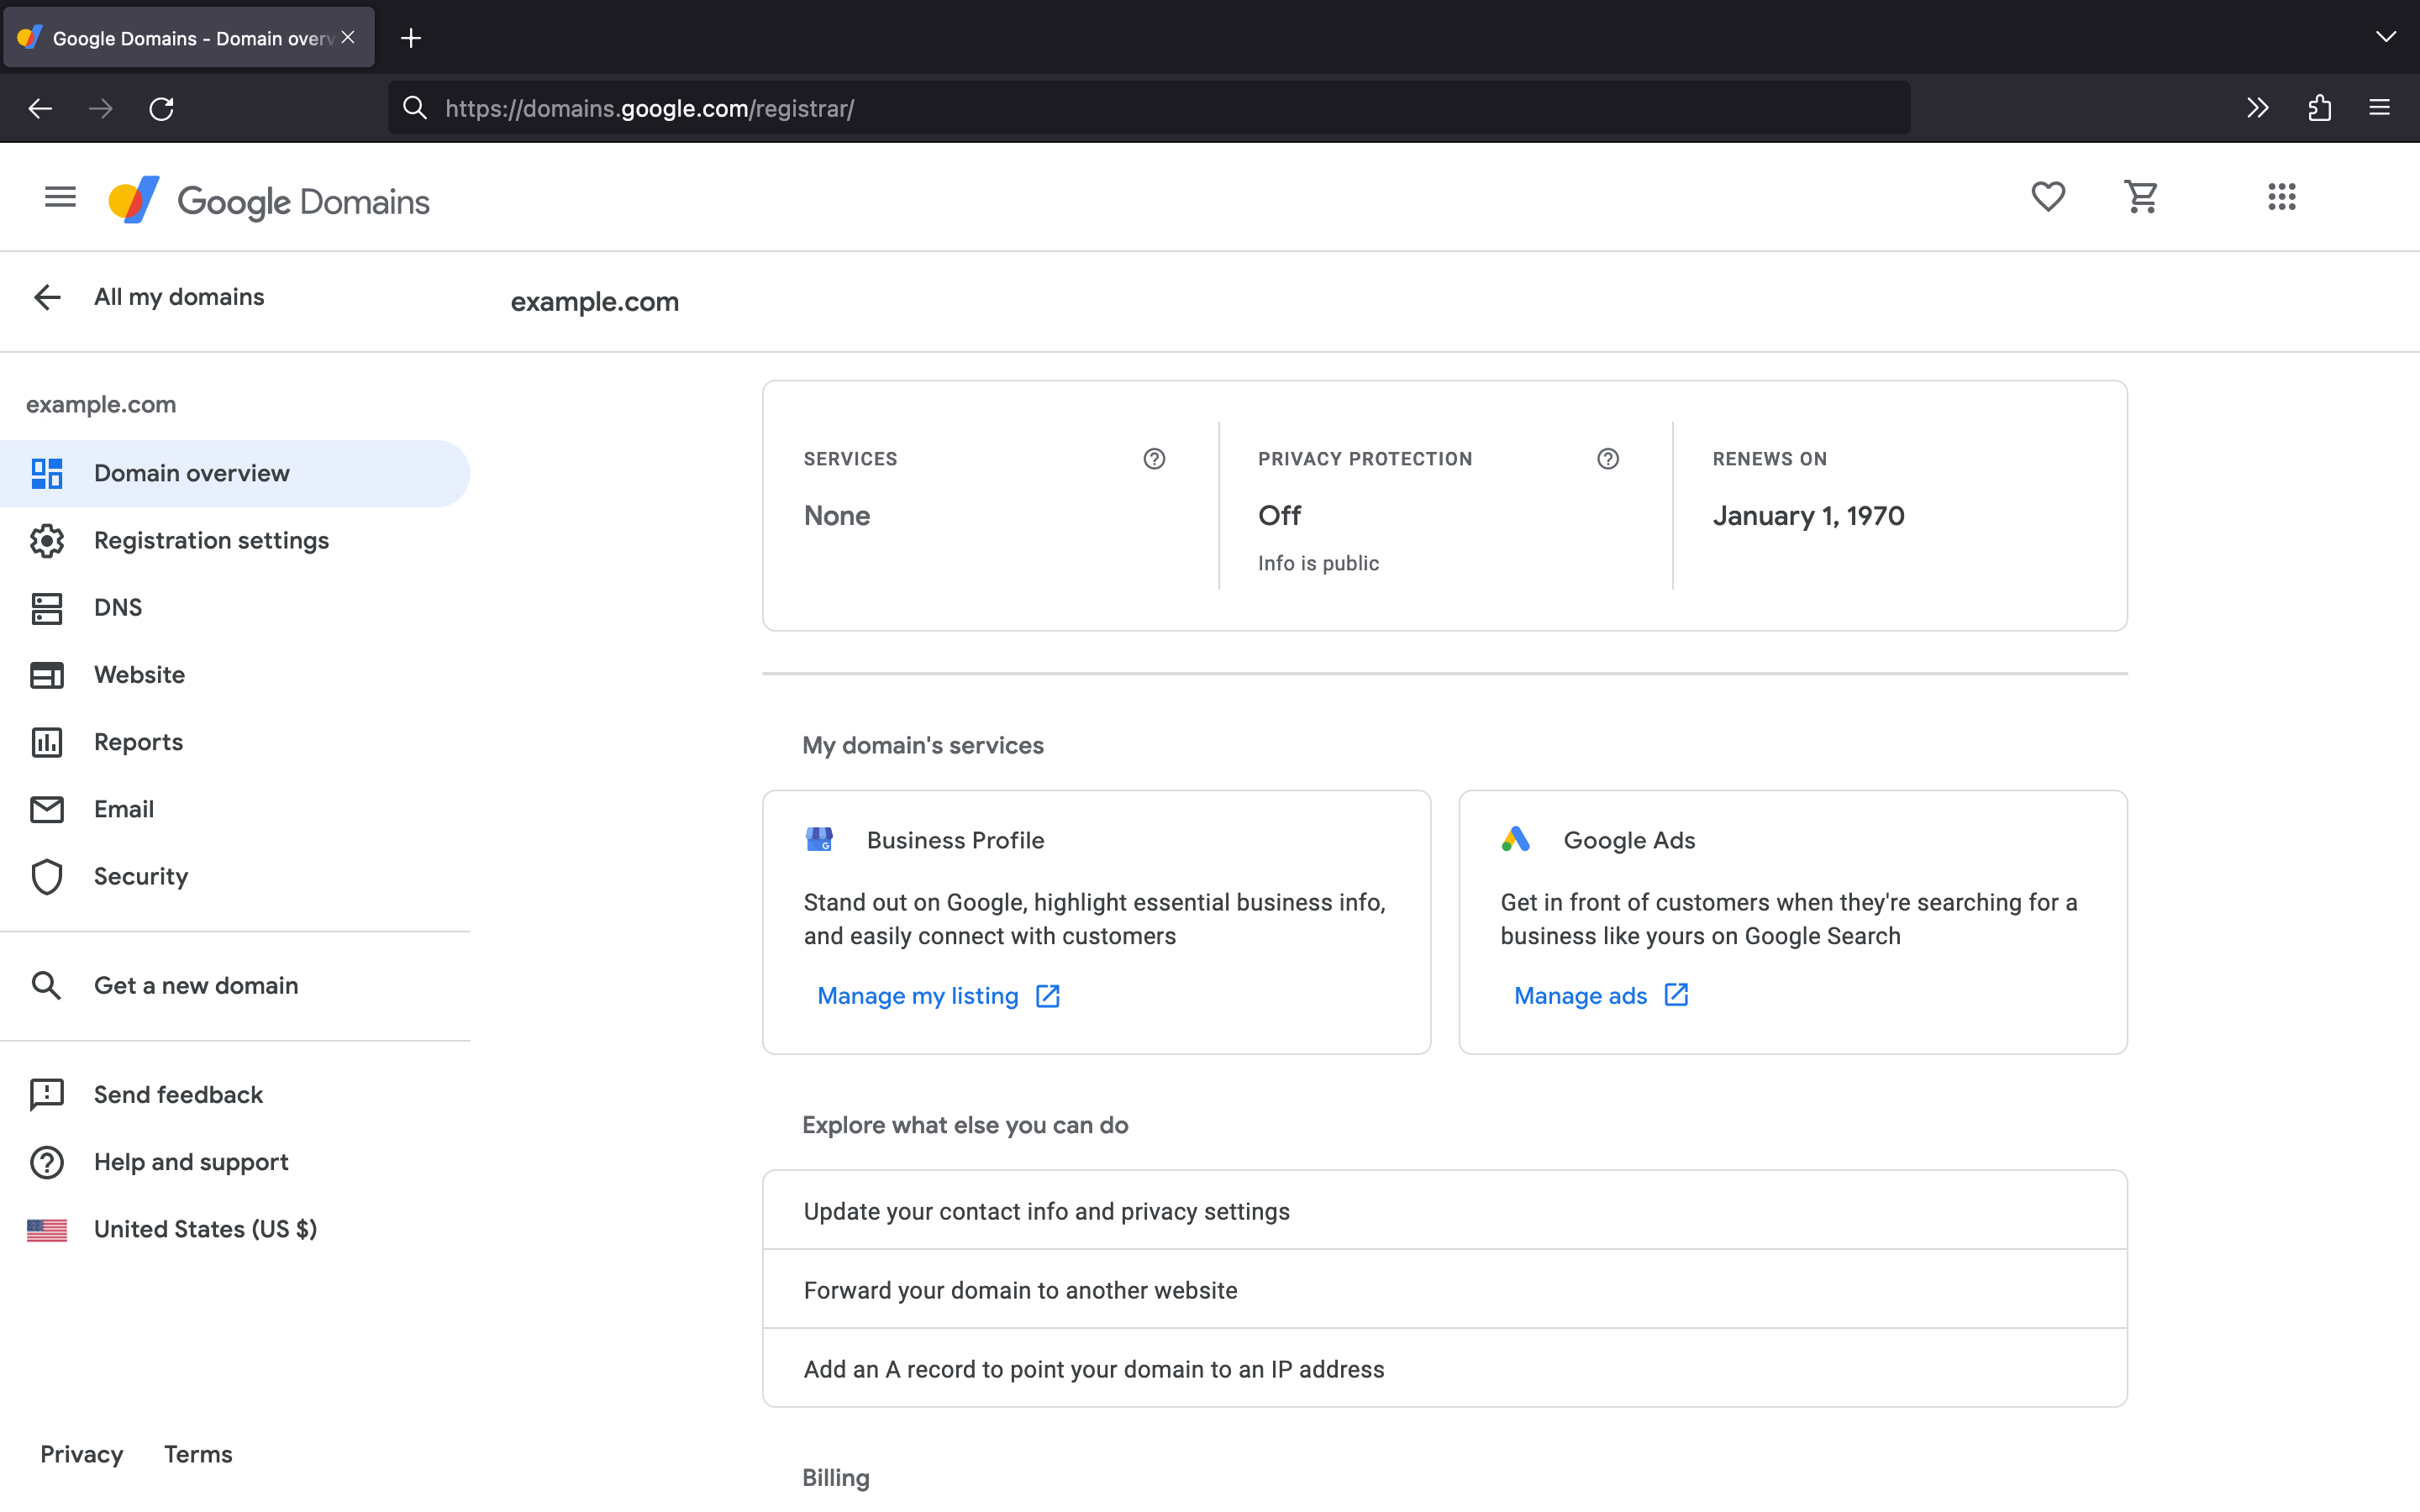
- Select the DNS section on the Side Nav.
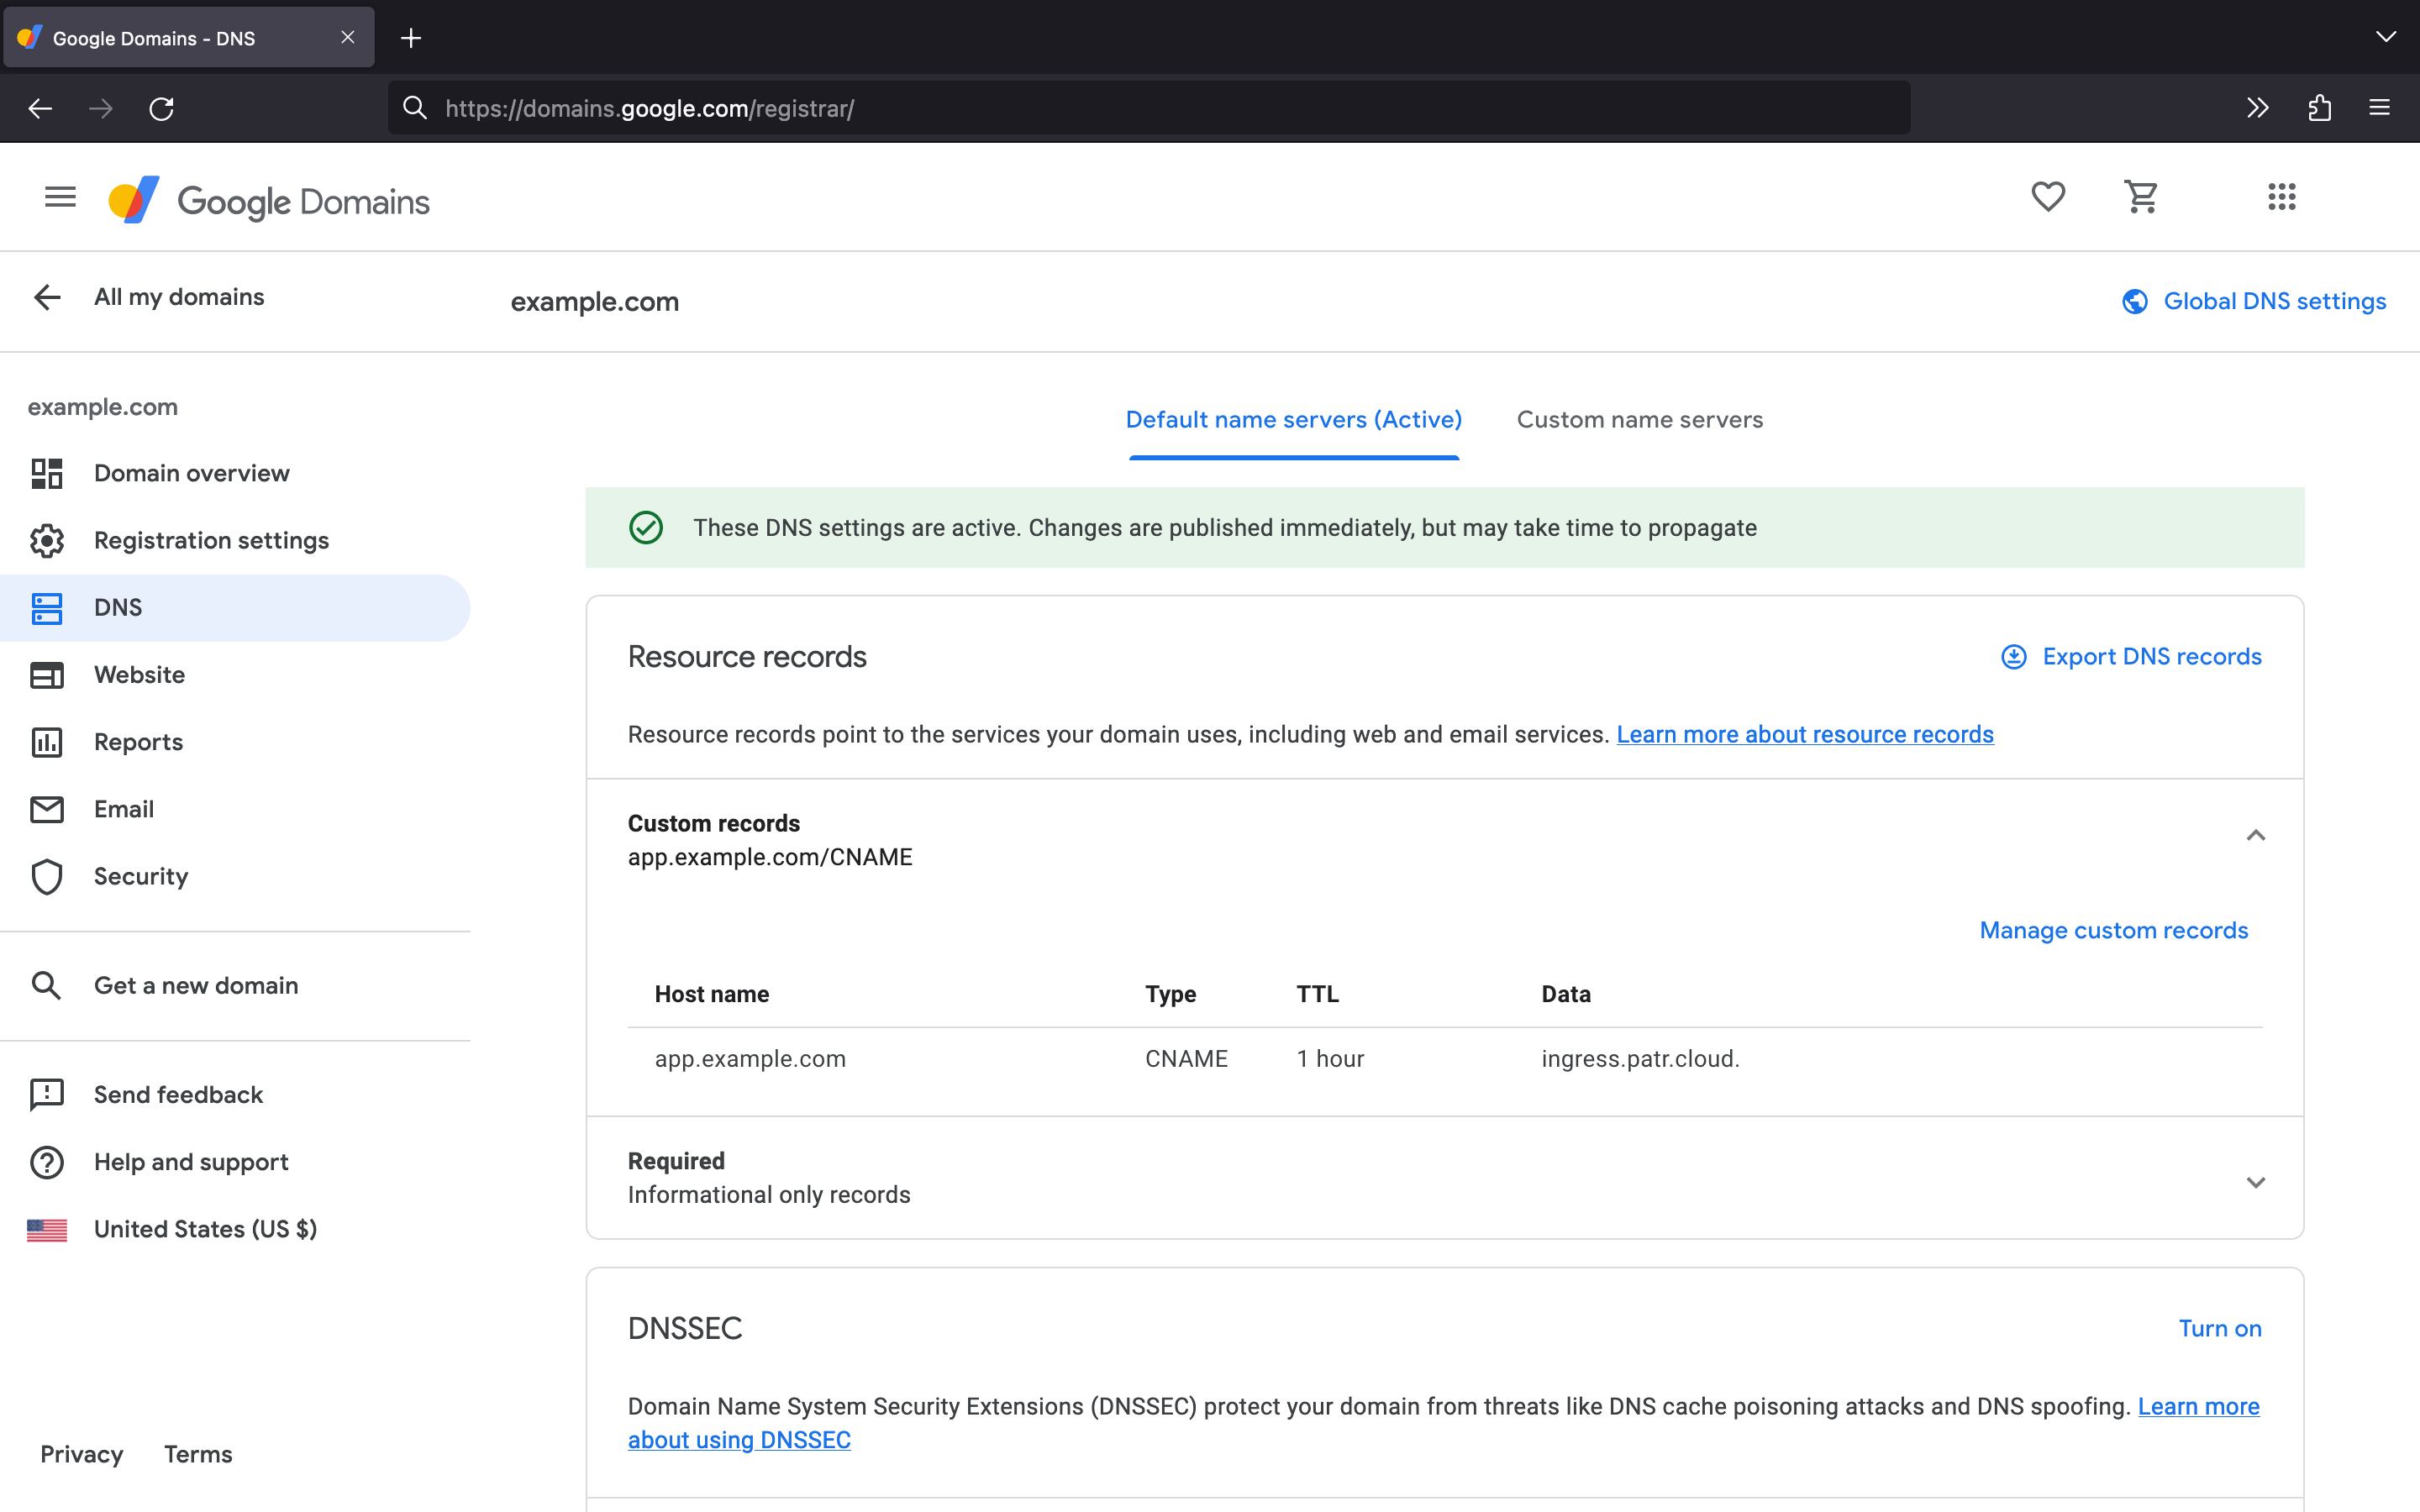
- Select Add next to the "Custom resource records" section. As shown in the screenshot below, enter the following values:
- In the Name field, enter the subdomain of your Managed URL. In case you're using the root domain, enter
@. - In the Type field, select
CNAME - In the Data field, enter
ingress.patr.cloud. - You can leave the TTL value at default
- In the Name field, enter the subdomain of your Managed URL. In case you're using the root domain, enter
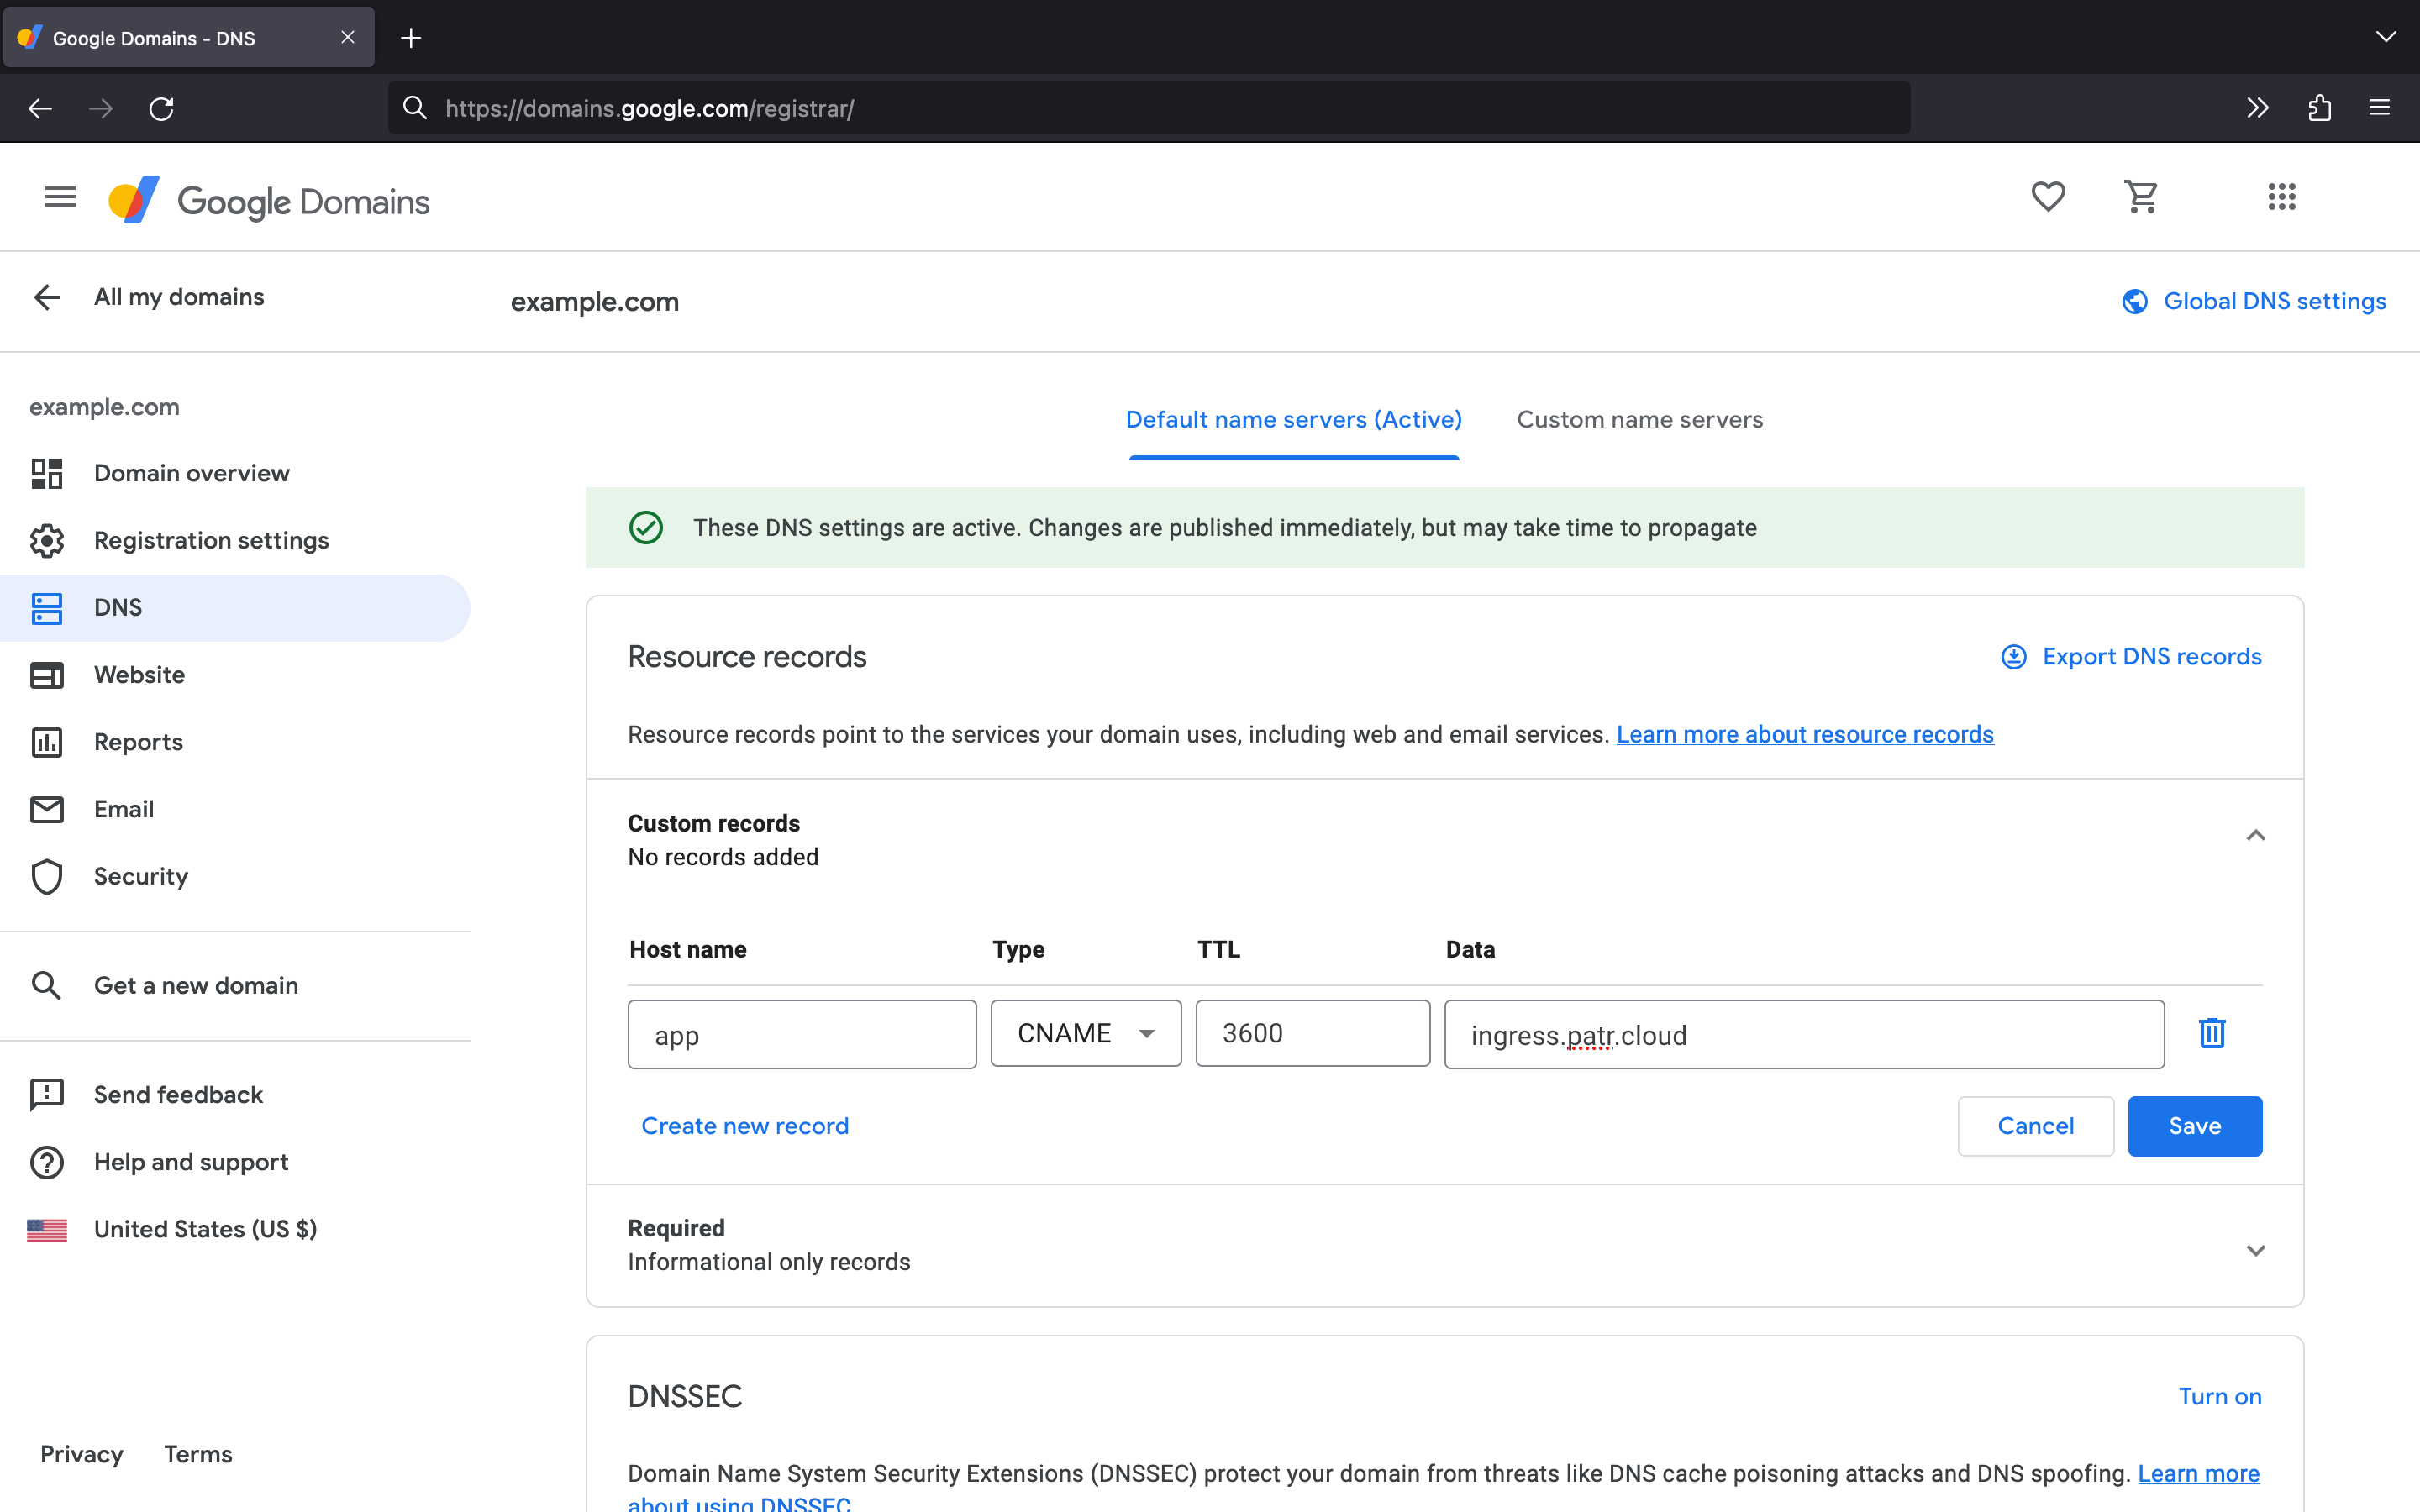
- Save the record.
- Wait for the DNS changes to propagate, which can take up to 24 hours.
- Go back to Patr and select "Configure" under the Managed URL you just added.
Patr will check for the DNS record you just added. If it finds it, your Managed URL will be configured. If the verification fails, double-check that you entered all the values correctly and that the DNS changes have propagated.
Further Reading
Adding a Domain to Patr
Setting a custom domain to your infrastructure
Creating a Managed URL