Pushing your containers to Patr's Container Registry
Patr provides a private, secure registry out-of-the-box, and you can use it to push your containers and store them in a private and secure way. Only people who have been added to your account will have access to the repositories stored in Patr's Container Registry.
Creating a repository
In order to create a repository on Patr's Registry, navigate to the Container Registry section in the side-nav, and click on the Create Repository button.


In the Repository Name field, enter the name of the repository you want to create. This can be anything you use to identify the image, but only valid container image name characters are allowed (no spaces, only lowercase alphanumeric characters and hyphens, and cannot begin or end with a hyphen). Your repository will get created of the following format: registry.patr.cloud/<your-workspace-id>/<repository-name>.
Once created, you can push your container to your repository from the CLI.
Retagging an existing image
If you have an existing image locally (let's call it imagename:stable for this example), and want to push it to Patr's Container Registry (let's say to registry.patr.cloud/123456789/backend:stable), you can retag it and push it. If you're using Docker, you can run the following command:
docker tag imagename:stable registry.patr.cloud/123456789/backend:stable
Note: In case you face any permission issue, try running the command with sudo docker <command> instead of docker <command>.
Building a new image
If you're looking to build a new image and push that, you can build your new image with the repository name as a tag and push that tag.
If you're using Docker, you'll need the following:
- A Dockerfile in the working directory of your code (head onto the Quick Start Guide for a Dockerfile for popular frameworks).
- Docker installed (you can get docker here).
Once you have a Dockerfile, you can run the following command:
docker build . -t registry.patr.cloud/123456789/backend:stable
Note: In case you face any permission issue, try running the command with sudo docker <command> instead of docker <command>.
Pushing an image
Once you have an image tagged, you can push it to Patr's Container Registry by running the following commands:
docker login registry.patr.cloud -u <username>
docker push registry.patr.cloud/123456789/backend:stable
Replace <username> with your Patr username, and when prompted for your password, use the password that you use to login to Patr.
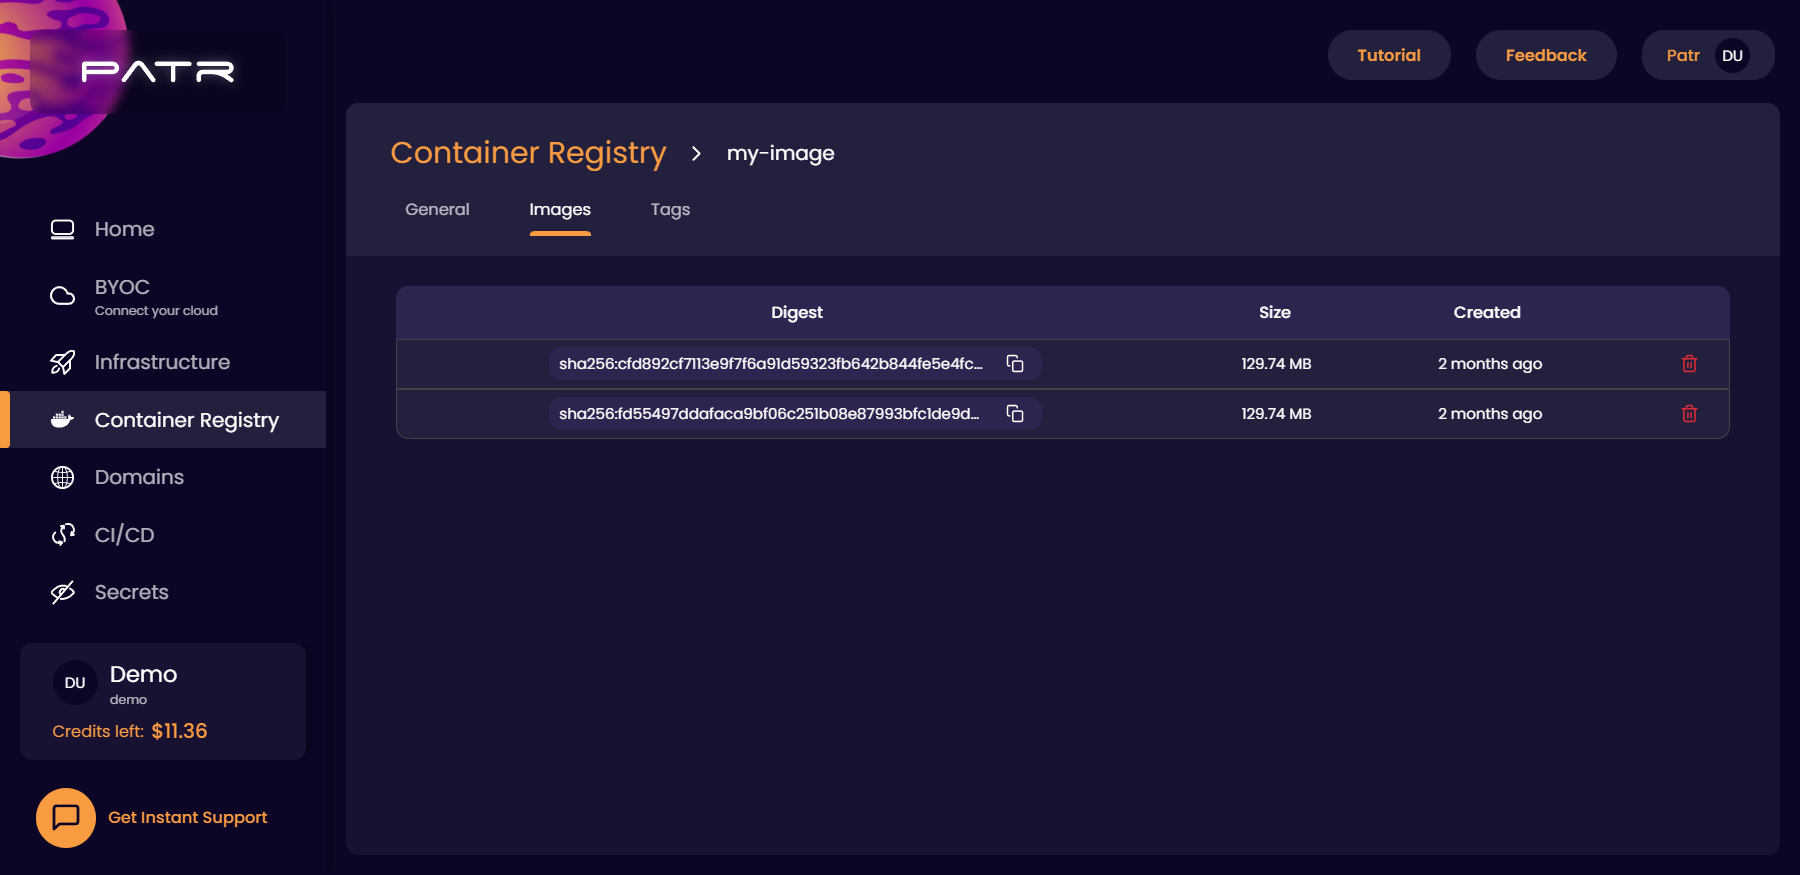
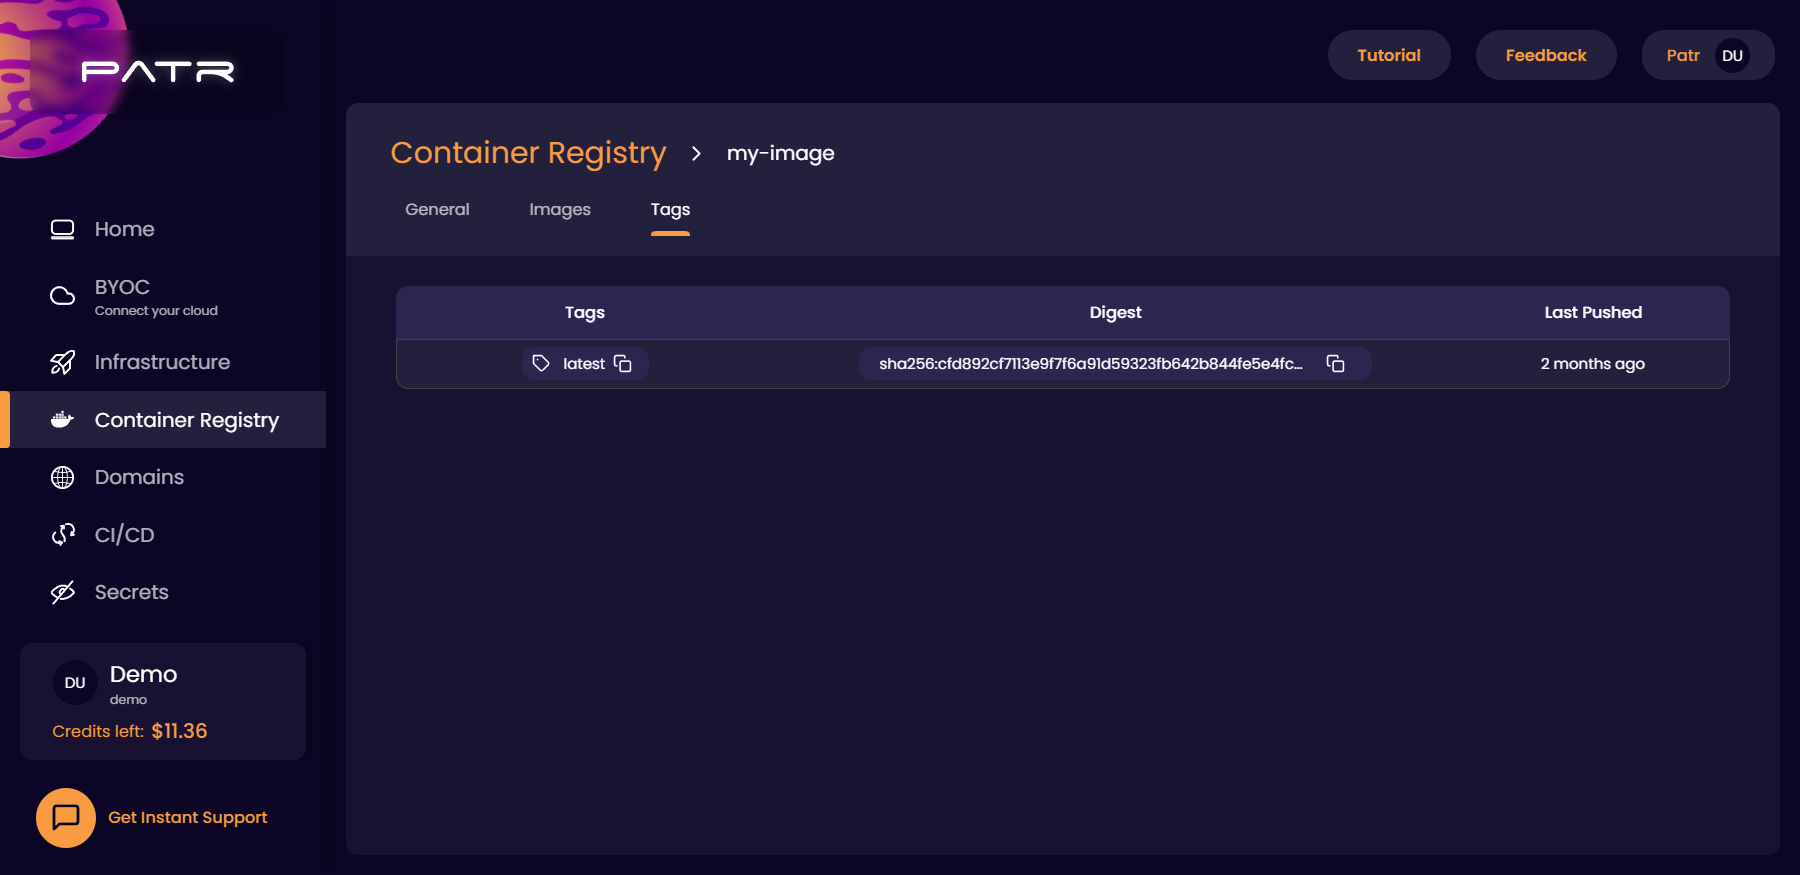
Viewing all your images
Once you have pushed your images, you can click on the Repository, and go to the Images tab in your Repository to view all your images.
You can also go to the Tags tab to view all the tags of that particular Repository.
Deleting an image
In the Images tab, you can click on the Delete icon to delete that particular image.

Deleting a repository
In the Container Registry dashboard, you can click on the Delete icon next to a Repository to delete an entire repository, along with all it's images and tags.

Once you click on it, the immediate button below your cursor will be the cancel button, and you will have to explicitly move your mouse cursor to the Delete button to delete it, which would prevent you from accidentally double-clicking on the delete button and losing your repository. "That's such a small detail, why are you even writing about it?" I hear you ask. Well, we put in a lot of thought into the UI to make sure we've got your back, including the smallest of details, and it would be a shame if you never noticed it, so there you go.
Further Reading
Creating a Deployment from a Repository
Custom Domains for a Deployment
Pointing a Managed URL to a Deployment
Connecting a Git Repository to Patr