CI / CD
Patr offers in-built CI/CD (Continuous Integration / Continuous Deployment) solution that allows you to connect your git repositories and run pipleines when you push to your git repo. This can be used to run custom scripts that execute upon pushing to a git repository, or on opening a pull request, etc. As of now, only GitHub is supported, with more providers in the works. Feel free to contact us at support@patr.cloud if you'd like early access to other providers such as BitBucket, GitLab and Gitea.
Patr's CI is an advanced container-based, Kubernetes native solution that allows you to build your CI pipelines completely from containers. Your pipeline consists of multiple steps, with each step being executed on a container, with specific commands running on each container. In order to build a repository, it needs to be activated and assigned to a runner.
Activating a repository
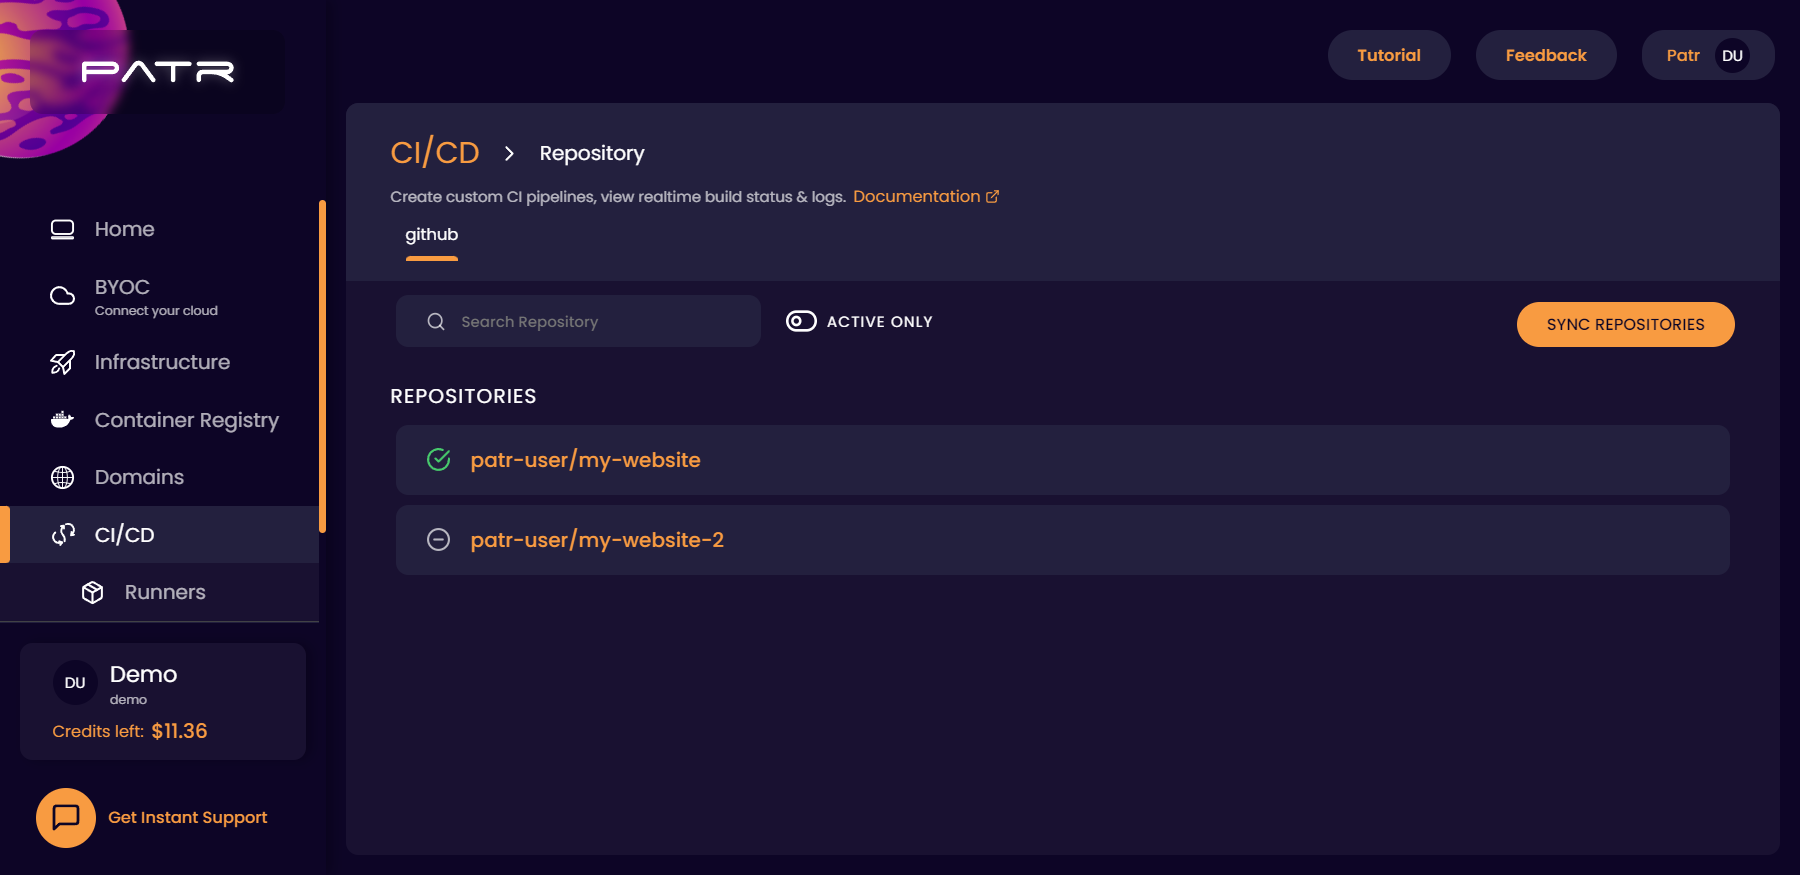
You can connect your GitHub repositories to Patr and they will show up on your workspace dashboard. None of your pipelines will be executed until the repository is activated. Each git repository will need to be activated before they execute your pipelines.
In order to activate a repository, select the repository of your choice and click on the activate button next to it.

Once you click on the activate button, you need to choose a runner for your repository that will be responsible for running your pipeline.
Choosing a Runner
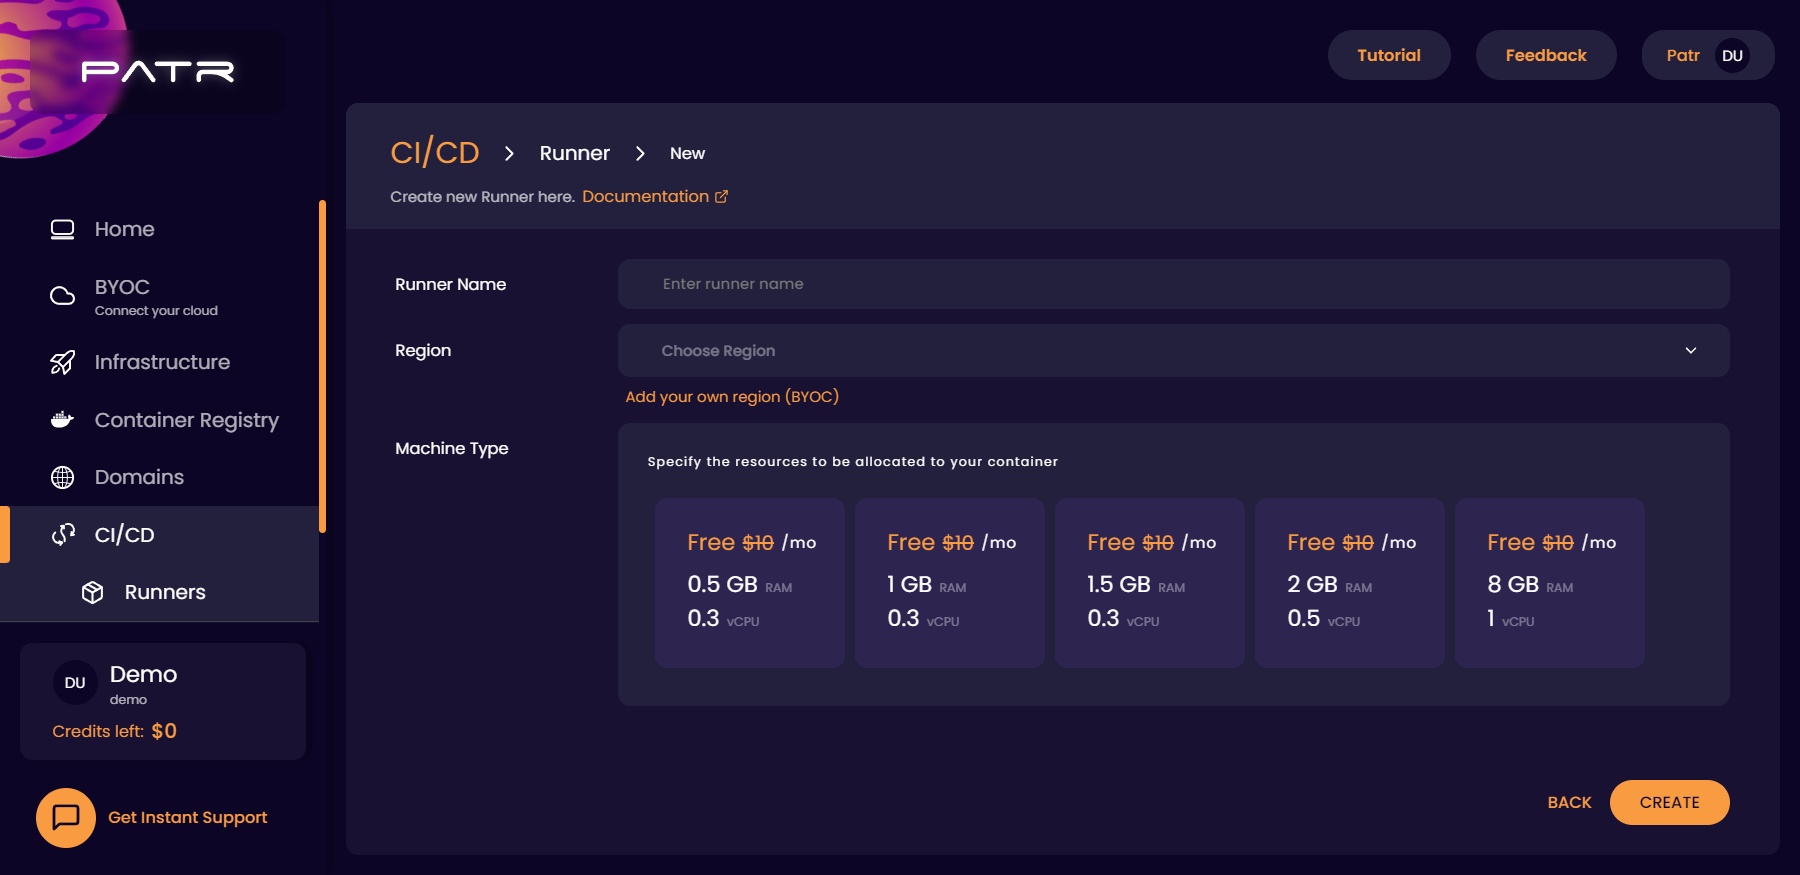
A runner in Patr's CI is a deployment that will execute your pipeline. You can choose the maximum limits of CPU and RAM for your runner and Patr will make sure that the runner is assigned those resources in your Kubernetes cluster. Additionally, you can also use this to make sure that your bills are not exorbitantly large for executing your CI pipelines, since your runners will have a maximum limit to resources it can consume. You will only be charged for the runners that you use on Patr's regions. Any runners you create on a BYOC region is completely free of cost.
In order to create a Runner, click on the Runners section of CI/CD in the side-nav. Then, click on the Add Runner button.

Choose the CPU and RAM limits of your Runner and click on the Create button.
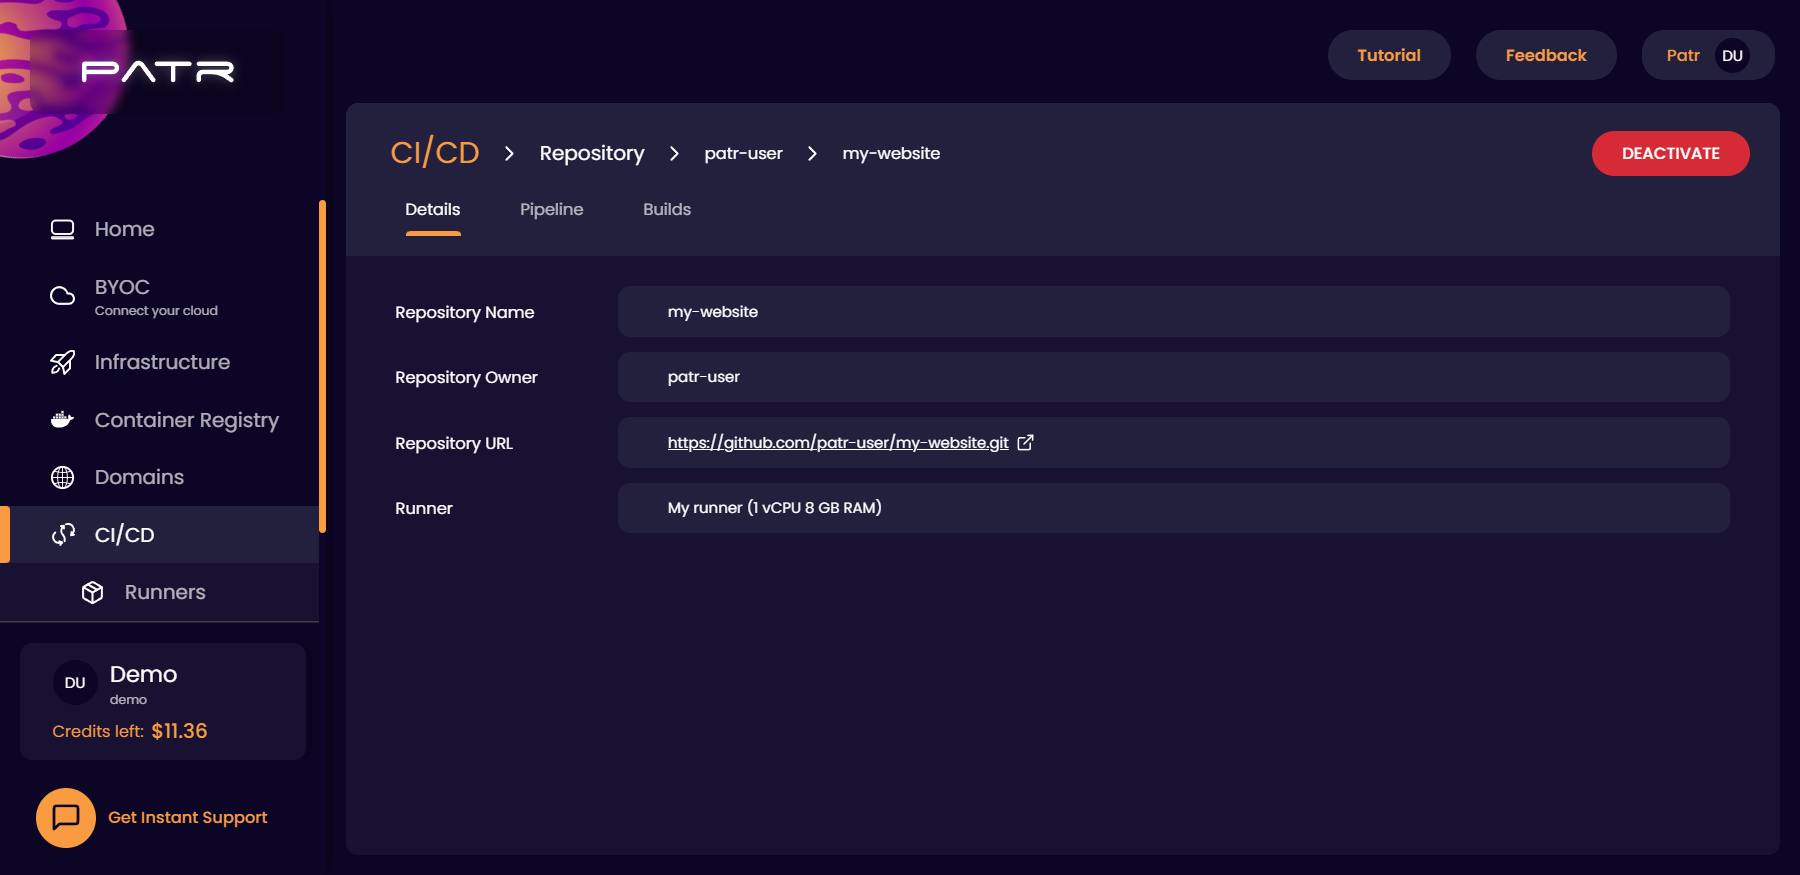
Once a runner is created, you can Activate your repository and select the runner to build your repository.
Building a pipeline
Once a repository is activated, we can choose the pipeline we want to execute when the repository is pushed to. We can either create the pipeline using a YAML file manually or with our fully-featured drag-and-drop editor. To build a pipeline, click on the Pipeline tab in the repository screen, and use the drag-and-drop editor to place your nodes.
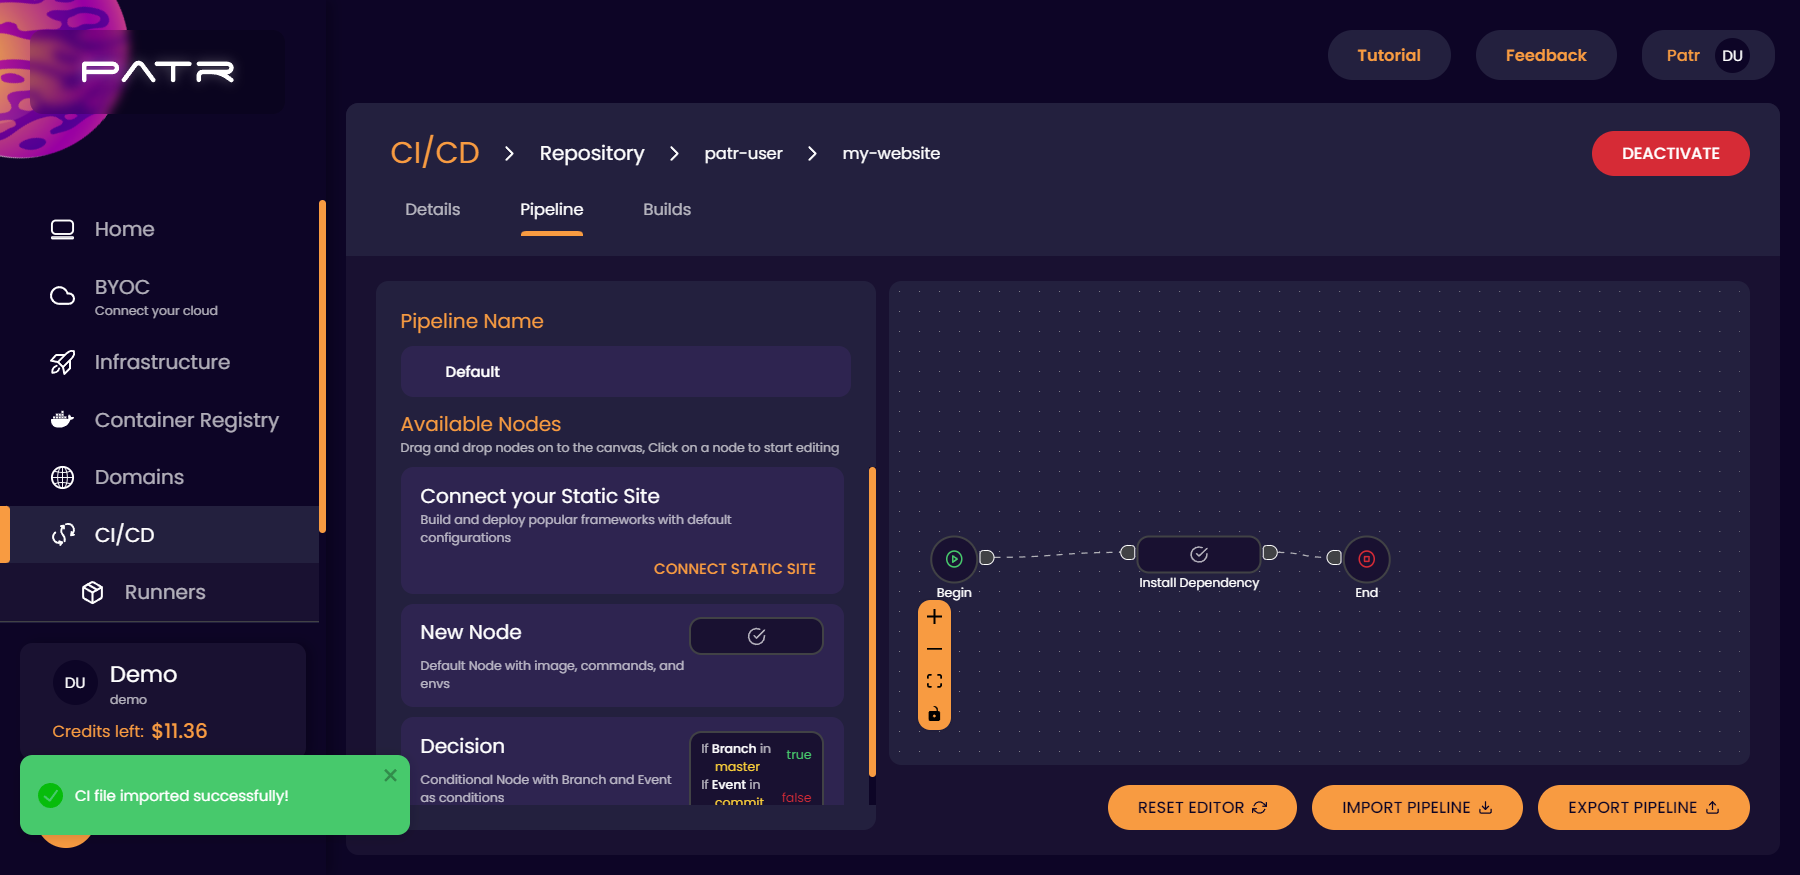
Each node will be a separate container that will execute a set of comamnds to build your code. For example, in the case of NodeJS, you can use the image node:latest to run the command npm install (or yarn), and then build your container with, for example, npm run build, or run tests and then finally publish your code to the Patr's Container Registry or to Docker Hub in another step.
All your steps will have a /workdir directory mounted in a temporary volume, that will be deleted when the build completes. Patr will automatically create an initial step to clone your repository into the /workdir directory.
Note: Since all your steps are individual containers, and containers are volatile by nature, only your /workdir directory will be persisted across steps. This means that if your pipeline step uses data stored in a different directory apart from /workdir (for example, if a global dependency is installed), that directory will not be available for the subsequent steps, due to container storages being volatile.
Publishing your pipeline
Once you have built your pipeline, you must place your pipeline as a yaml file as the patr.yml in the root of your repository. You can hand-code your own pipeline and commit the file yourself, or Patr can update the file for you. Once your pipeline is built, click on the Export button to export your pipeline.
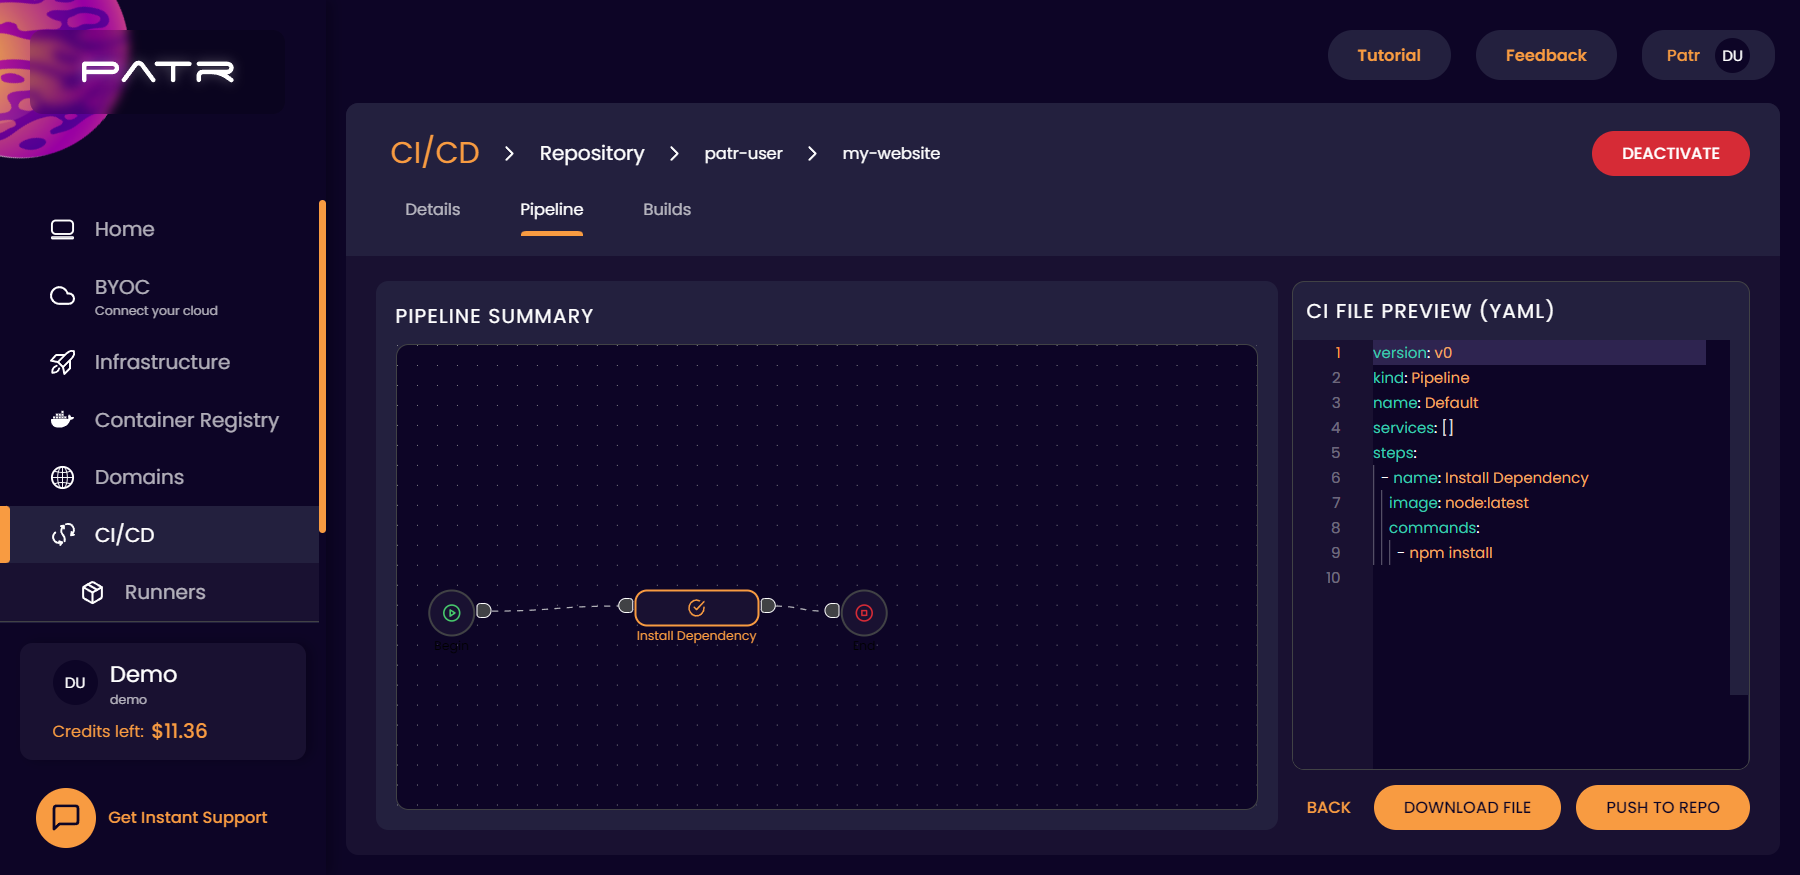
Here, you can either download the file manually and commit it to your repository, or you can click on the Push to Repository option, and Patr will automatically push it to a branch of your choice.
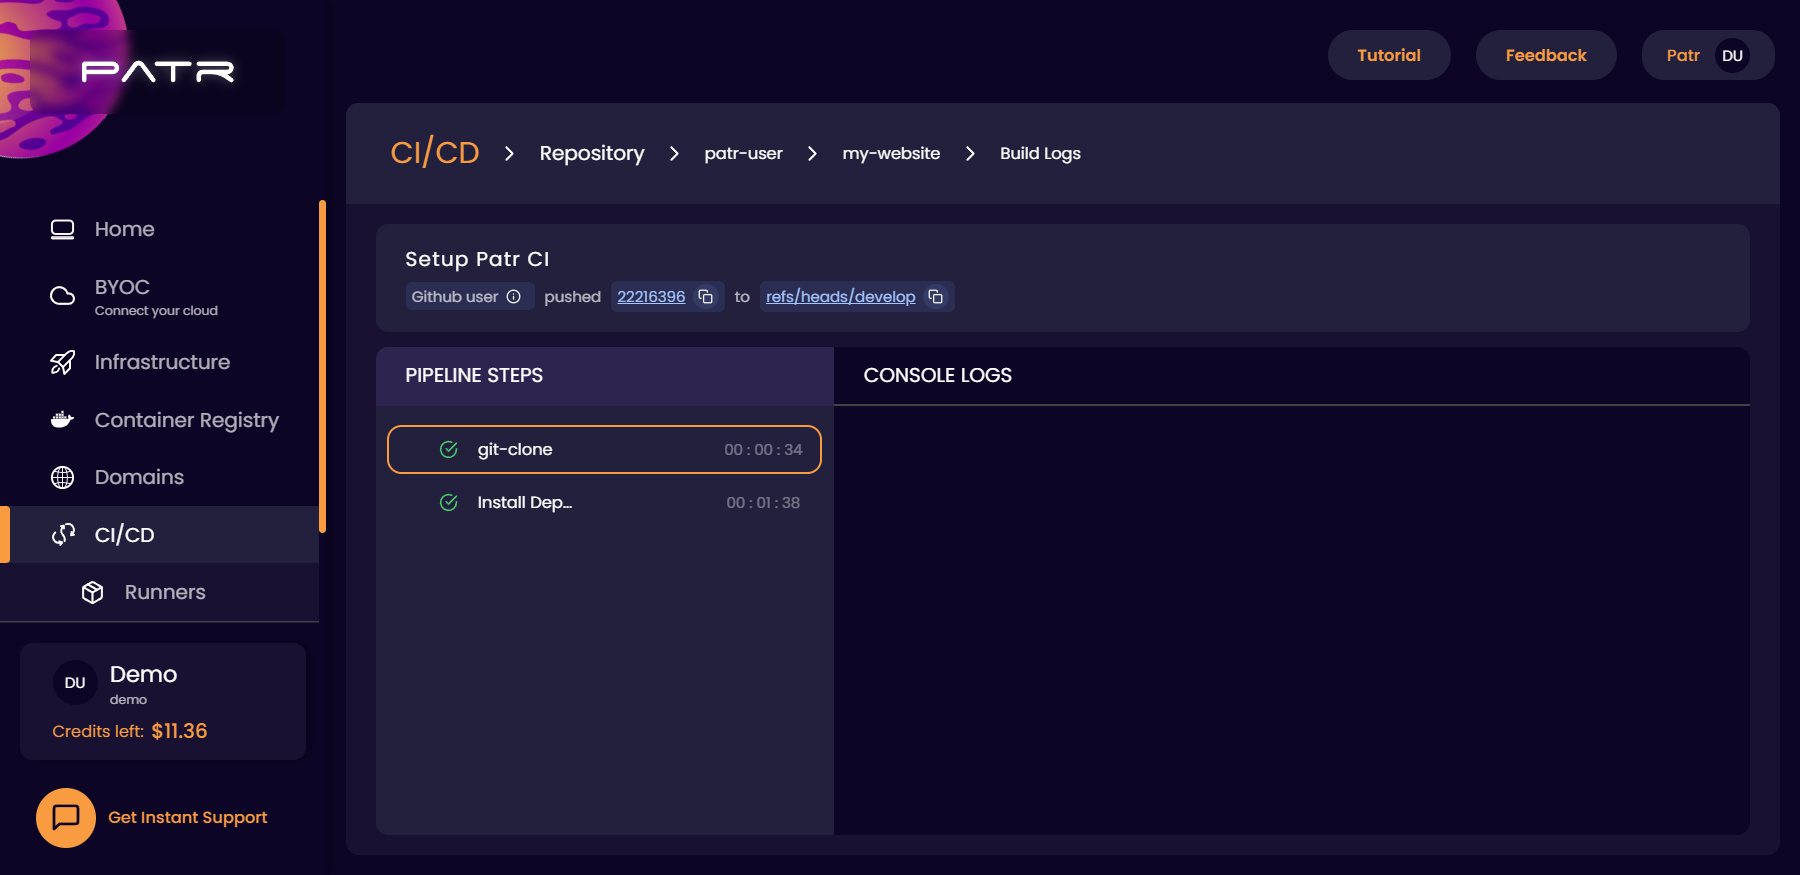
Managing builds
Once you have setup your pipeline on your repository, any event on your Git repository (such as a push, opening a PR, or pushing a tag) will trigger a build on Patr. The pipeline that executes can be customized based on the If Else node, which can execute different pipelines based on the event or branch. You can then select the build that is running and view the logs for each step of that build.
Yaml file structure
If you're using our drag-and-drop editor to build pipelines, you will not need to interact with the Yaml file at all. However, if you prefer to write the file by yourself, here is an example of what the Yaml file looks like:
version: v0 # We're sticking to v0 for now. v1 onwards, we guarantee backwards compatible updates
kind: pipeline
name: Default

steps:
    - name: "Check if master branch"
      when:
          branch: master
      then: "Install Dependencies"
      else: "Run tests"

    - name: "Install Dependencies"
      image: node:latest
      commands:
          - npm ci
      next: "Run tests"

    - name: "Run tests"
      image: node:latest
      commands:
          - npm run test
      next: "Build"

    - name: "Build"
      image: node:latest
      commands:
          - npm run build
      environment:
          NODE_ENV: "production"
      next: "Publish on Patr"

    - name: "Publish on Patr"
      image: node:latest
      commands:
          - npm run publish
Let's break down the file above into parts.
First, we have the following:
version: v0
kind: pipeline
name: Default
Then, we start by defining the steps in the steps: part.
Each step defined in the pipeline is a container that gets executed. For each step, the CI pipeline will create a new container, mount your code in the current working directory as a volume, and execute the commands defined in the commands: part.
This way, you can execute any command in the container that is required to build your application.
Additionally, because each step is a container, you can also mention certain steps of your application to deploy your website upon successful completion. Each step will only execute if the previous step has exited with a success status code (a zero status code), so your applications will only be deployed if all previous steps have completed successfully.
You can also use these steps to get alerts and notifications in case your build fails, by defining a step that will provide you with status updates, (for example, on Slack) when your application is deployed.
Further Reading
Deploying an application
Deploying a Static Site
Pushing images to Patr's Container Registry